Note this is the V1 setup chart from 1st Edition. There are some errors and catches I’ve found that I have submitted to Jack for correction.
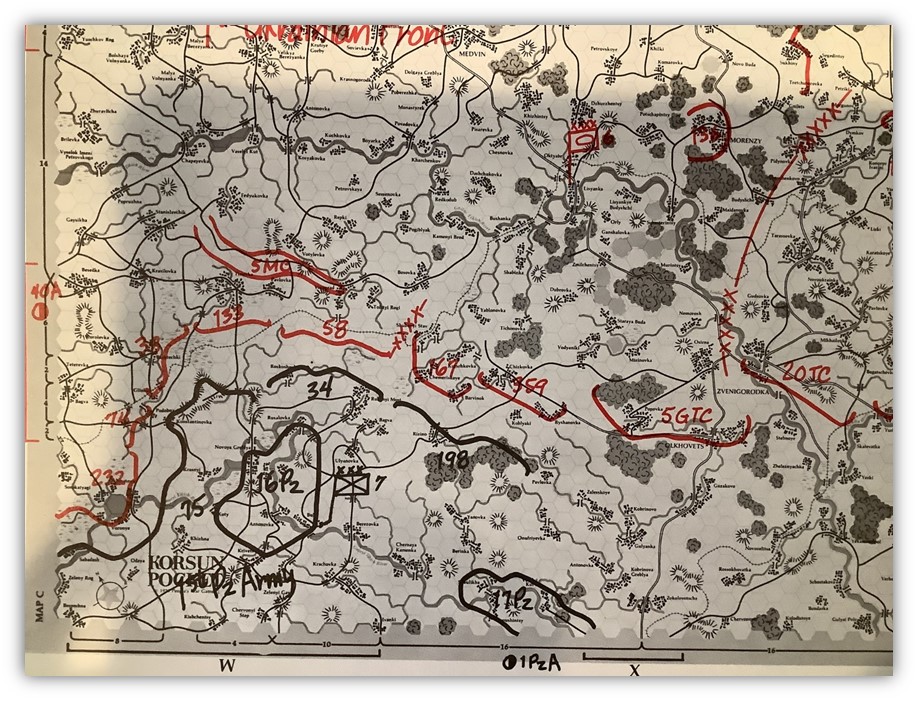
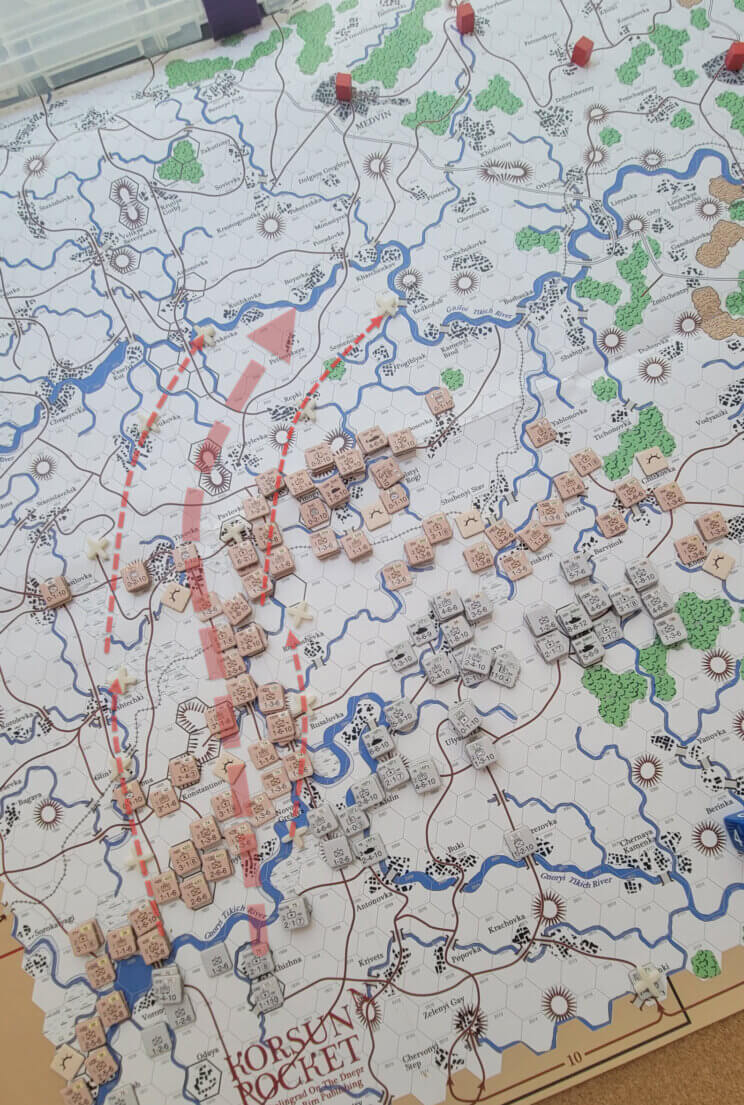
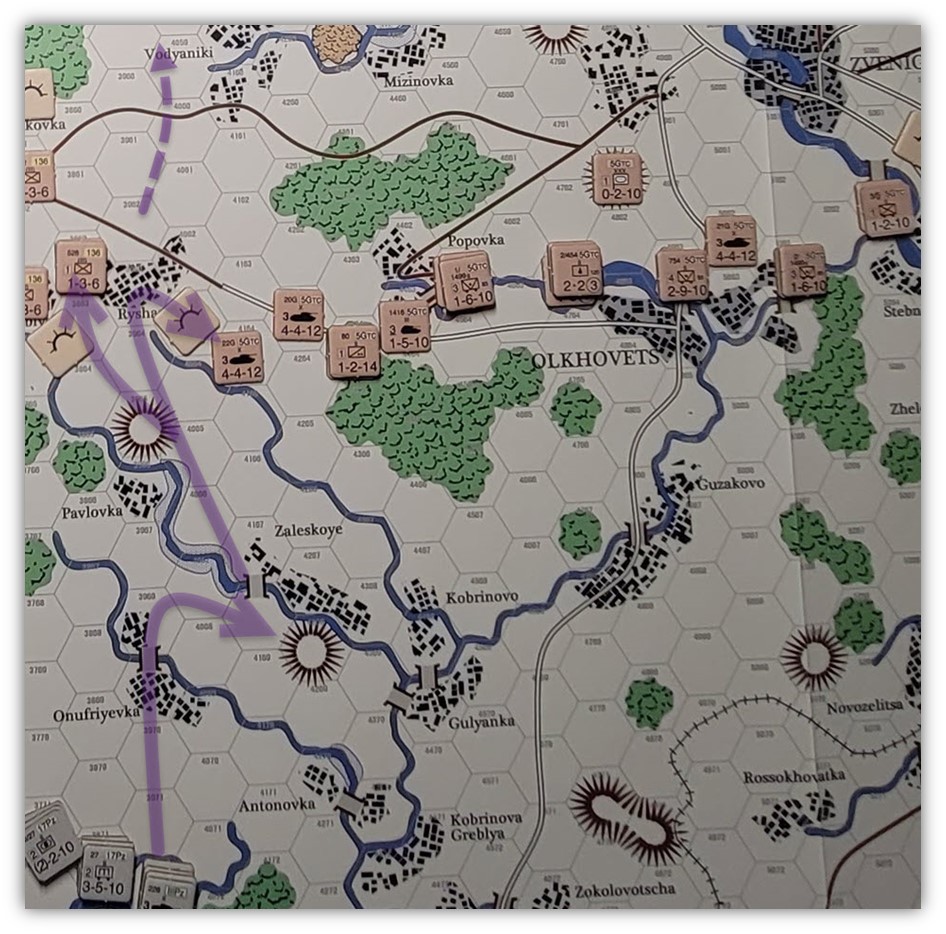
We can see 16th and 17th Panzer sitting in the ‘rear’ ready to launch the ‘rescue’ and break out the trapped units in the pocket. 1st Panzer and 1st SS are not on the board yet but arrive shortly. It was noteworthy to me that there just is nothing covering 5GTC! This is how thin the Nazis are on the ground. Given we have run exactly one combat, its hard to judge how brittle or how formidable each side really is.
So, my intention is to use the Germans with some level of caution initially until we see a handful of combat go down. For the Soviet we want to be reinforcing a deeper line, strengthening existing defenses and considering how to use the wave of reinforcement coming as either a blunt force trauma to stop the breach or a flanking attack on the German positions.
The History
Excerpts from The Korsun Pocket: The encirclement and breakout of a Germany Army in the East 1944. [link to it on Amazon, no affiliated fees etc]
Not Jack Radeys favourite book. But the only one I have.
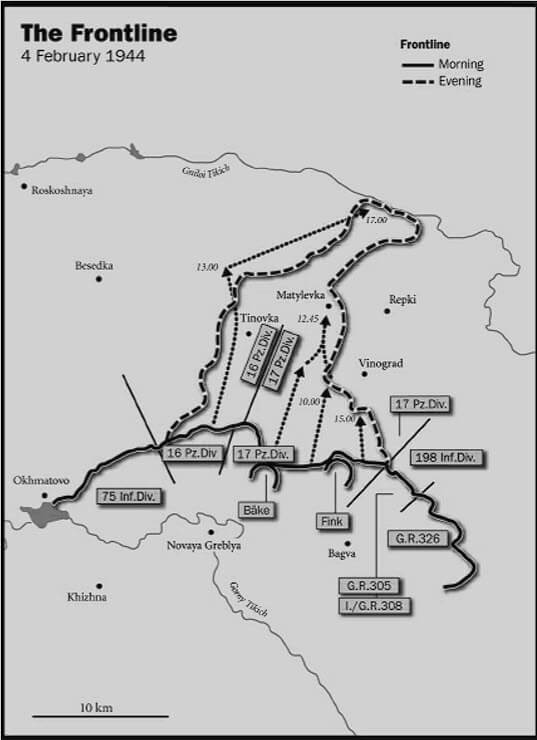
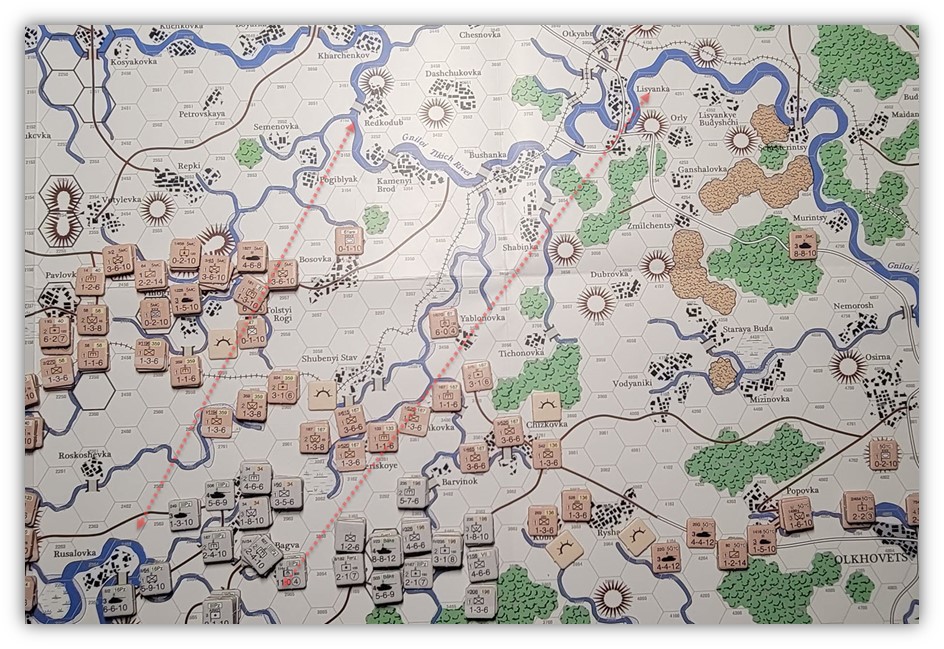
This approach would be roughly here on our map West of Vinograd where 5th Mech is gathered and punching right thru the thickest parts of the Soviet line. I suspect this was due to weather and road conditions as we start in Mud and the next day [the 4th ] is then Frozen.
So as you will see down the post this approach is further to the West of my planned attack. We will be attacking east of Vinograd.

Op Plan for 1st Panzer Army
Victory conditions for Scenario 4 will drive our game plan see diagram:
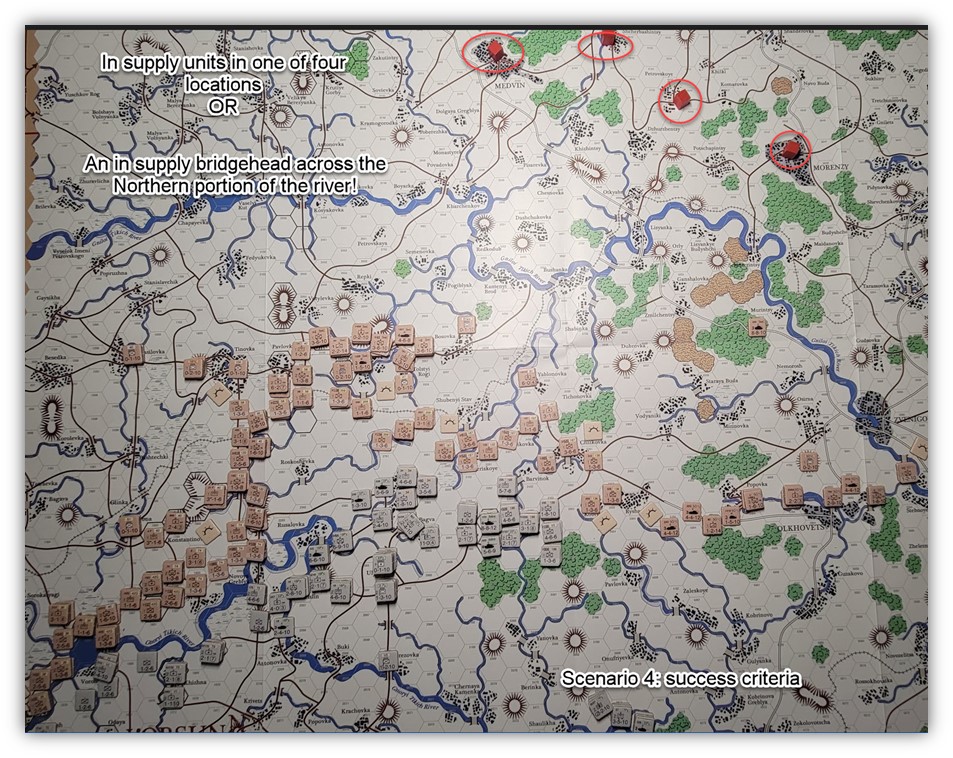
An in supply unit in one of the four hex locations establishes a decisive victory. Lets not kid ourselves, I doubt on our 1st play that is achievable. Especially given an entire additional Tank Army [2nd] arriving on the 6th and 7th of Feb!
Everyone above is in at start positions. All ‘setup locations’ , the lines seen in the first image must be covered by a ZOC or a unit. I’m assuming that this does not also mean the 16th and 17th. That would seem odd. Also I am unclear just where and how best to use ‘Army level assets’ I’m allowing long range arty to be ‘off the line’ as well as HQ’s. with in reason. My hope is I will play both sides ‘ Army boundaries’ and keep divisions cohesion together as much as possible.
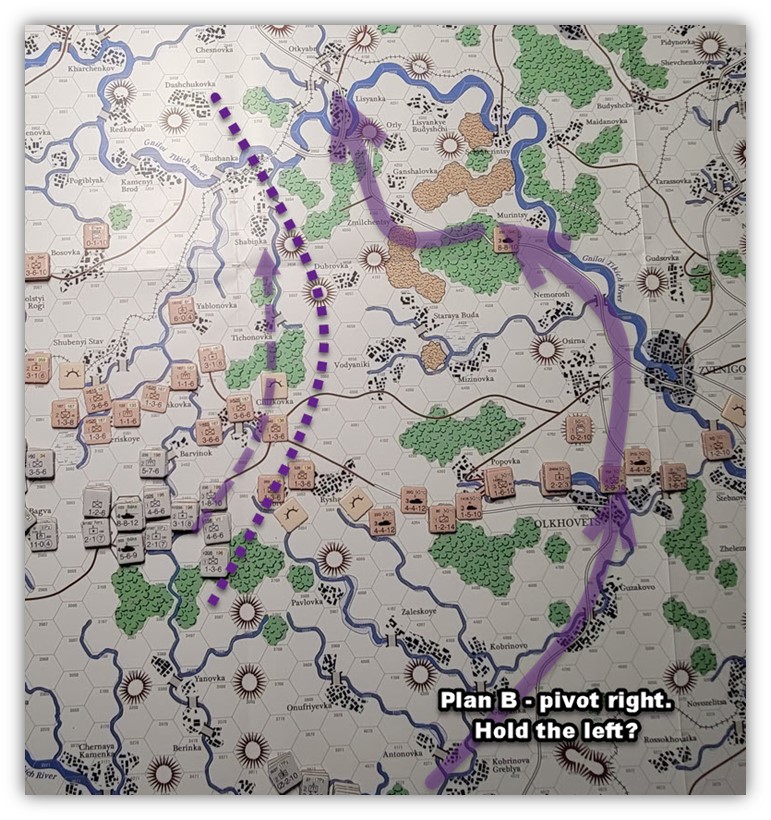
With that in mind here we go: 34th Div supported by elements of IIIPz will attack 359th Soviet North West of Shubenyi Stav and 167th in and around Chemeriskoye [3161]
Note there are special rules in effect to model the Soviet slow response and likely command and control challenges. Divisions or mobile corps may not move unless attacked. The turn after a neighbouring units is forced to break contact with the flank they are free to move. Feb 6th AM every one is free to move.
196th Div supported by Bake,158th and Renz with ample Arty and rocket support will attack 167th also seeking to create a breakthrough gap for what is expect to be frozen weather in the coming turn, which will alleviate the mud!
16th Pzr will advance to Bagva area ready to exploit any openings or pivot and head towards Roskoshvka and attack the seam between 58th and 359th.
Meanwhile 17th Pzr will aim to attack into Rysha by turn 2.
When 1st Panzer and 1st SS arrive, their job will be to race to exploit any openings or draw in reinforcements via 2nd assault line.
The objective, is to clear a line 3-5 miles wide to the North from Roskoshevka, Tolstyi Rogi, Bosovka to the Gniloi Tikich River [ henceforth the Tikich R.] While on the south side run from Bagva, Yablonovka to the river and lay down pontoons or capture a bridge intact in between Redkodub and Lisyanka. This presents us with 5 potential bridges to capture, and some hexes to lay pontoons as needed etc.
Engineers will need to plan carefully to ensure a road extension exists and is in place somewhere between Bosovka and Bagva to enable a supply conduit.
The Germans will need to monitor the flanks and bridgehead once Russian reinforcement arrives.
Failing this, the only other viable option I see is driving East and breaking through around or near 167th-136th and wiping out the 5GTC and clearing the primary road that runs from Olkhovets to Lisyanka.
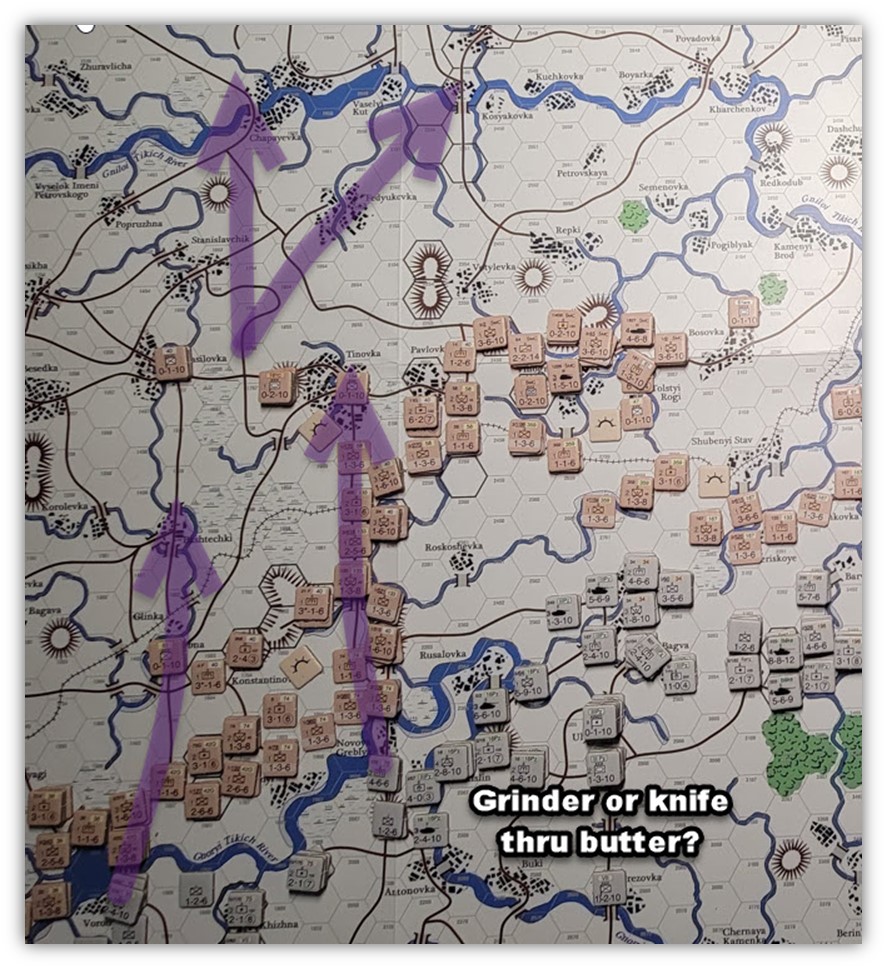
The designer appears to believe and is probably right [since WTH would I know, I’ve never played!] that the Germans are able to cut thru the Soviet right flank easily, penetrate to Glinka [maybe] then head North for a crossing somewhere near Chapayevka? Or pivot and run to Kosyakovka. That looks like a slog, even with the retreat heavy CRT.
If I can get a 2nd play in we will see about that specifically.
One thought on “Korsun Pocket 2 Scenario 4 Game Plan/1”
Comments are closed.