Turn 7:
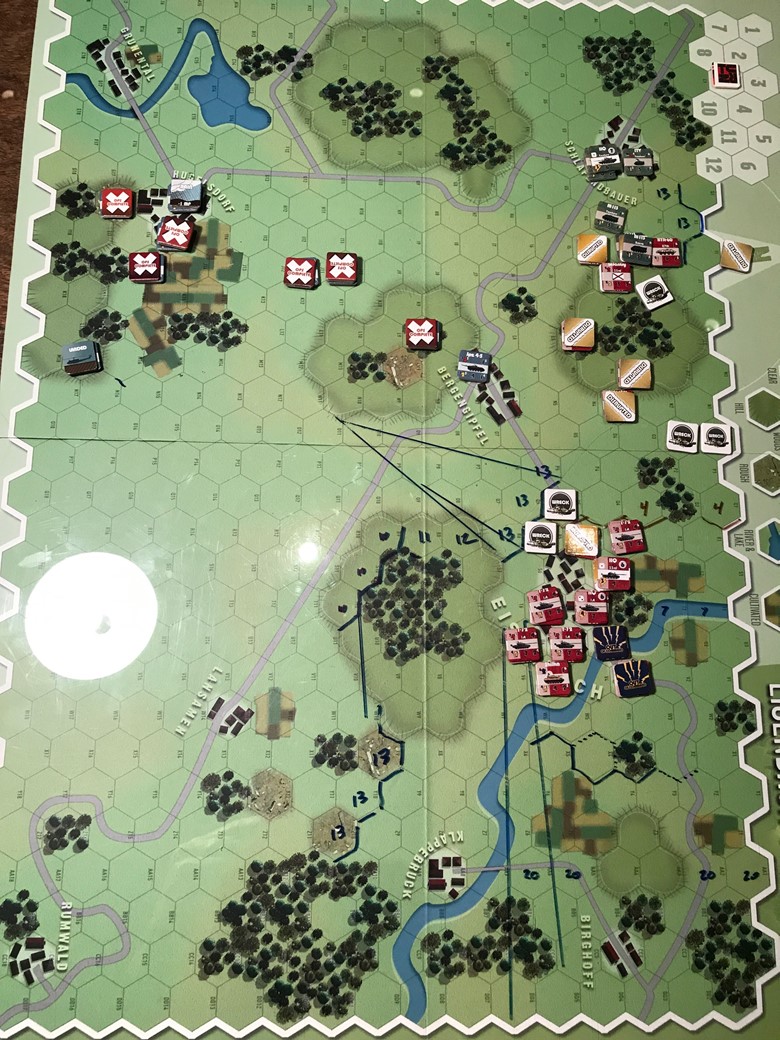
End of Turn 7. 33rd Mot clears the hill, opens the path to Schlafenbauer. US infantry holds position long enough to down the last Hinds before being overrun. Command releases 1st Tank at end of turn for the final assault.
Turn 8:
End of Turn 8.
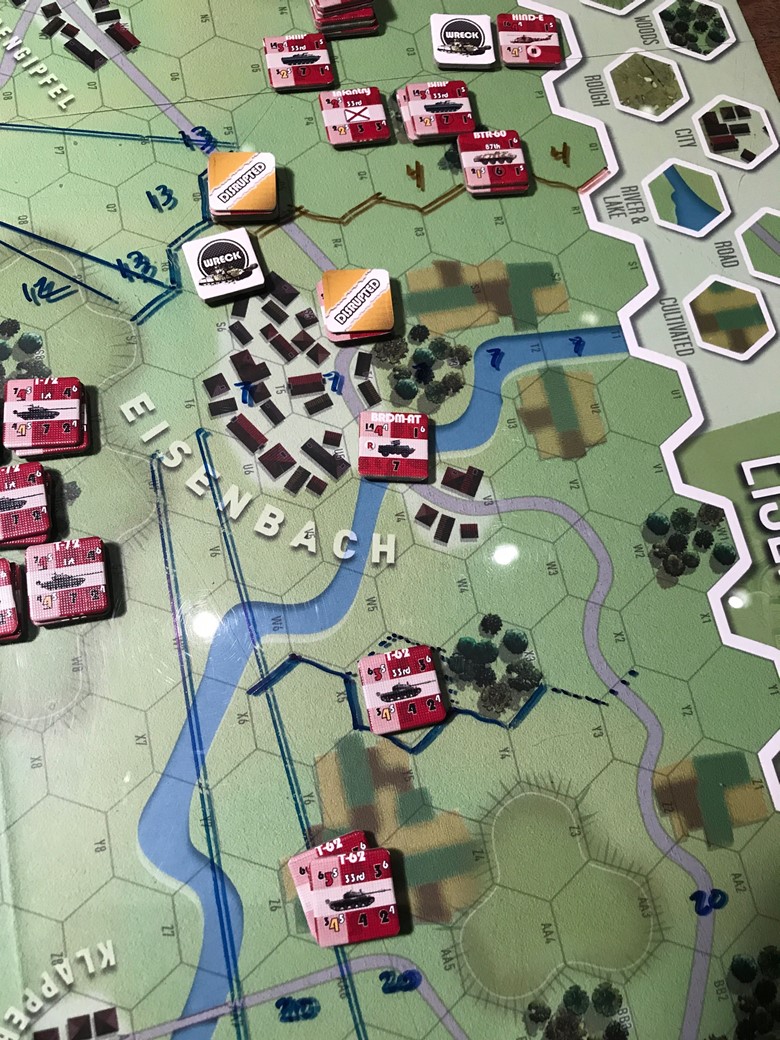
33rd Mot ceases to exist as a fighting force. 1st Tank and GDR did not activate.
Team Yankee tracks conducted an assault. Probably should have been an overrun.
Seems like 1st Tank should have been in much closer echelon.
Note the stack of dead units this turn.
Turn 9:
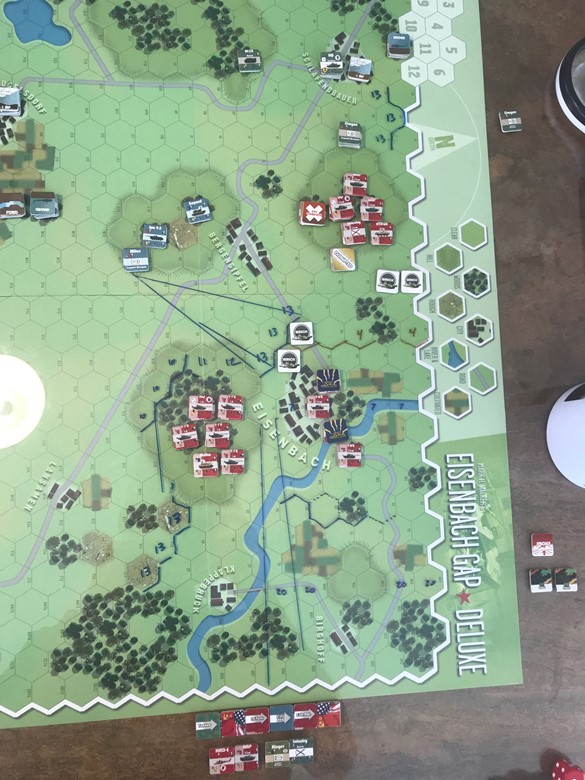
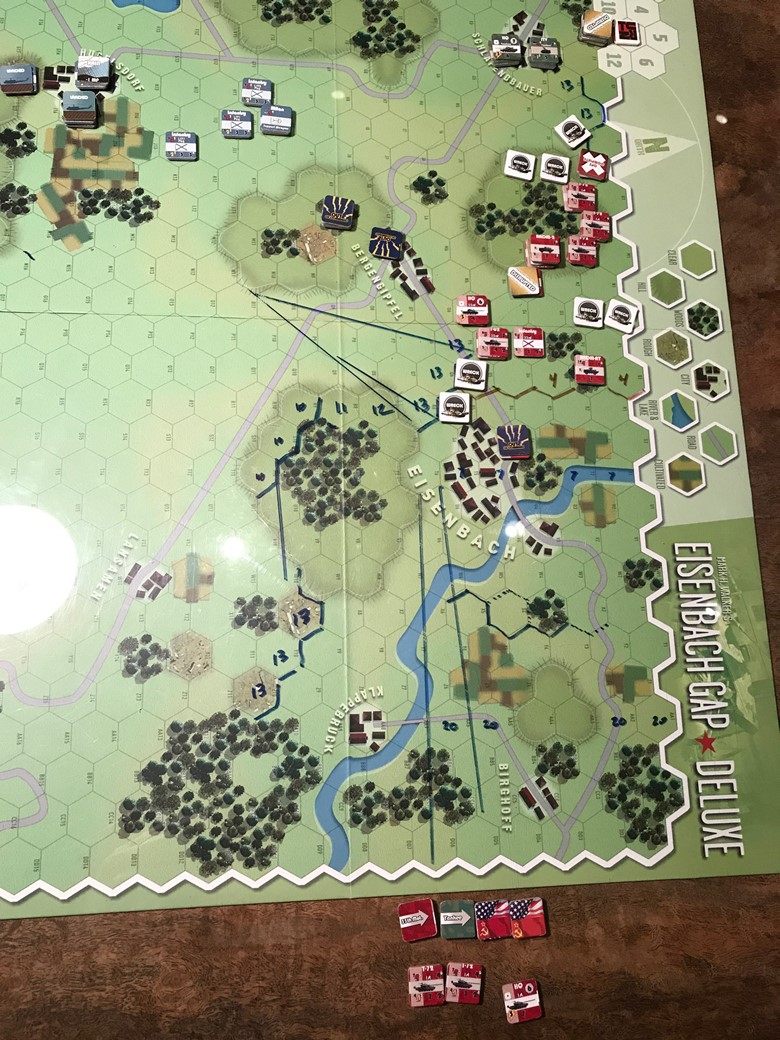
End of Turn 9.
Russians have a problem: another super short turn.
Turn 10:

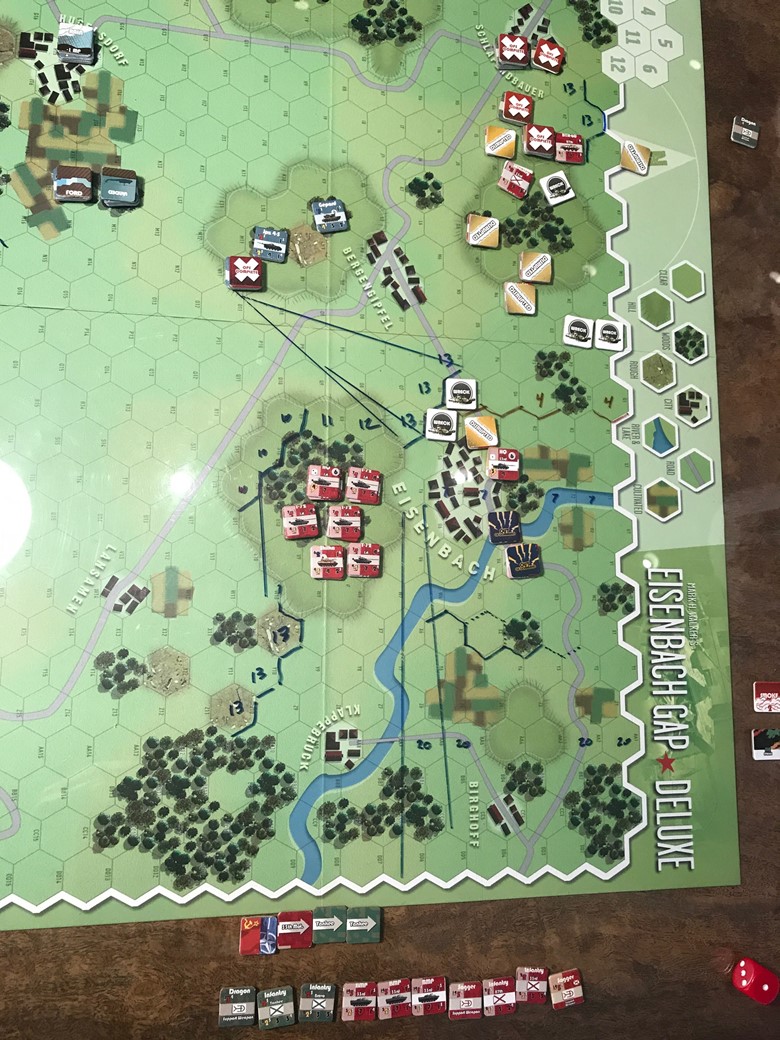
End of Turn 10.
Everybody activated. 1st Tank in position. 1/171st tight on SOV flank. Time is running out.
Turn 11:
End of Turn 11.
1st Tank got beat up, losing its commander and two T-72 companies quickly. Soviet operation tempo continues to be awful.
Last turn coming up. I don’t see 1st Tank winning thru. They needed to be closer on the heels of 33rd Mot
Turn 12:
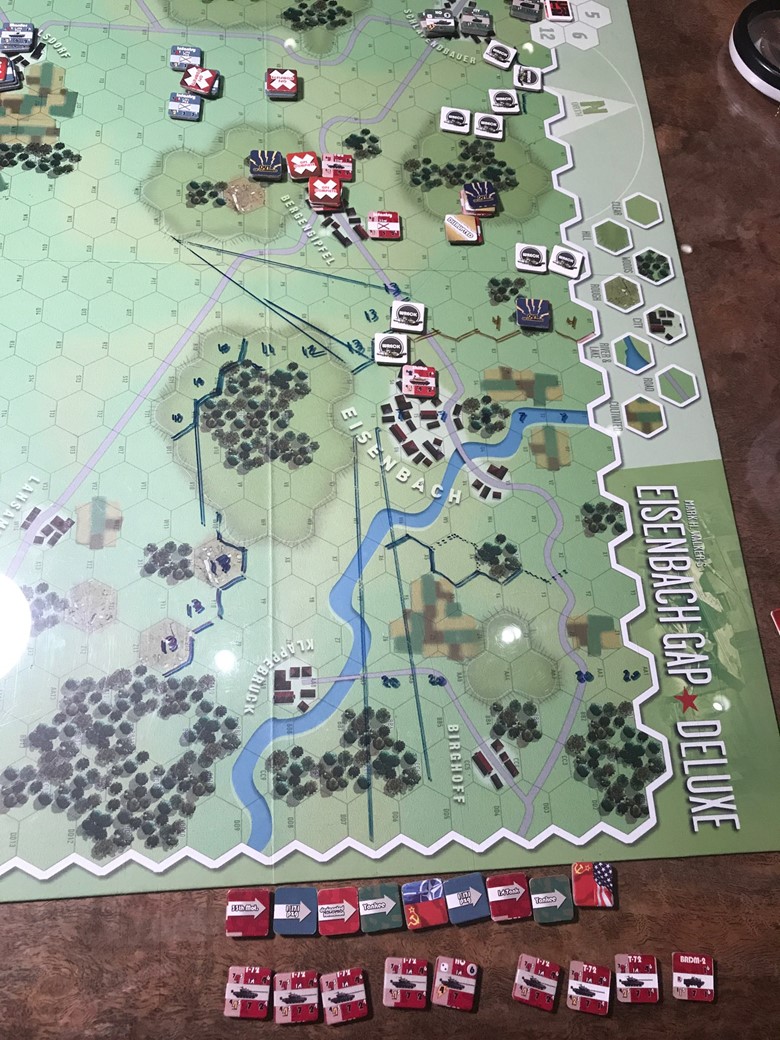
End of Turn 12 / End of Game:
NATO holds the Eisenbach Gap with her last brave reserves. Team Yankee’s CO gave his life and its infantry was mauled but both defending regiments remain combat effective. Other than an obsolete T-62 regiment, the attacking force utterly ceased to exist.
It was indeed a fight to the death
Conclusions:
I made a few serious mistakes. I used the Hinds very poorly. 1st Tank was too far behind the leading elements. And the 33rd Mot T-62 regiment got left behind.
All of these mistakes were caused by the interdiction of the battlefield by the very long ranged ATGMs particularly. Through their LOSs, they created lanes of advance that channeled the SOV forces.
I also didn’t use the arty particularly well. That smoke at key times/places could have helped considerably. I mostly forgot it was there after the first few turns – as I tend to do.
Clearly the variable initiative plays a big role. Prolonged fire or skipped activations can ruin operational tempo and or cause massive, unanswered destruction of units.
I am inclined to think this scenario is hard for the SOVs since both two very different Soviet strategies (in two different playthroughs, only the second depicted here) came completely to naught.
What’s tricky is, from the NATO side, I still see the SOV OOB as terribly frightening, overwhelming. If there is a way to deploy the superior WP numbers effectively, it can get very bad, very fast for NATO. Neither playthrough found the key to that lock for this scenario.
If I had the energy (and maybe in the future), I’d play it again. I think my SOV strategy was sound. I would tweak the implementation.
Having said that, if this or something like this won’t work, I do not know what would.
Thanks for posting this AAR. It was interesting AND thanks to the Big Board I found out that World at War 85 in love on Kickstarter!
you are welcome!