
An image gallery of the Omhaha Landings on DDay at Normandy 1944
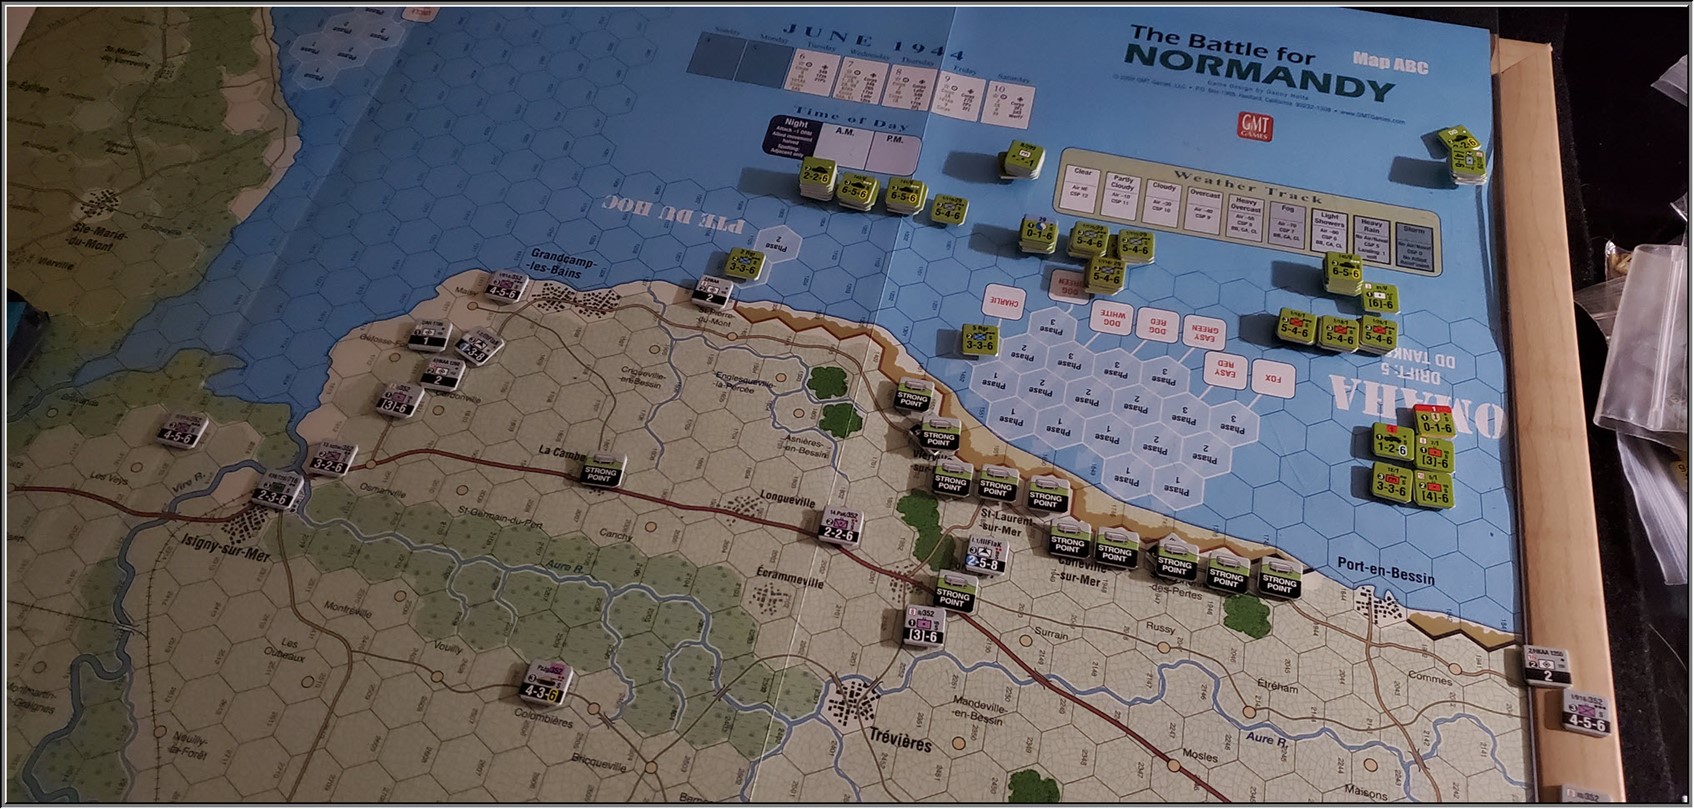
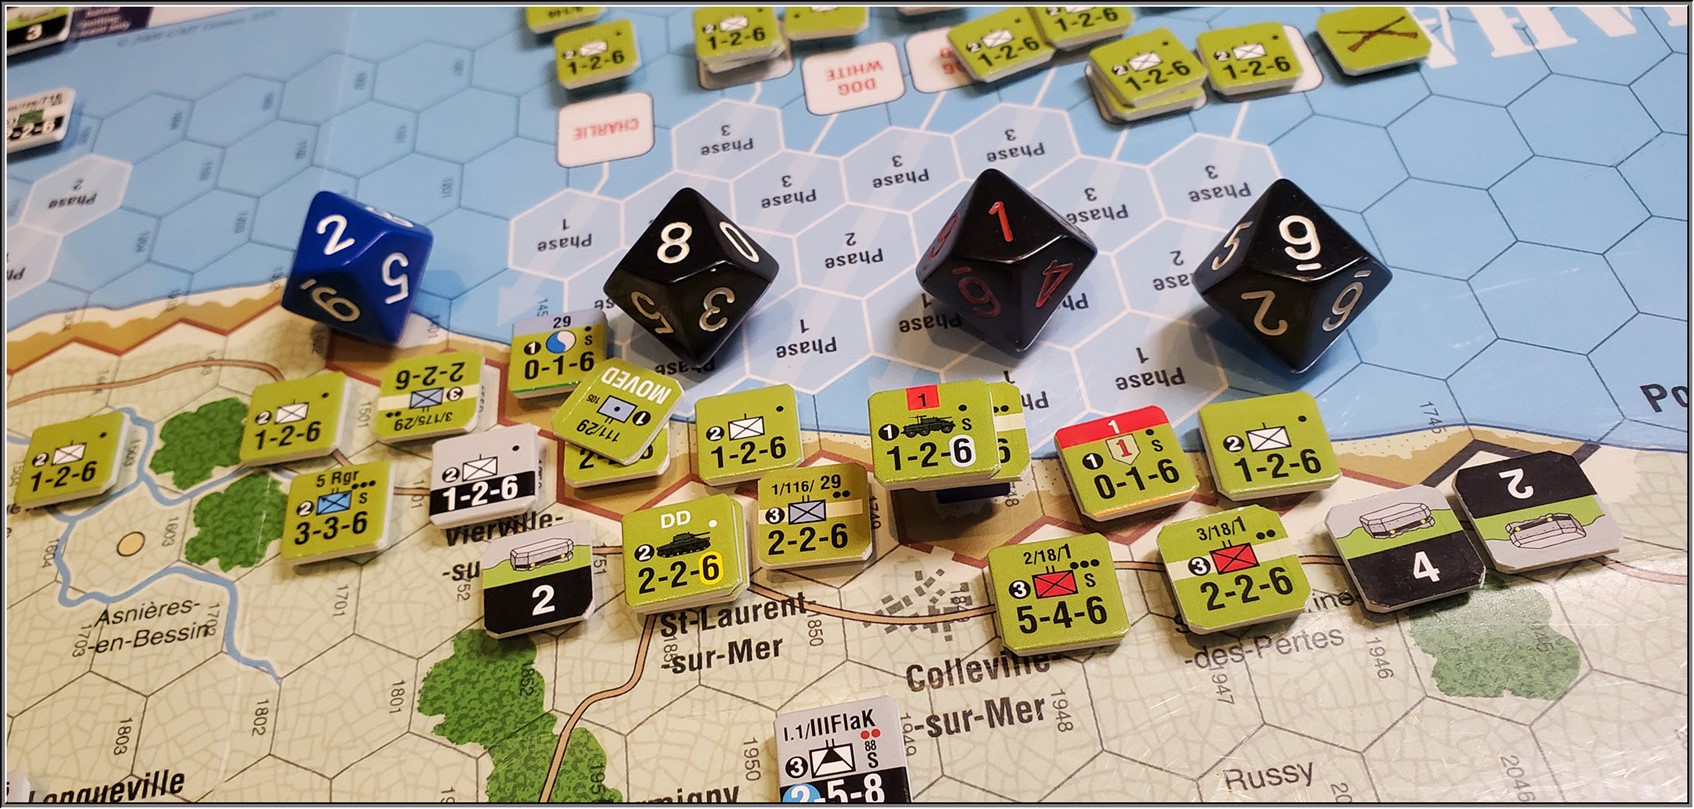
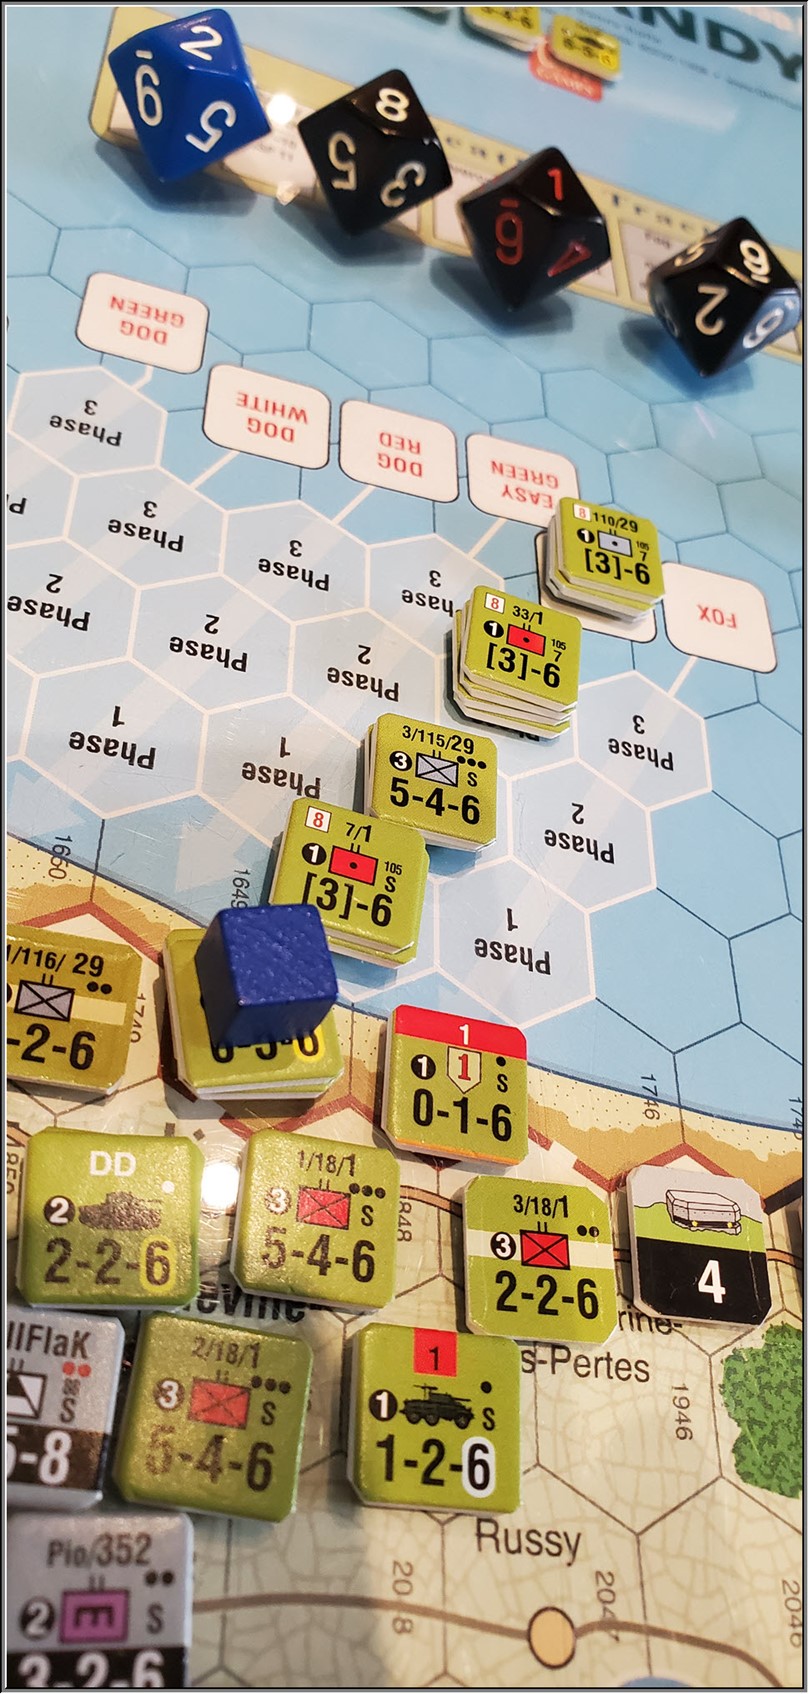
I elected to only take a few DD tanks to shore, give the high likelihood they would sink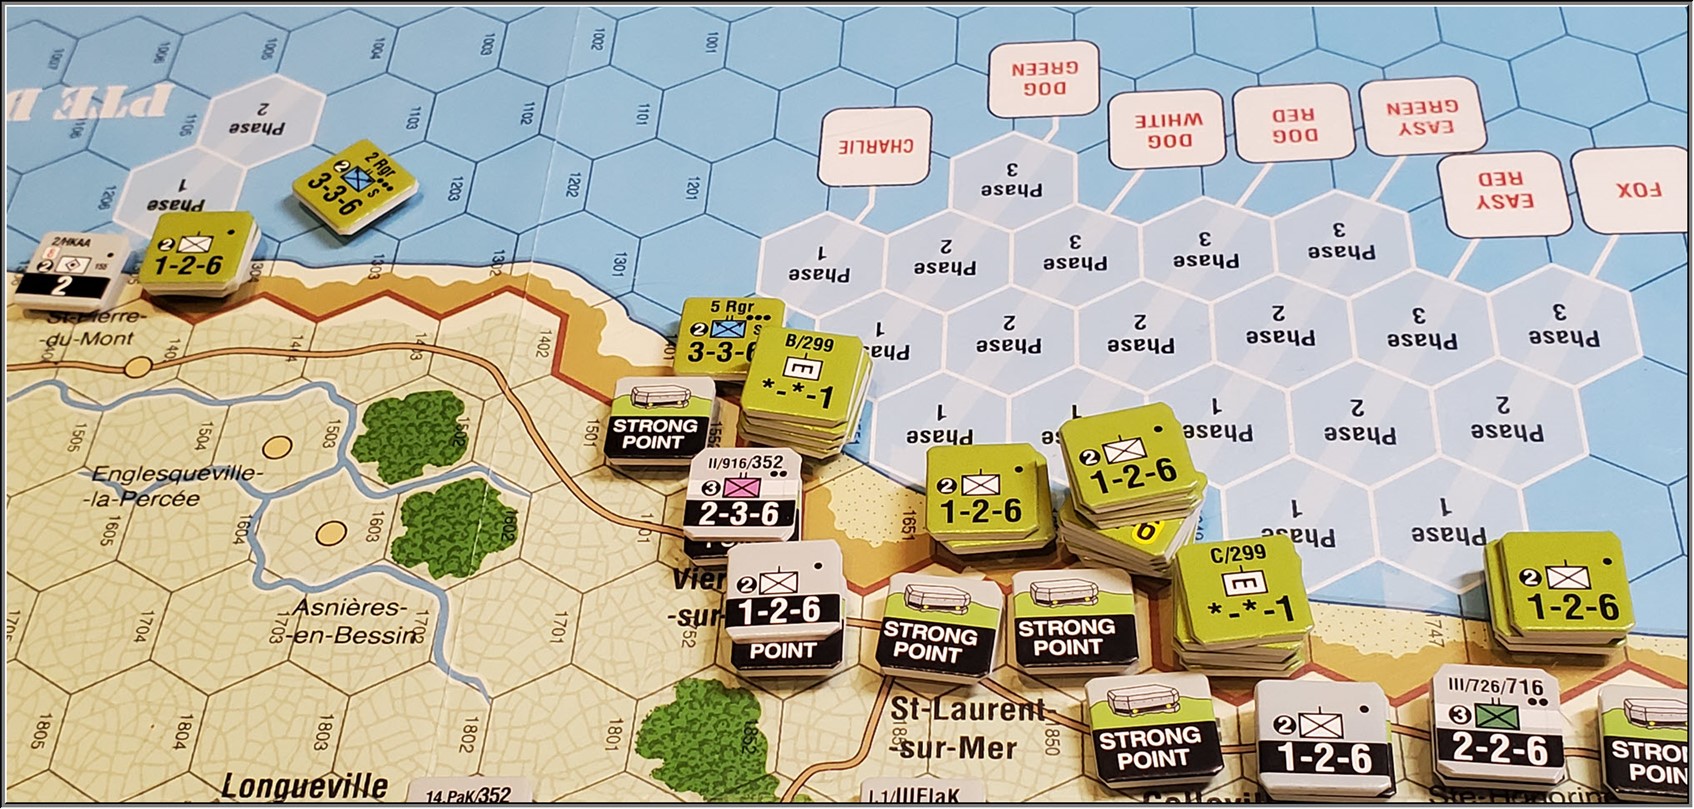
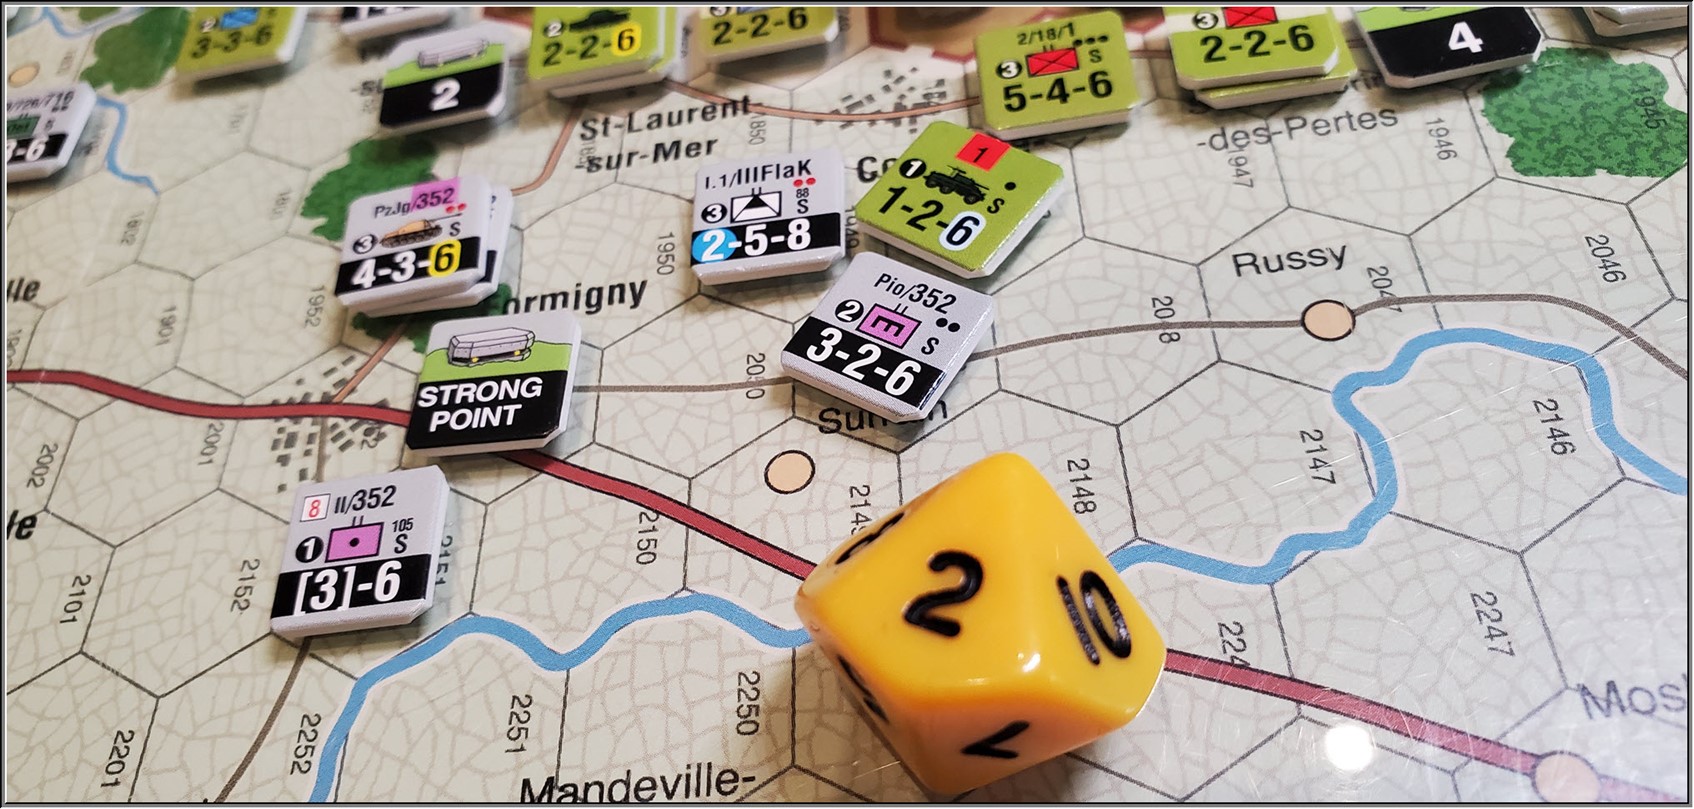
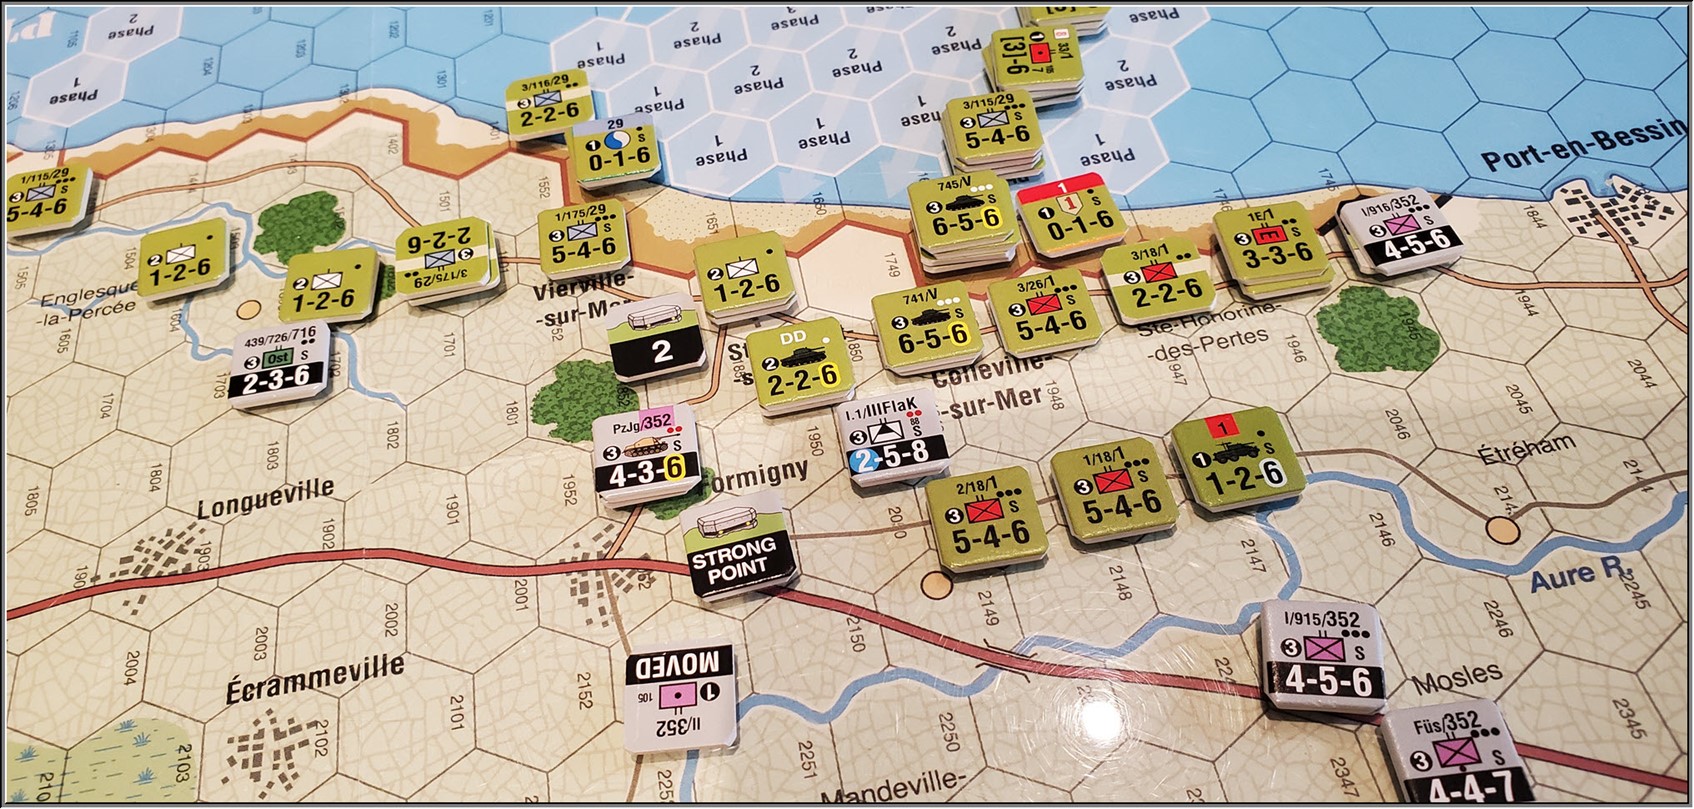
BfN – uses a strong point system to represent forces for the defense of the beaches in addition to the other companies and units that were present.
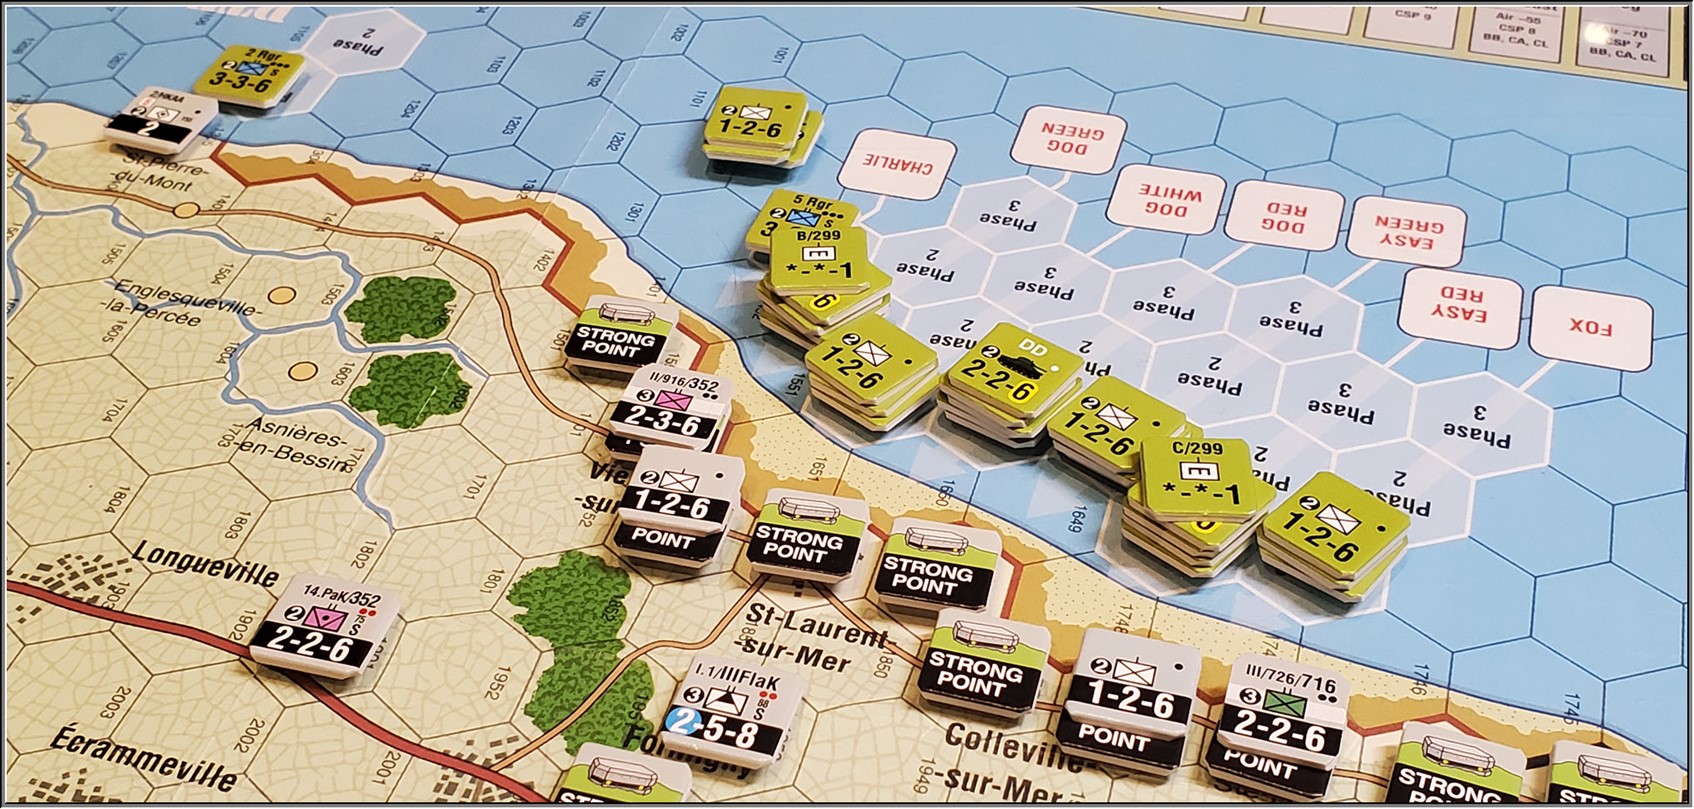
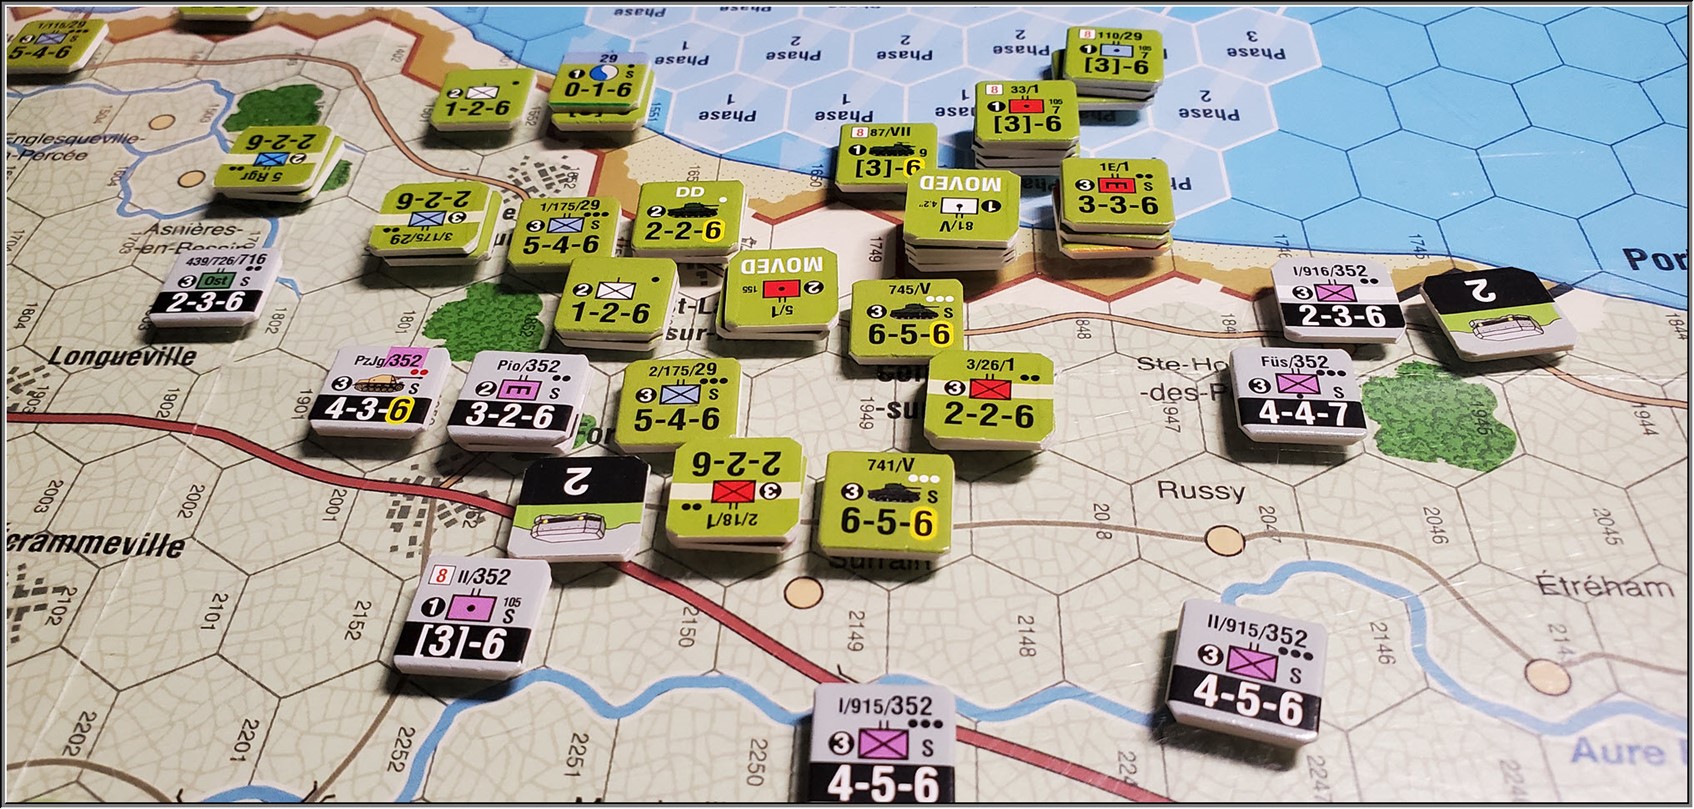
With the help of engineers a single DD tank attachment and some of the men from the 29th and the Big Red 1 they storm ashore!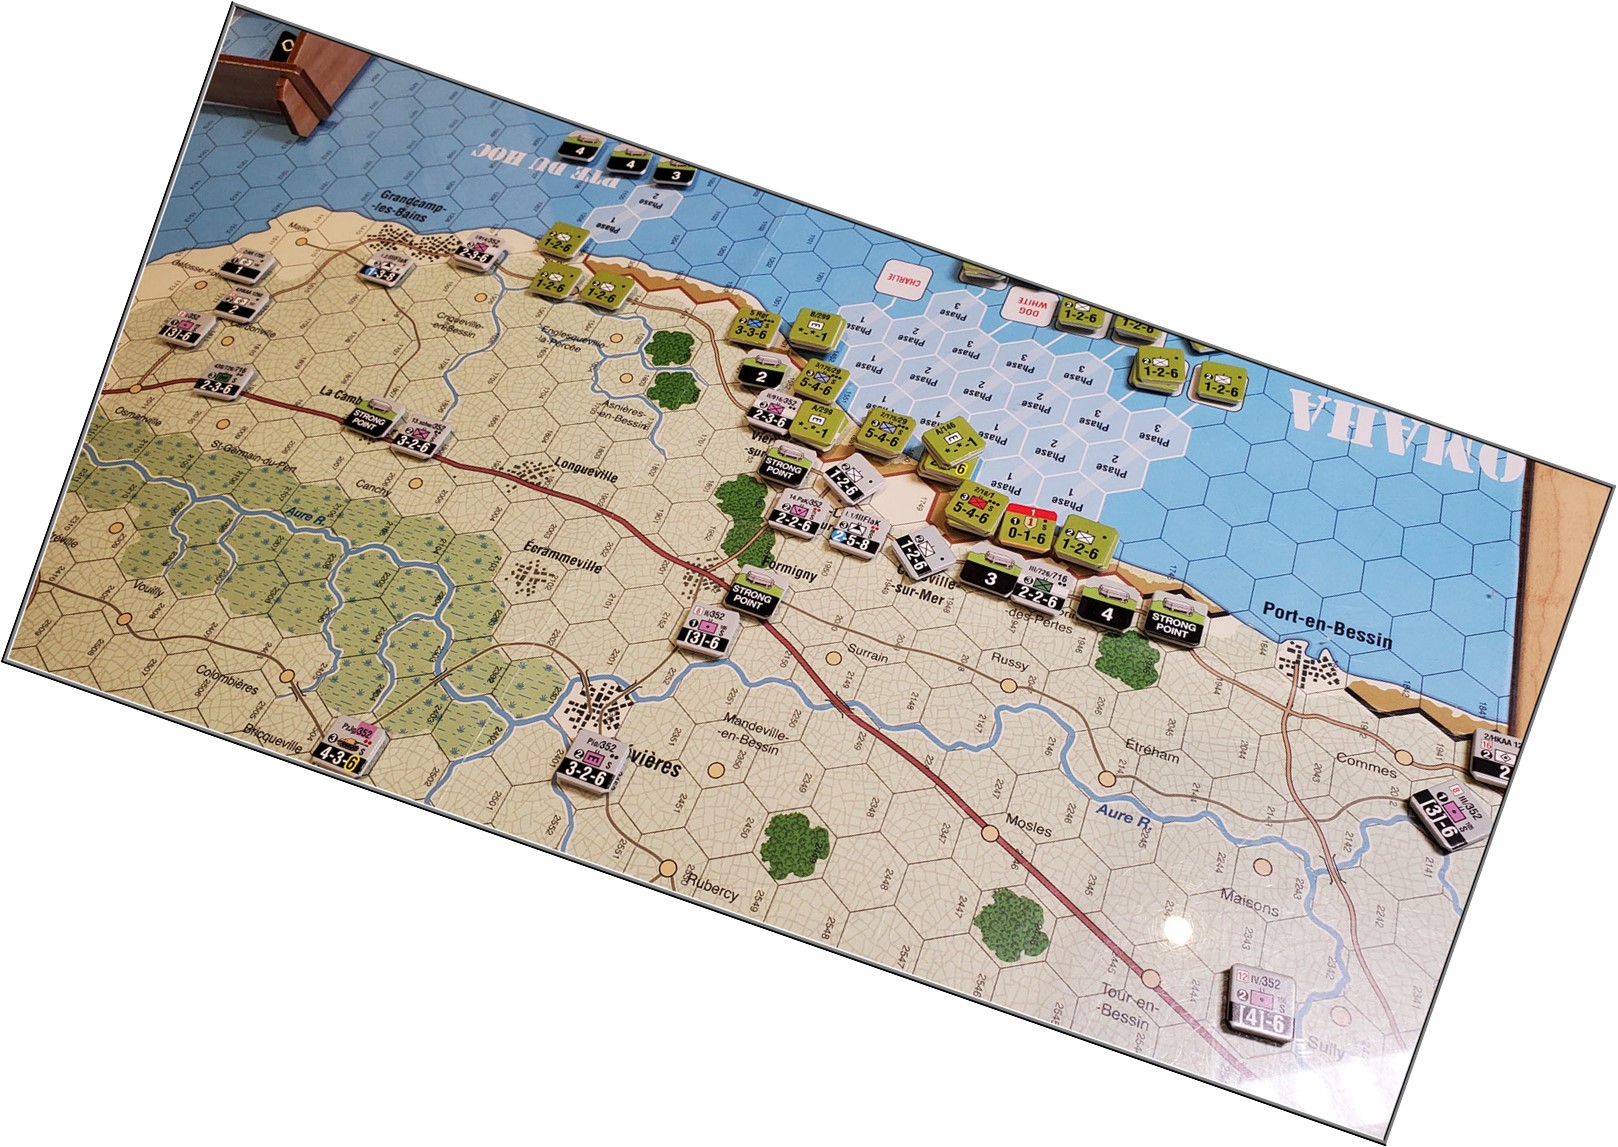
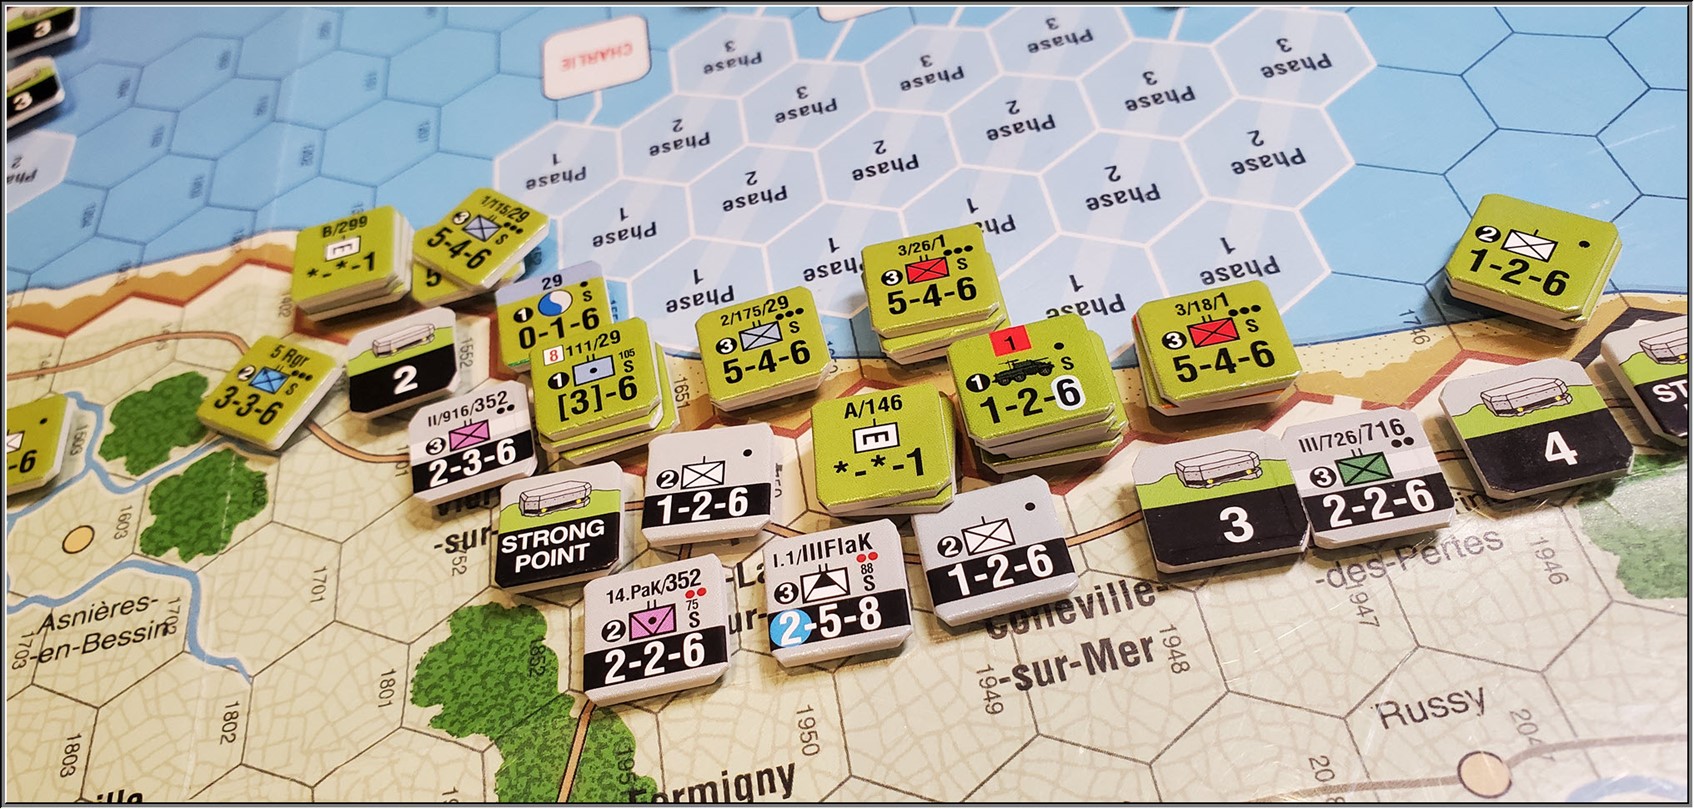
the engineers and men clear one hex and take their first steps off the beach.
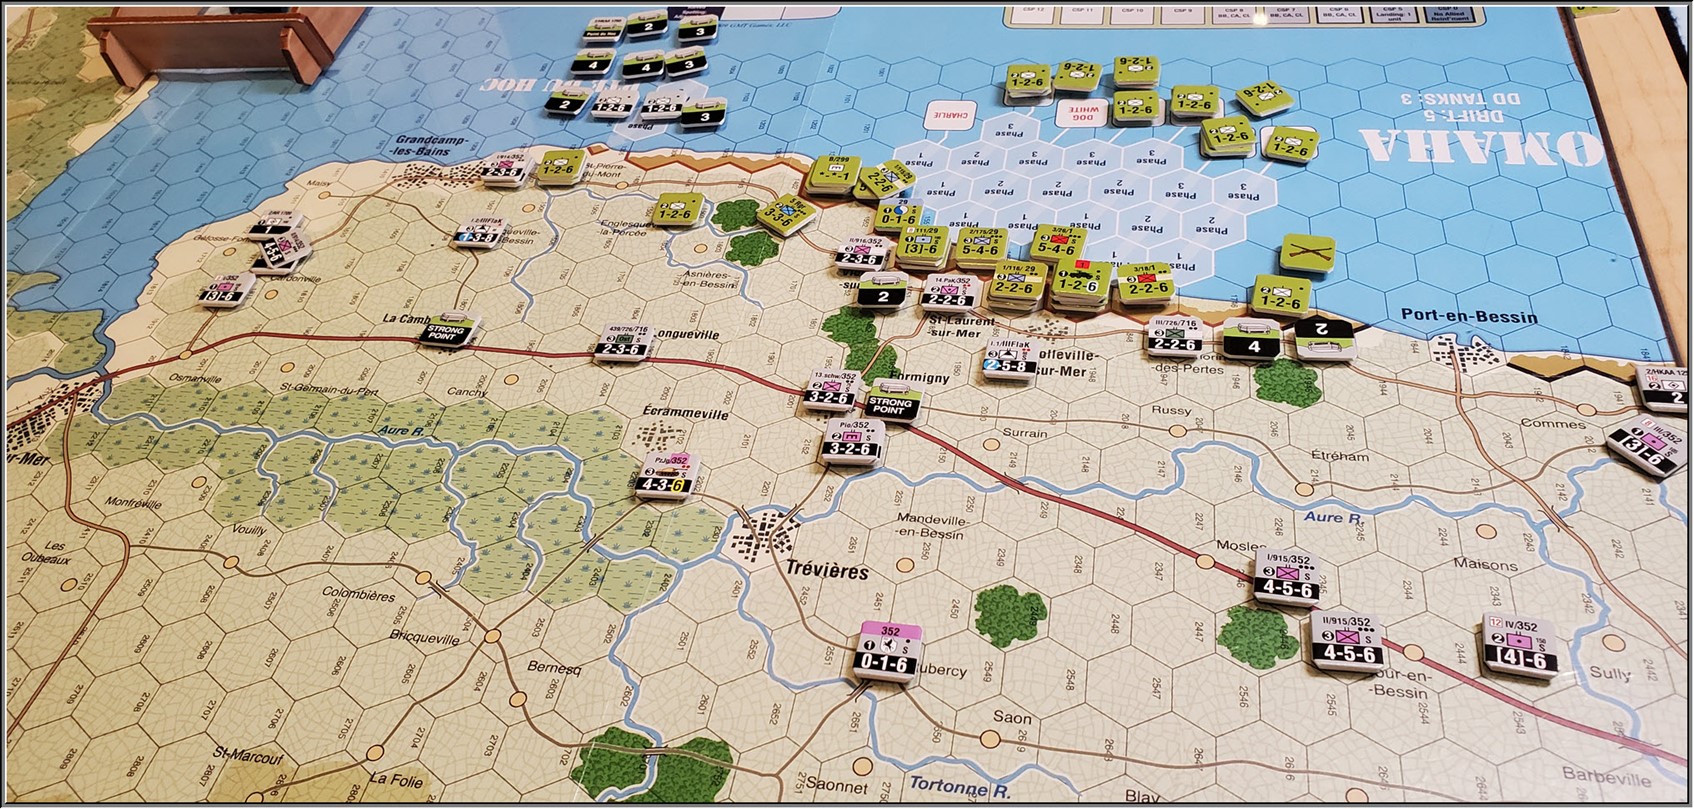
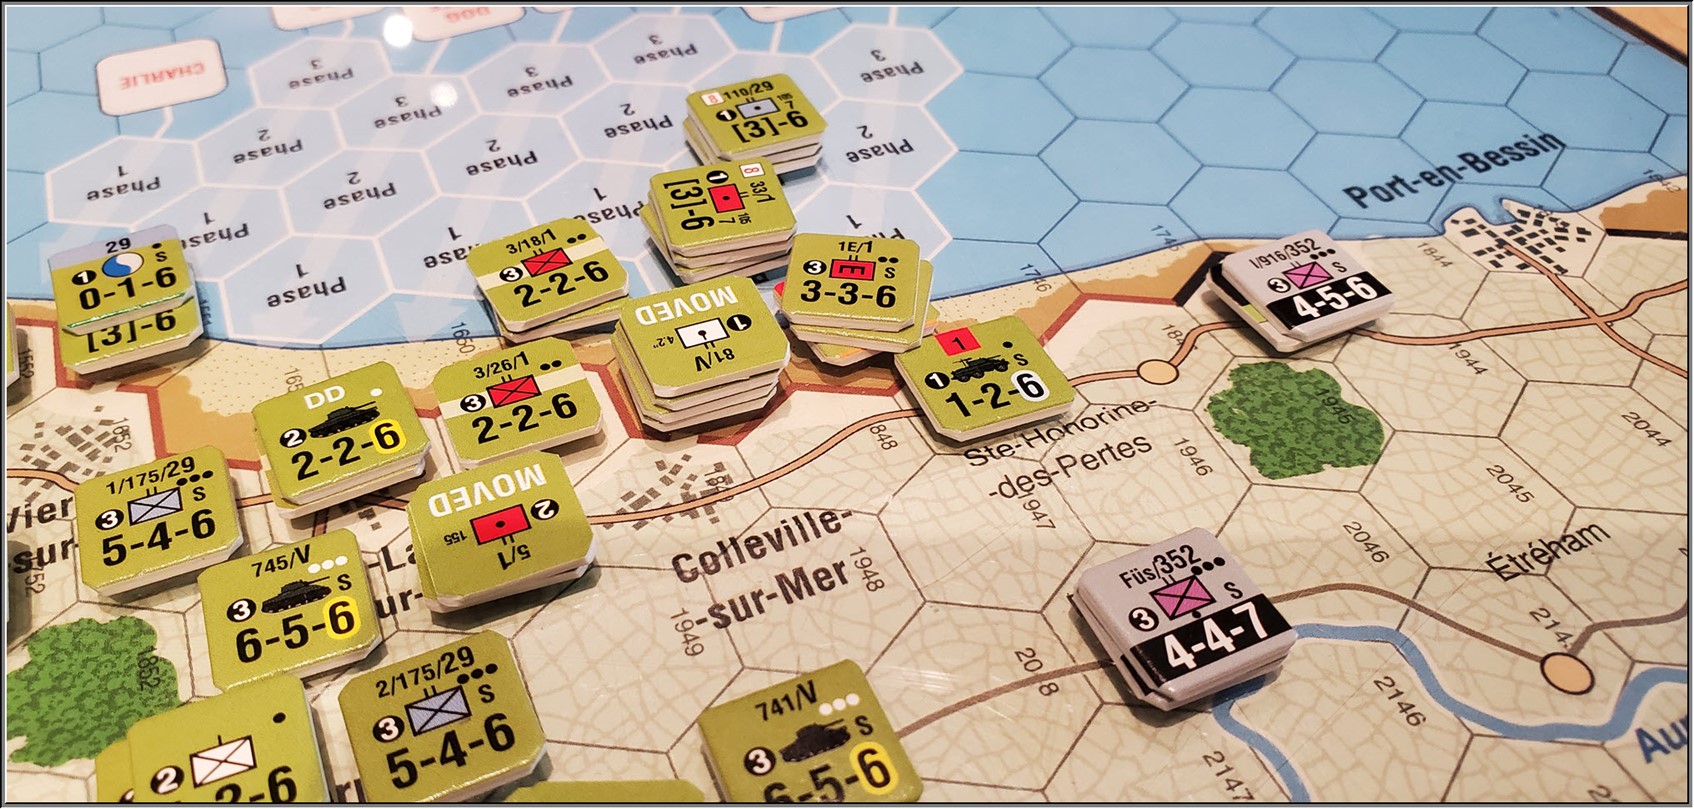
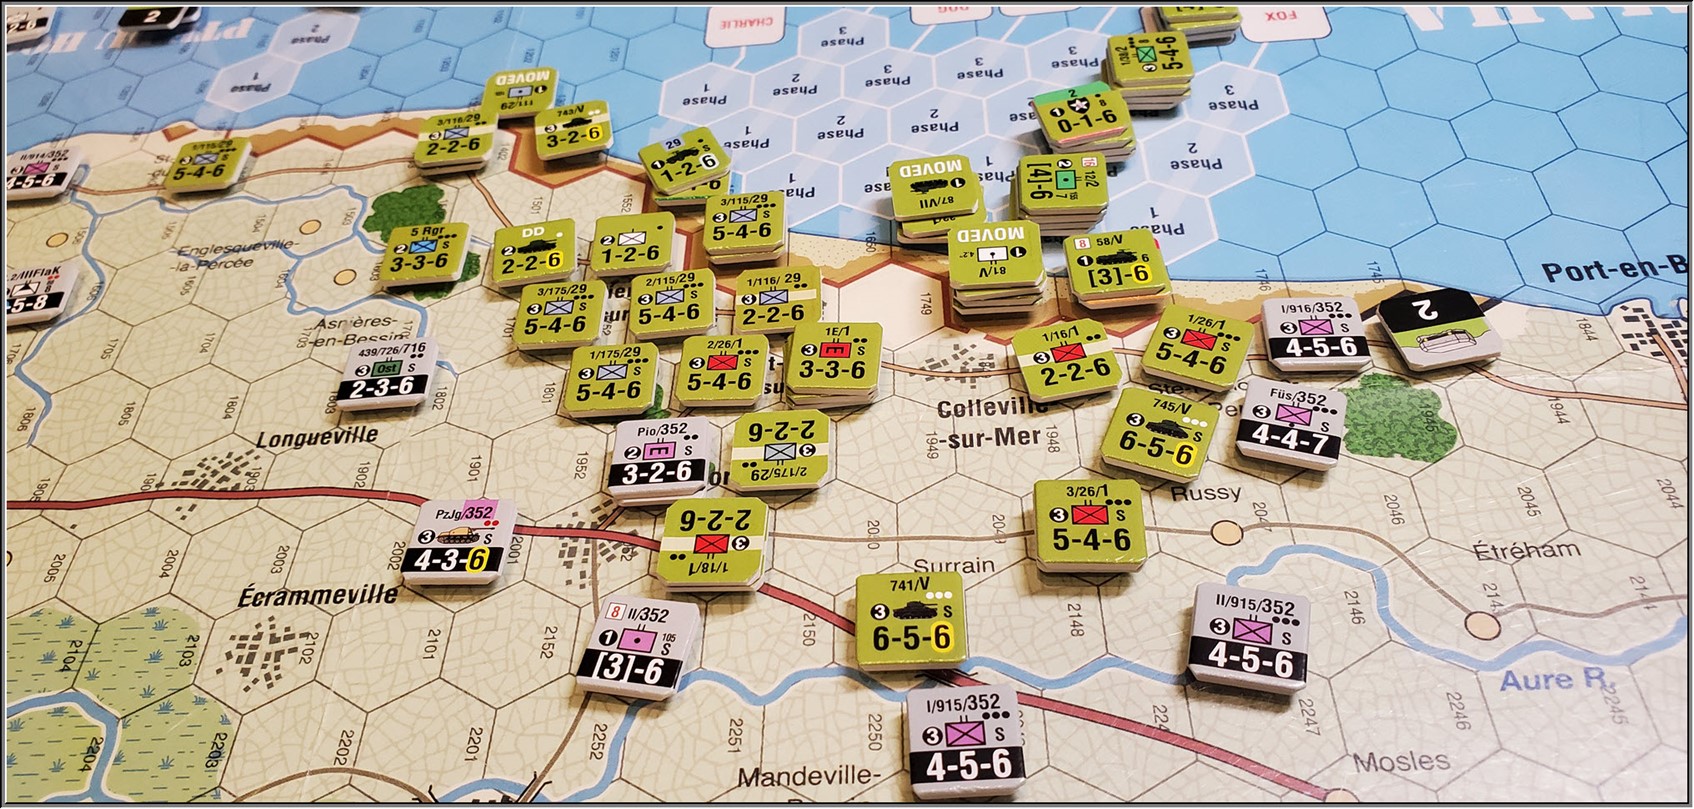
The 29th make excellent progress to the South and the Rangers are up off the cliffs.
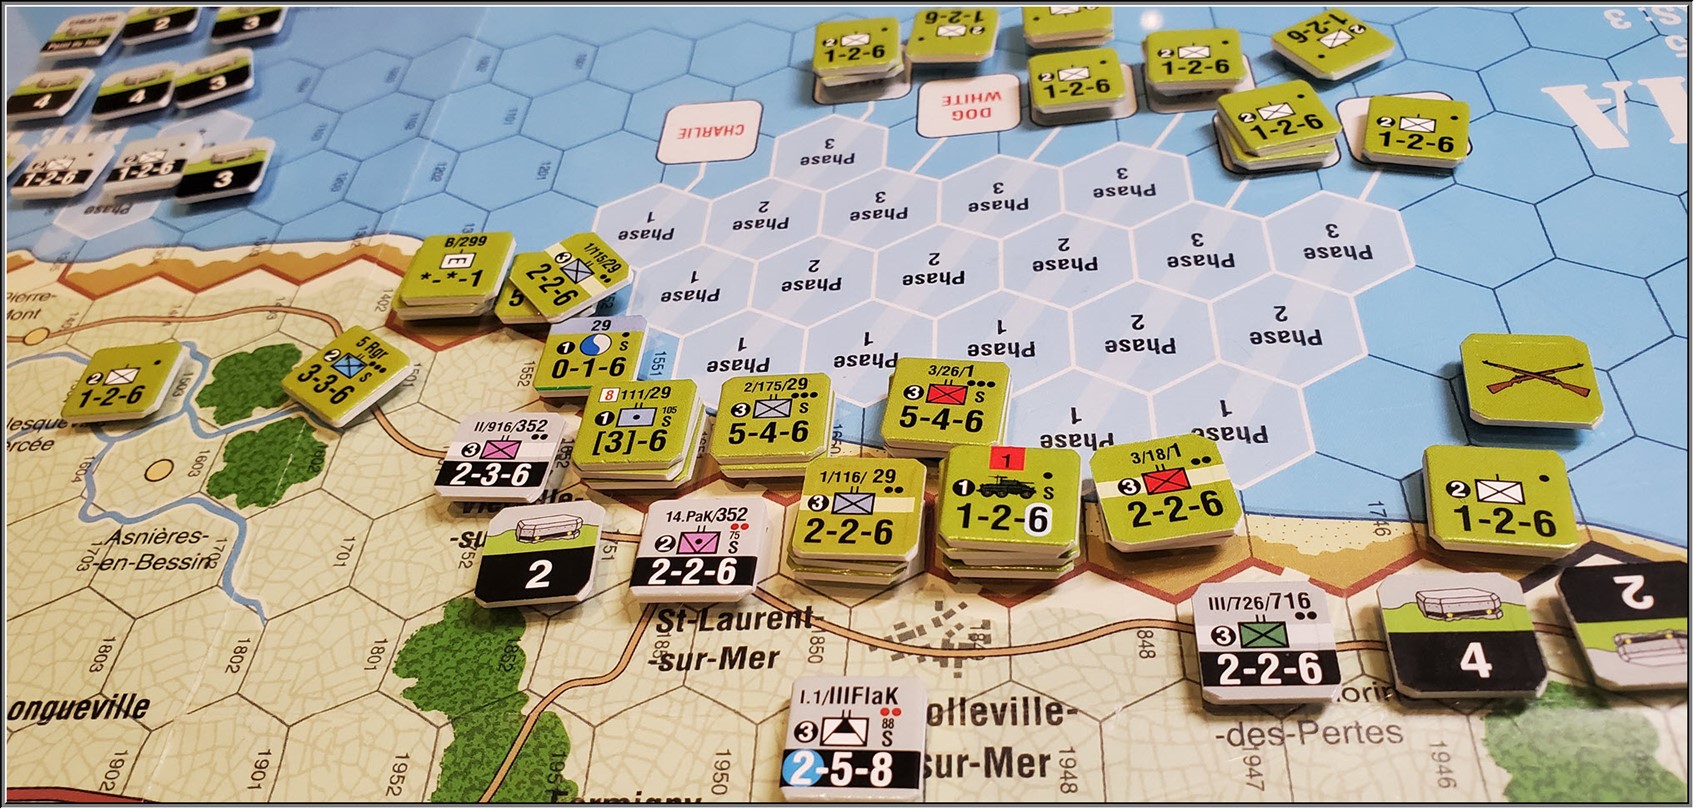

1st Div’s units from 18th Regiment clear teh steep terrain and look to ensure their supply lines by taking Colleville by the Sea.
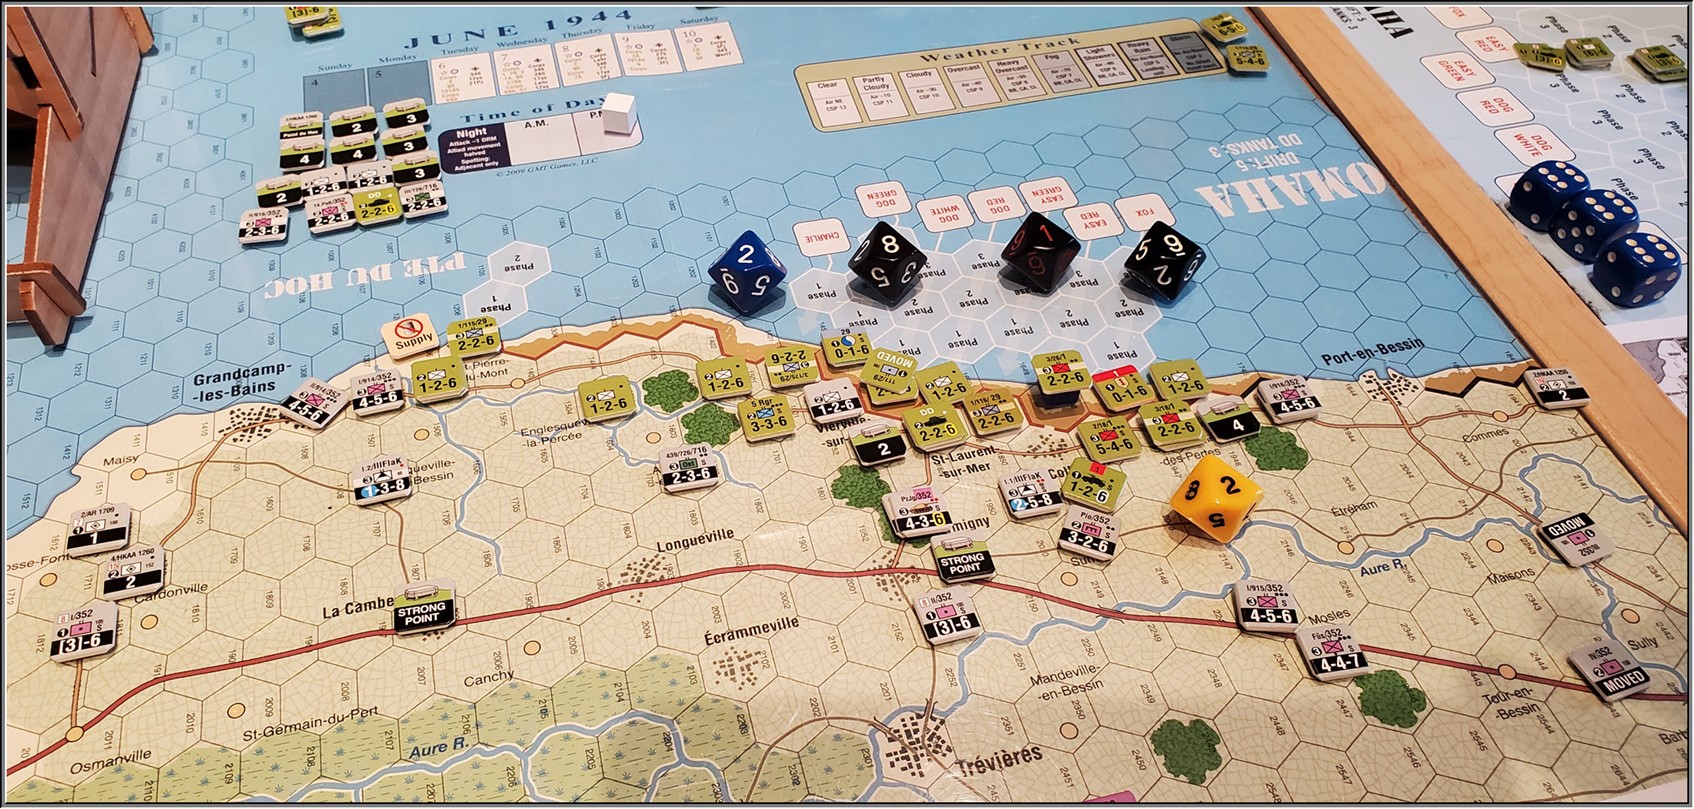
The Scouts hold on grimly!
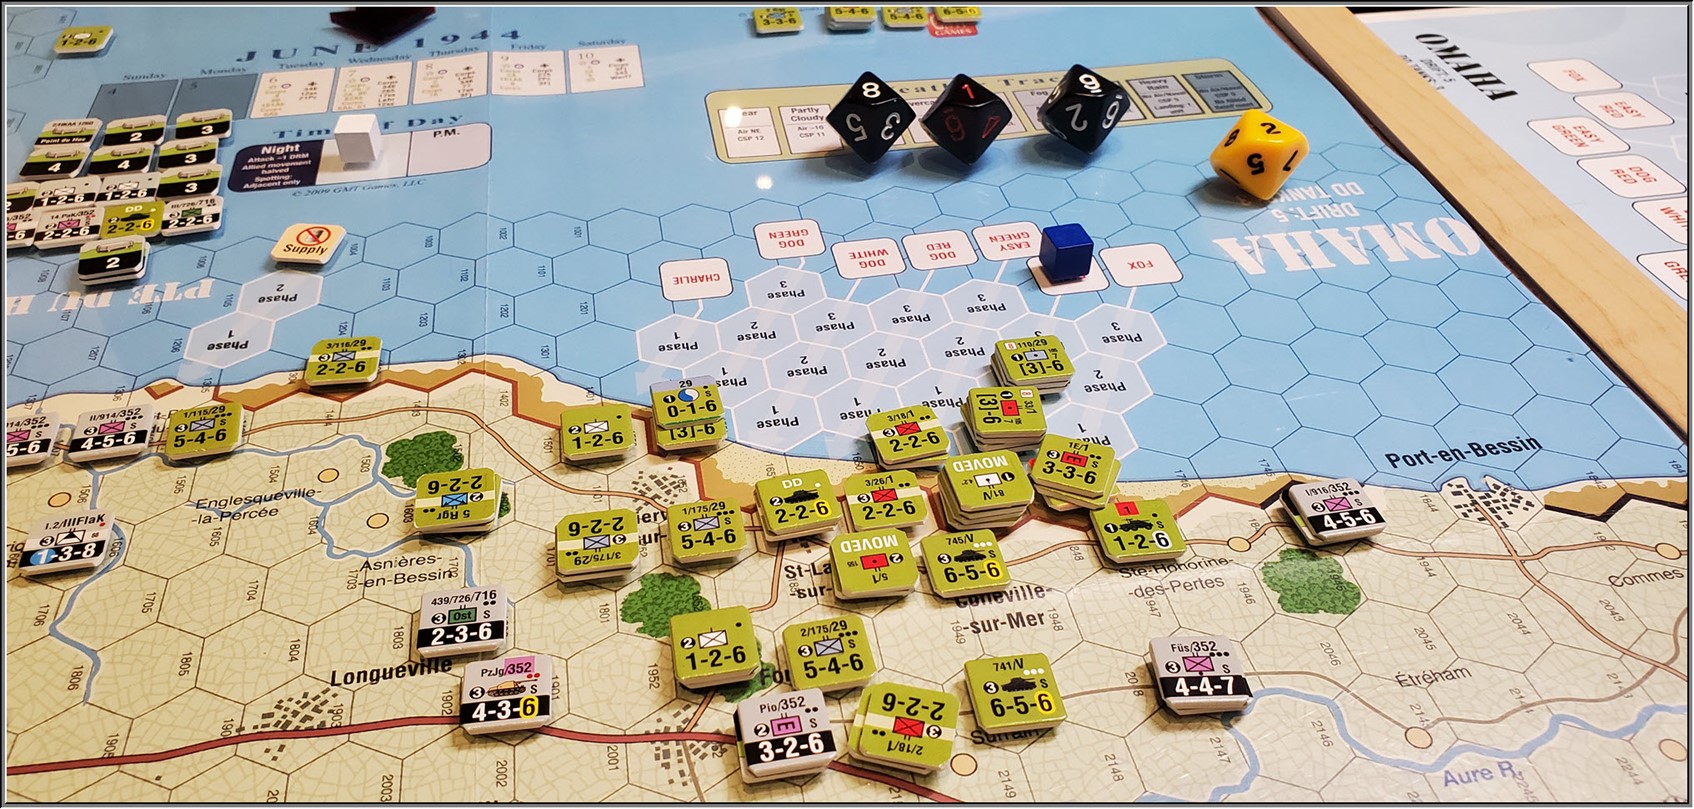
with a beachhead allocated the great unloading begins.
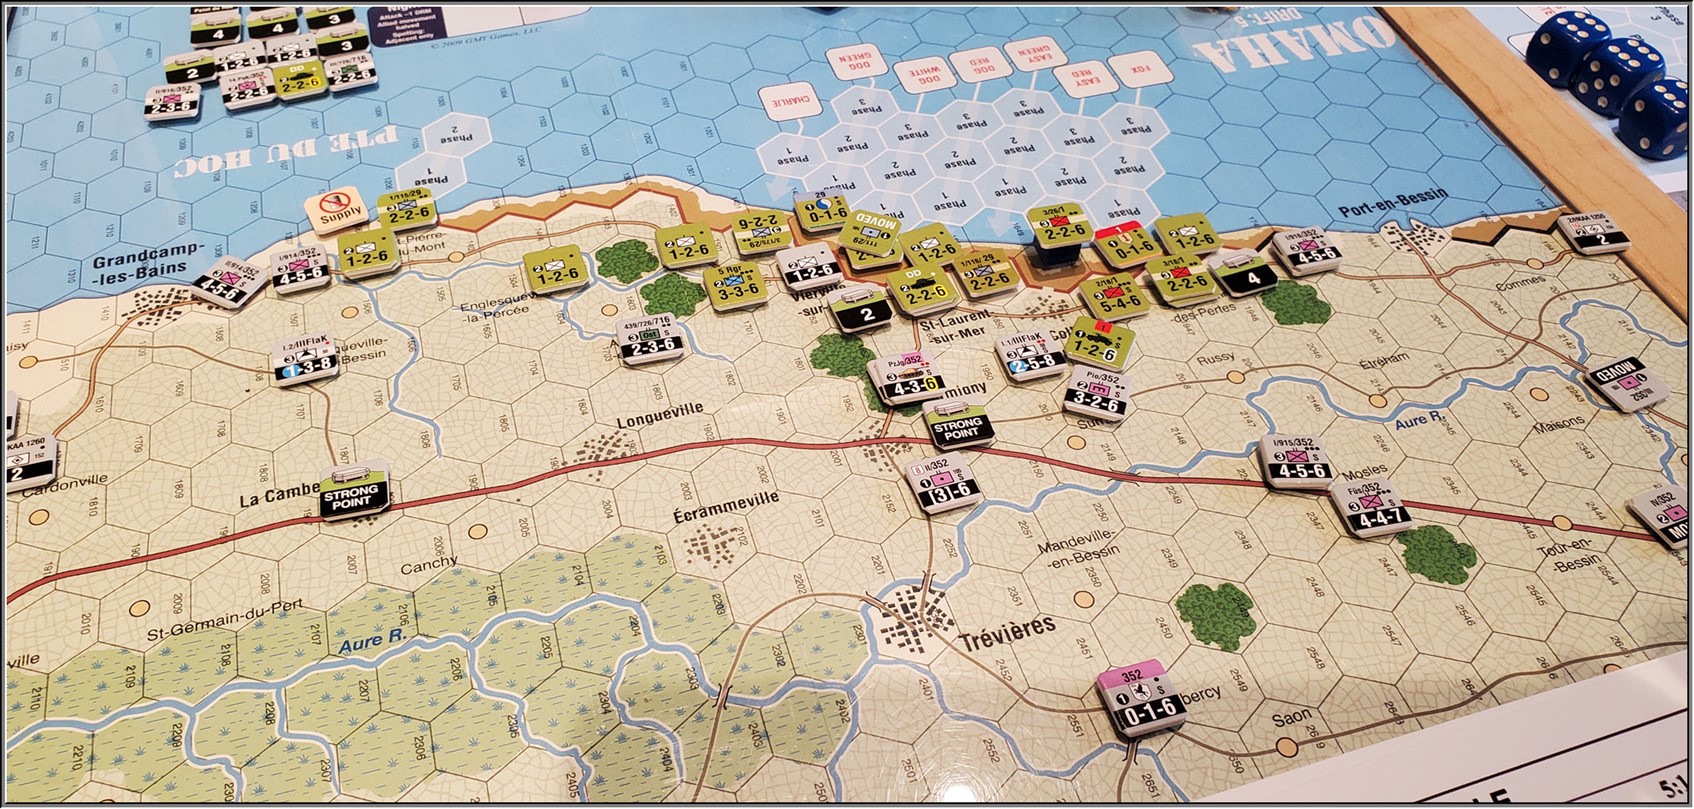
The objectives are a stretch for the US forces. The need to press deep inland on the first 2 days.
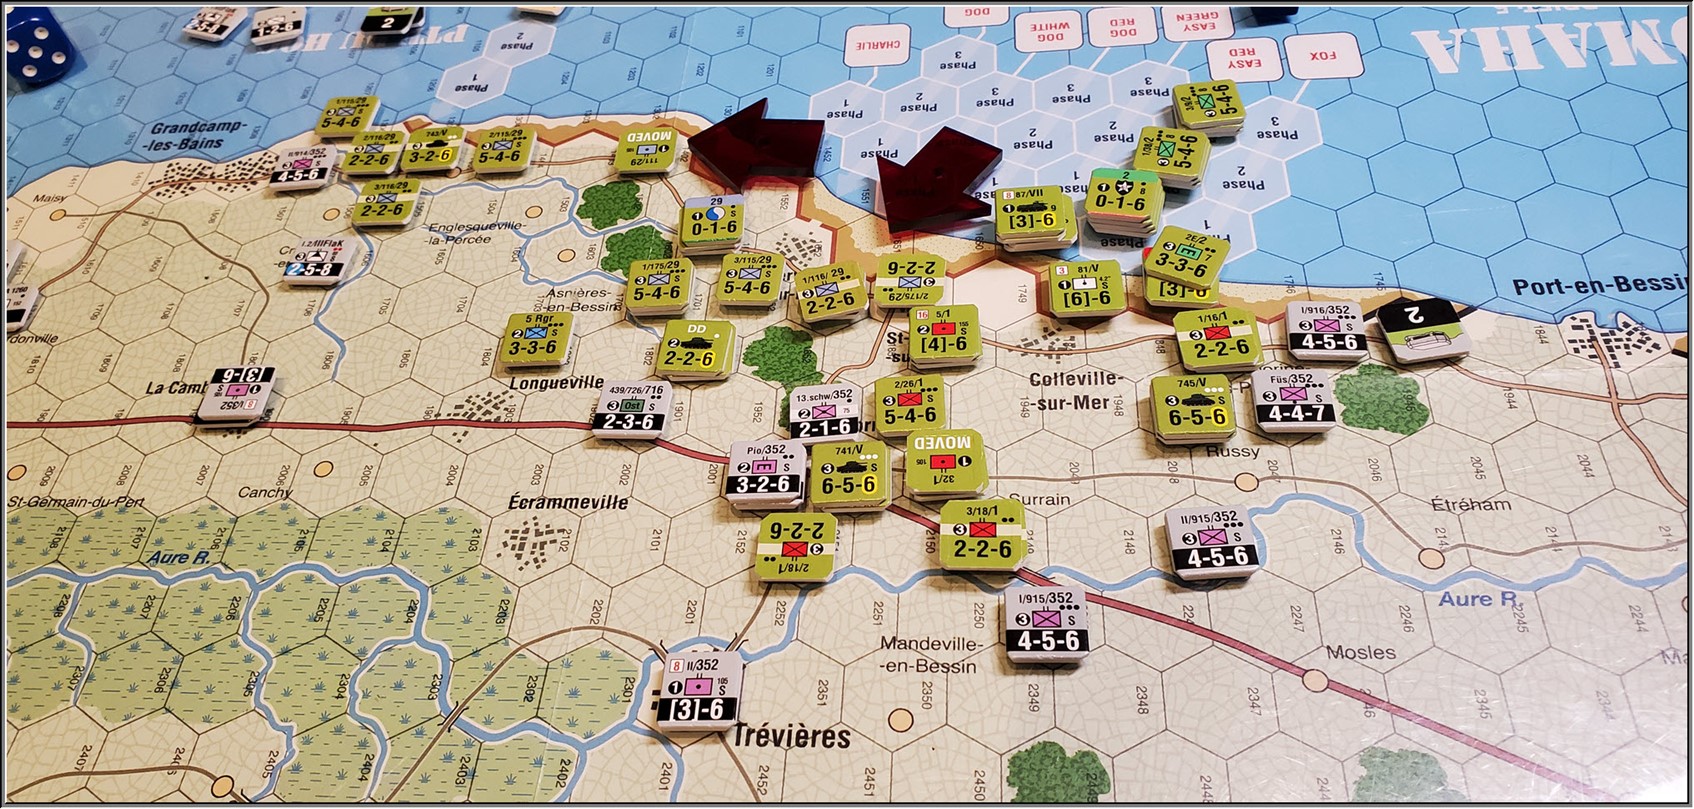
German reinforcement arrives.
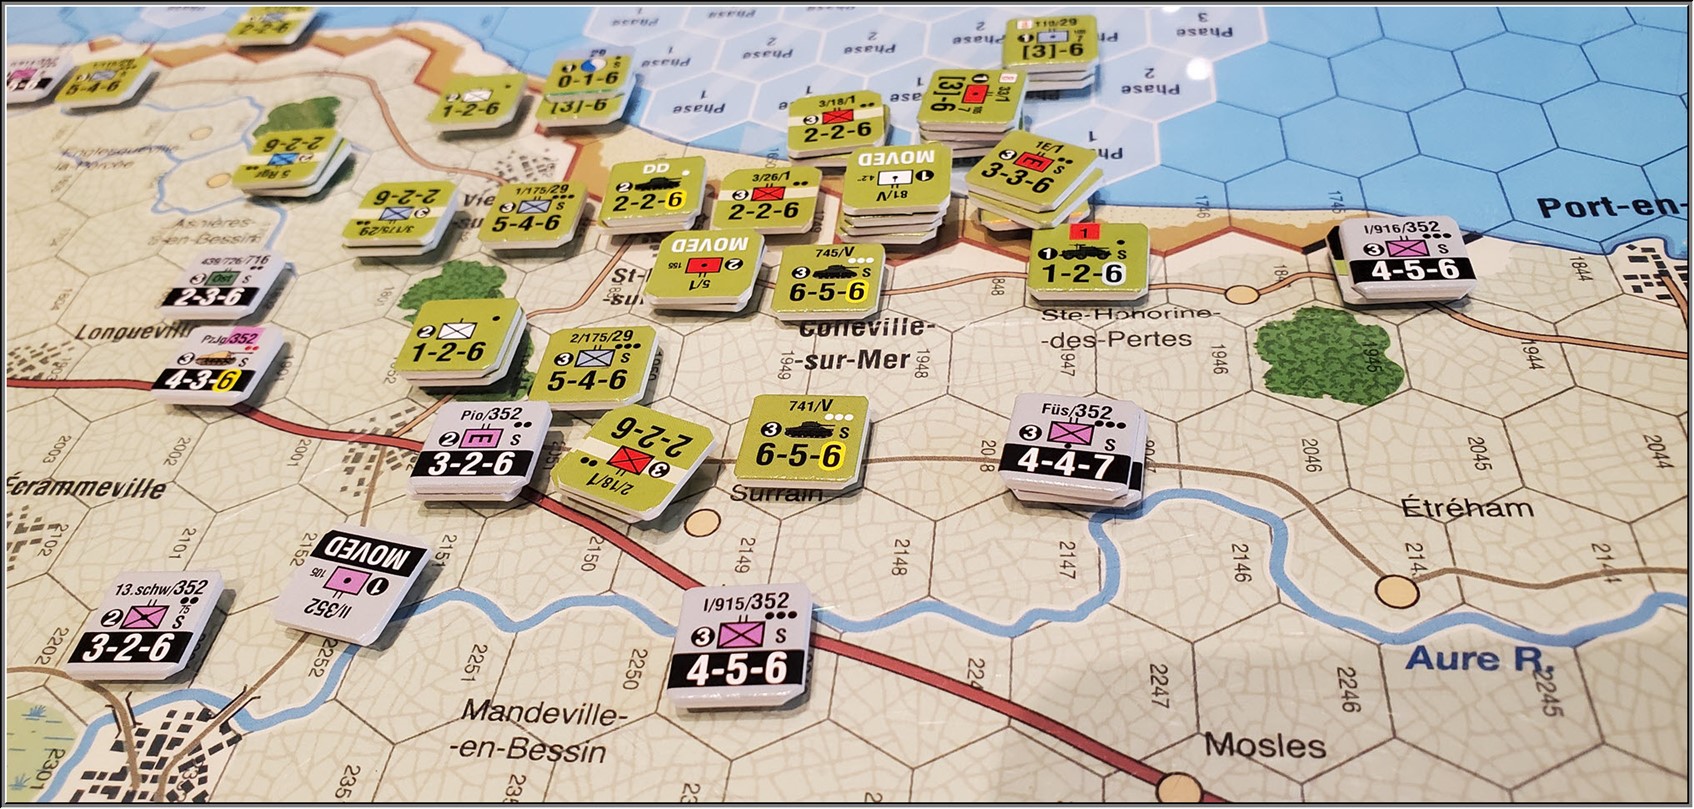
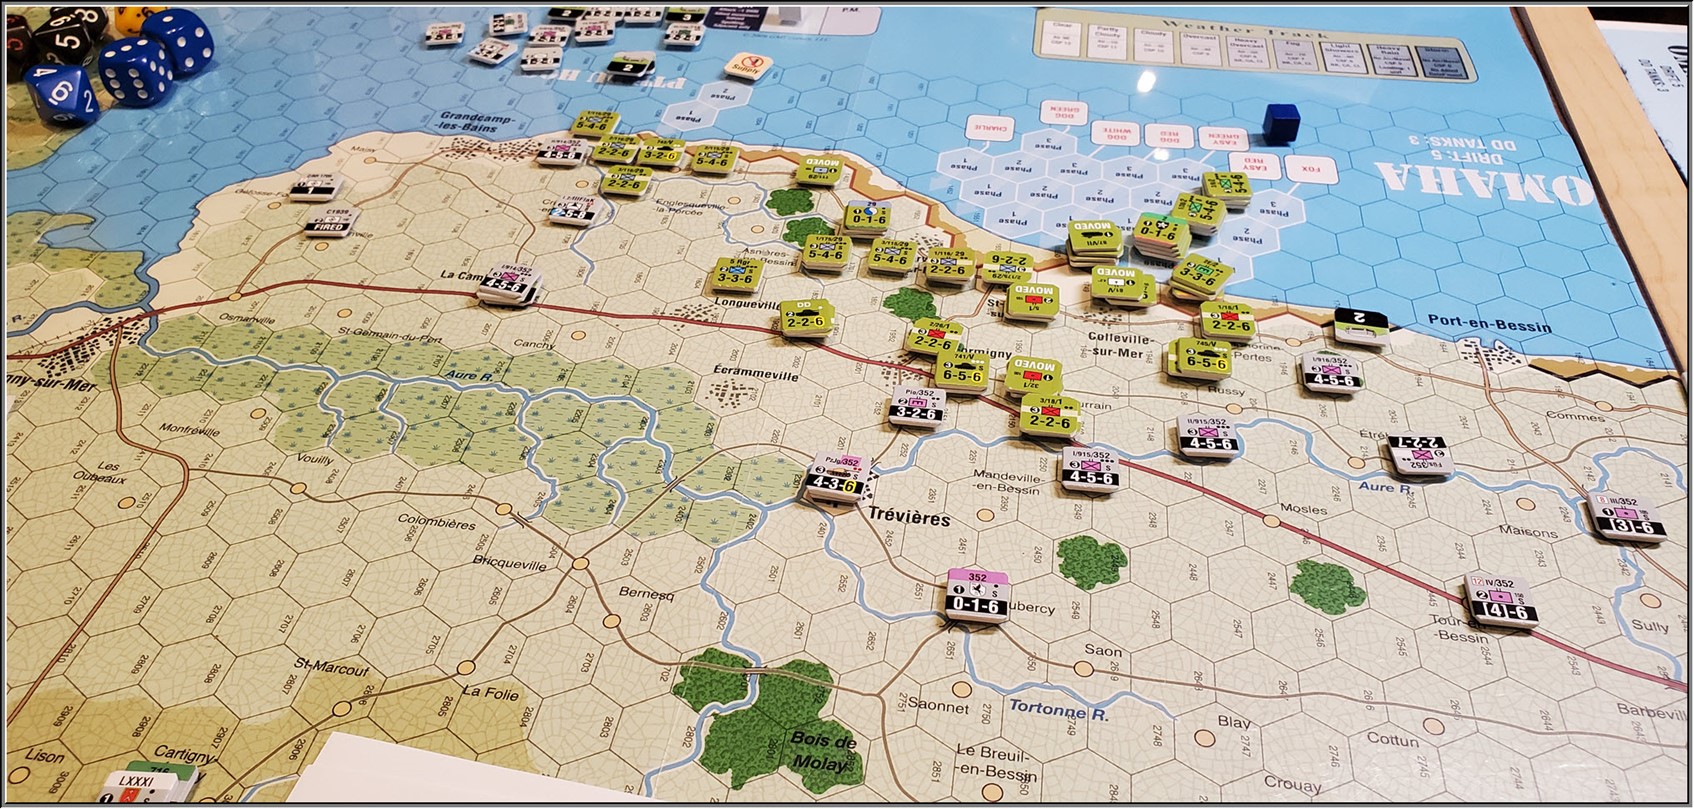
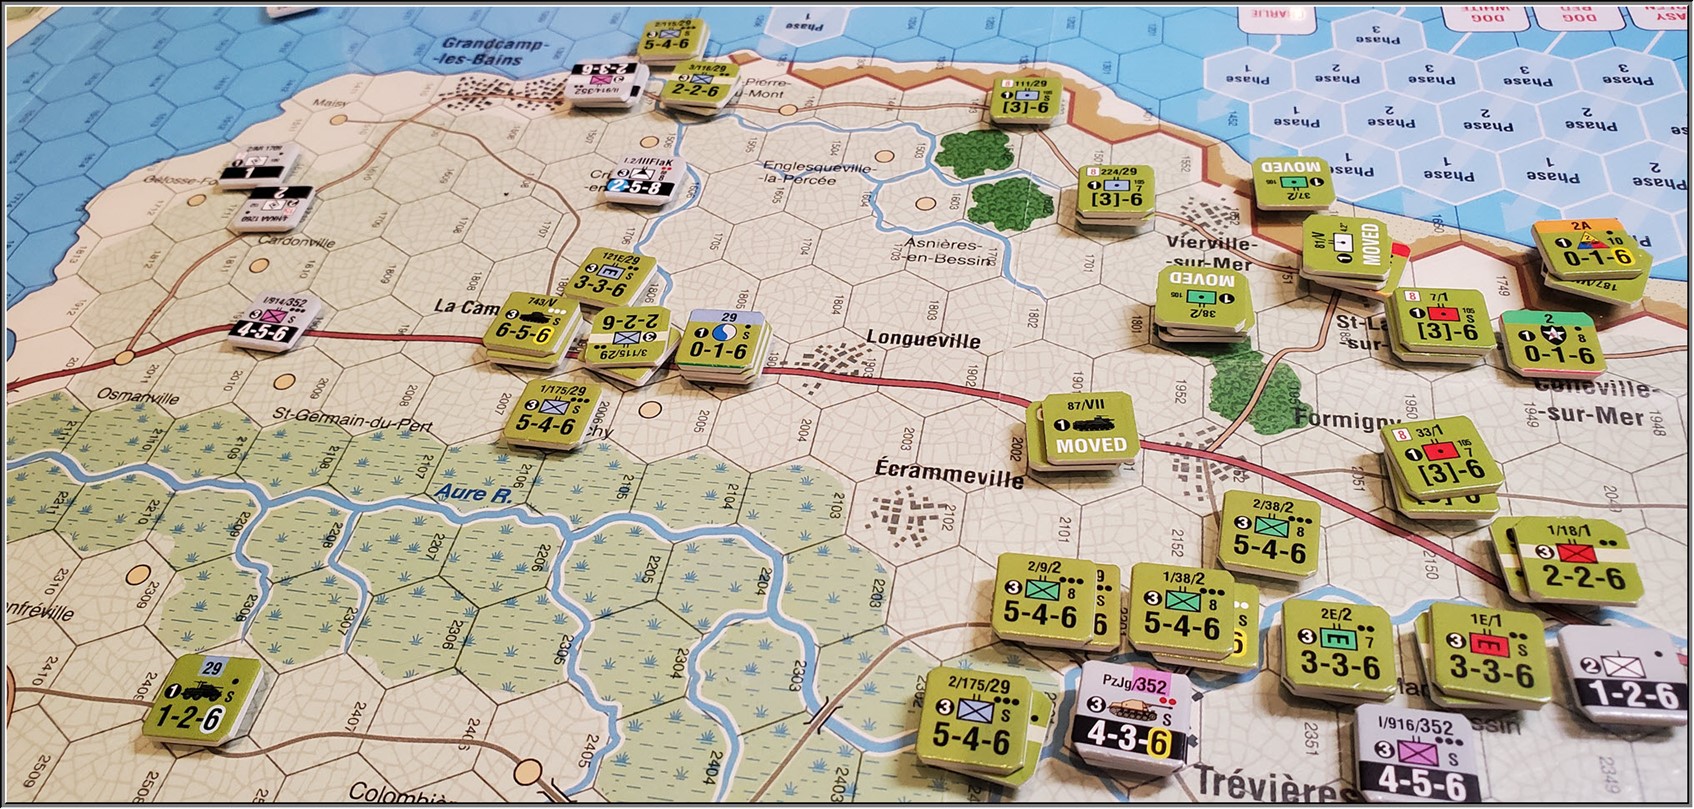
The Germans elect toe drop back to the Aure River and hold behind it. Of course they can still threaten the flank from the North and this ties up valuable assets of the 1st Div.
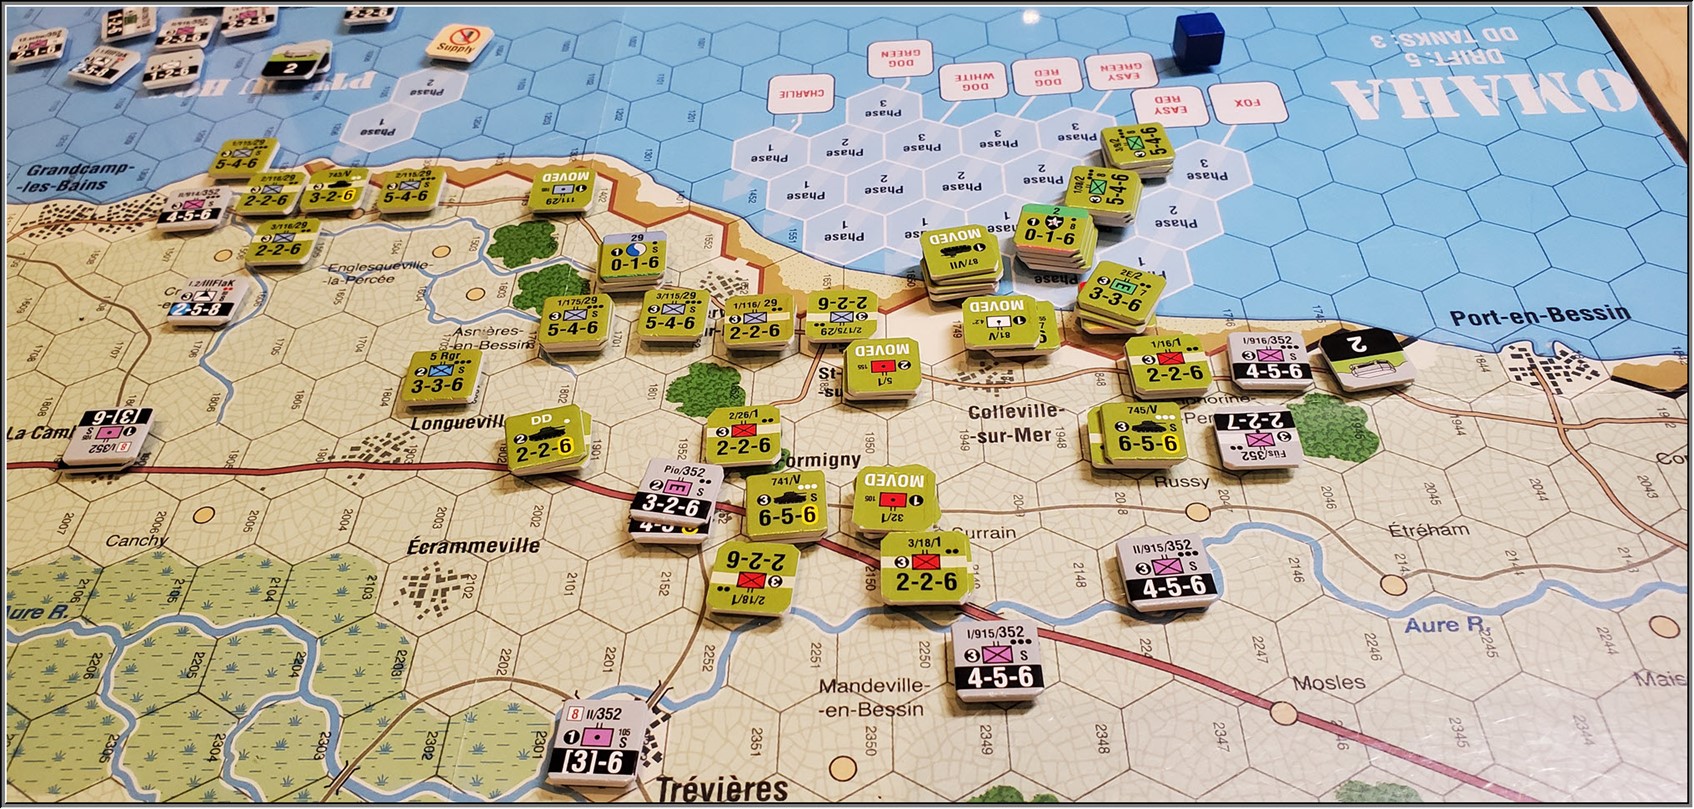
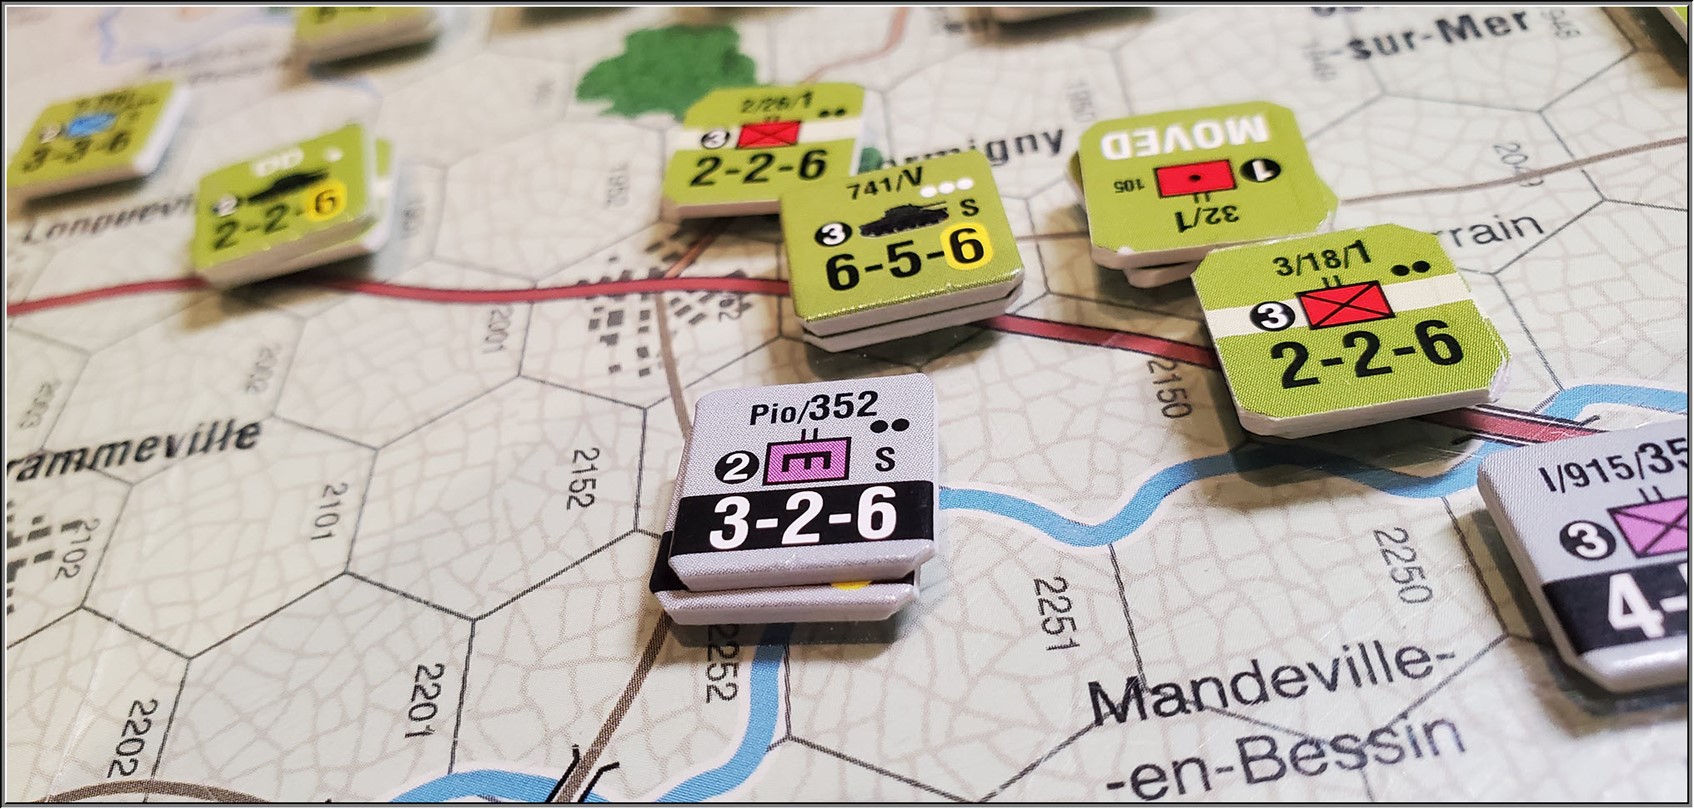
The Pio are about all that stand on the way!
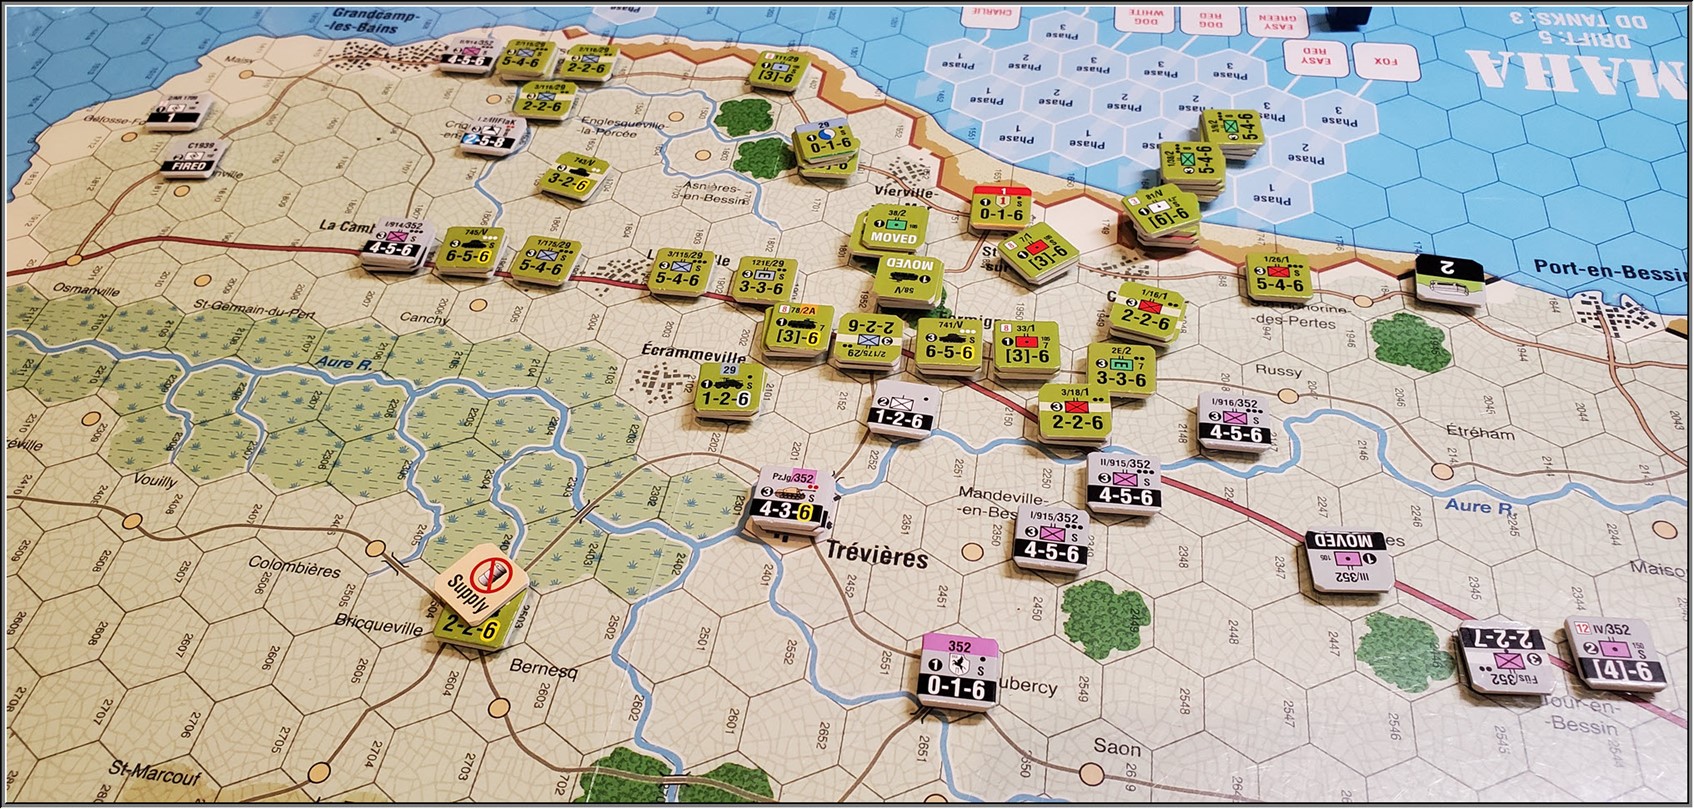
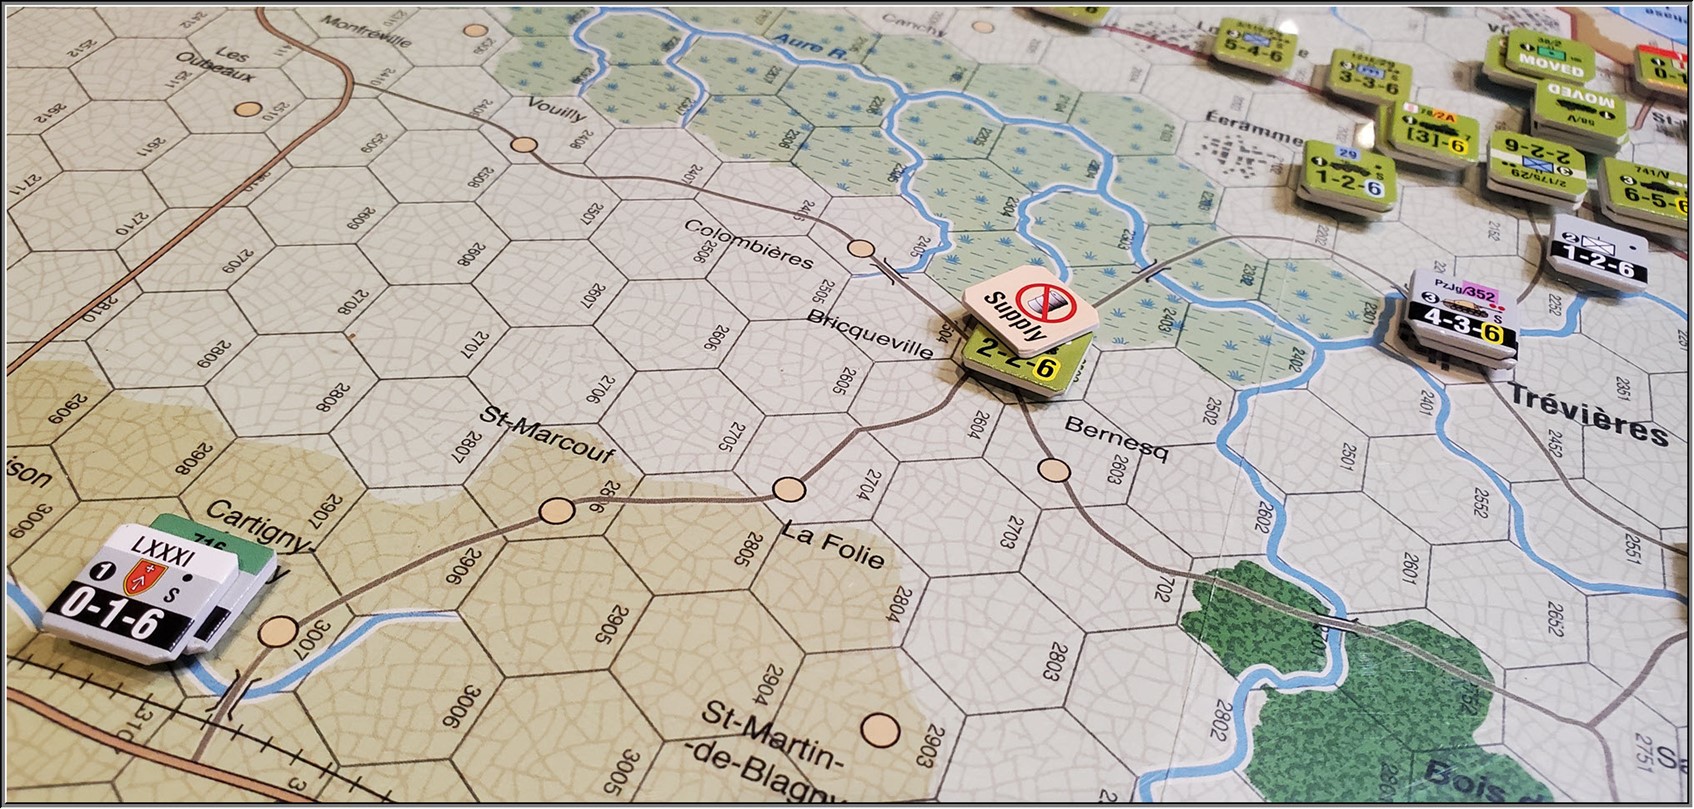
A deep lunch to get to VP locations and around the Germans falls foul of supply line issues.
The 29th and the 2nd Division chip into help the 1st as the progress towards Isigny by the sea is about to get funky.
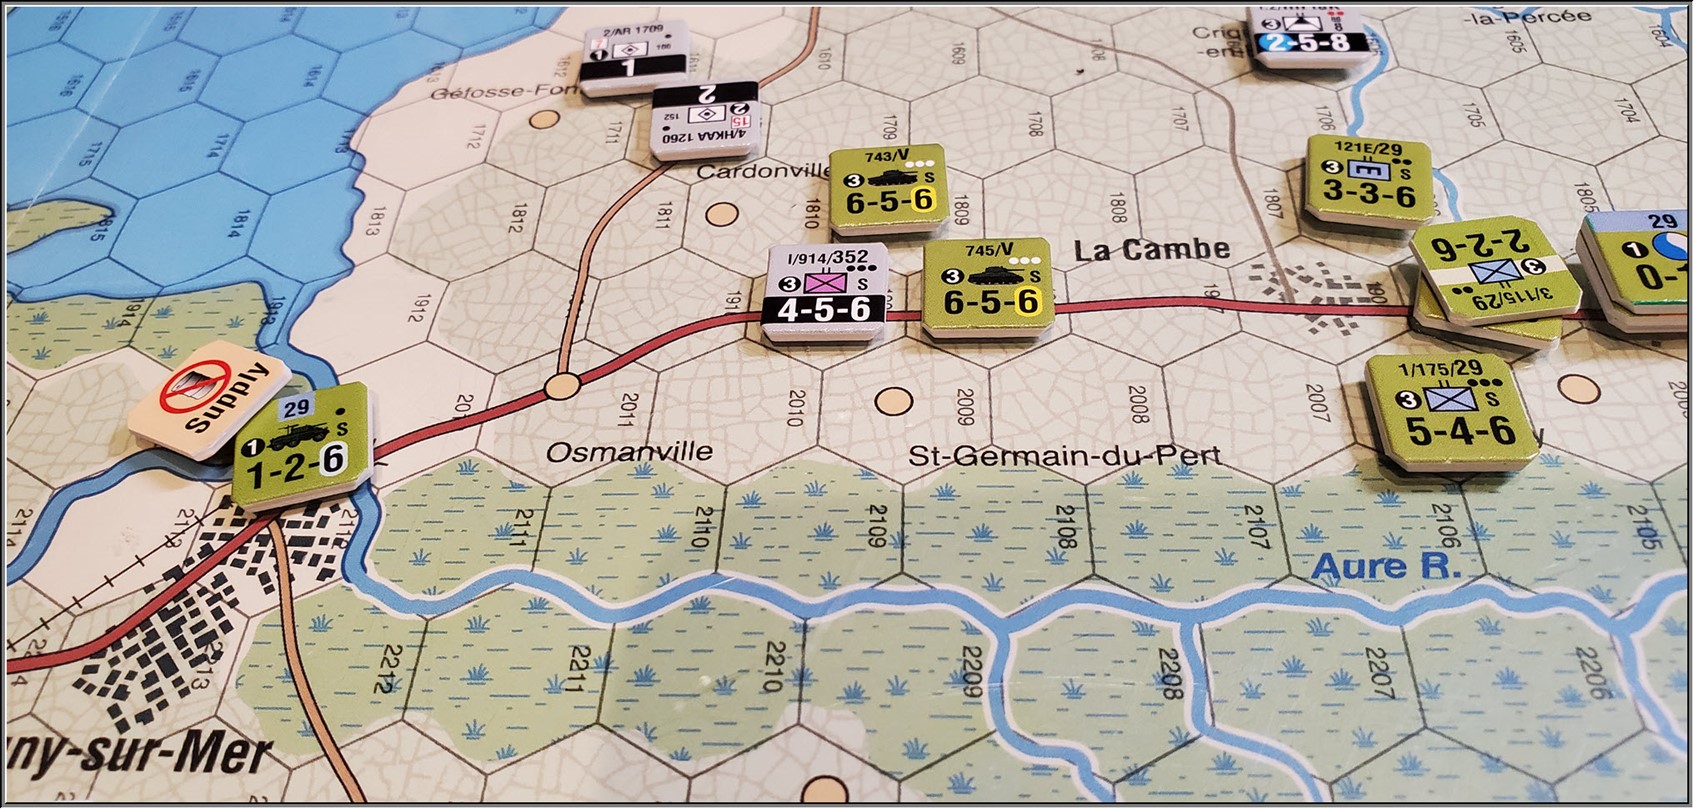
They Germans did not mind their rear. The town falls, and the Germans will face supply issues.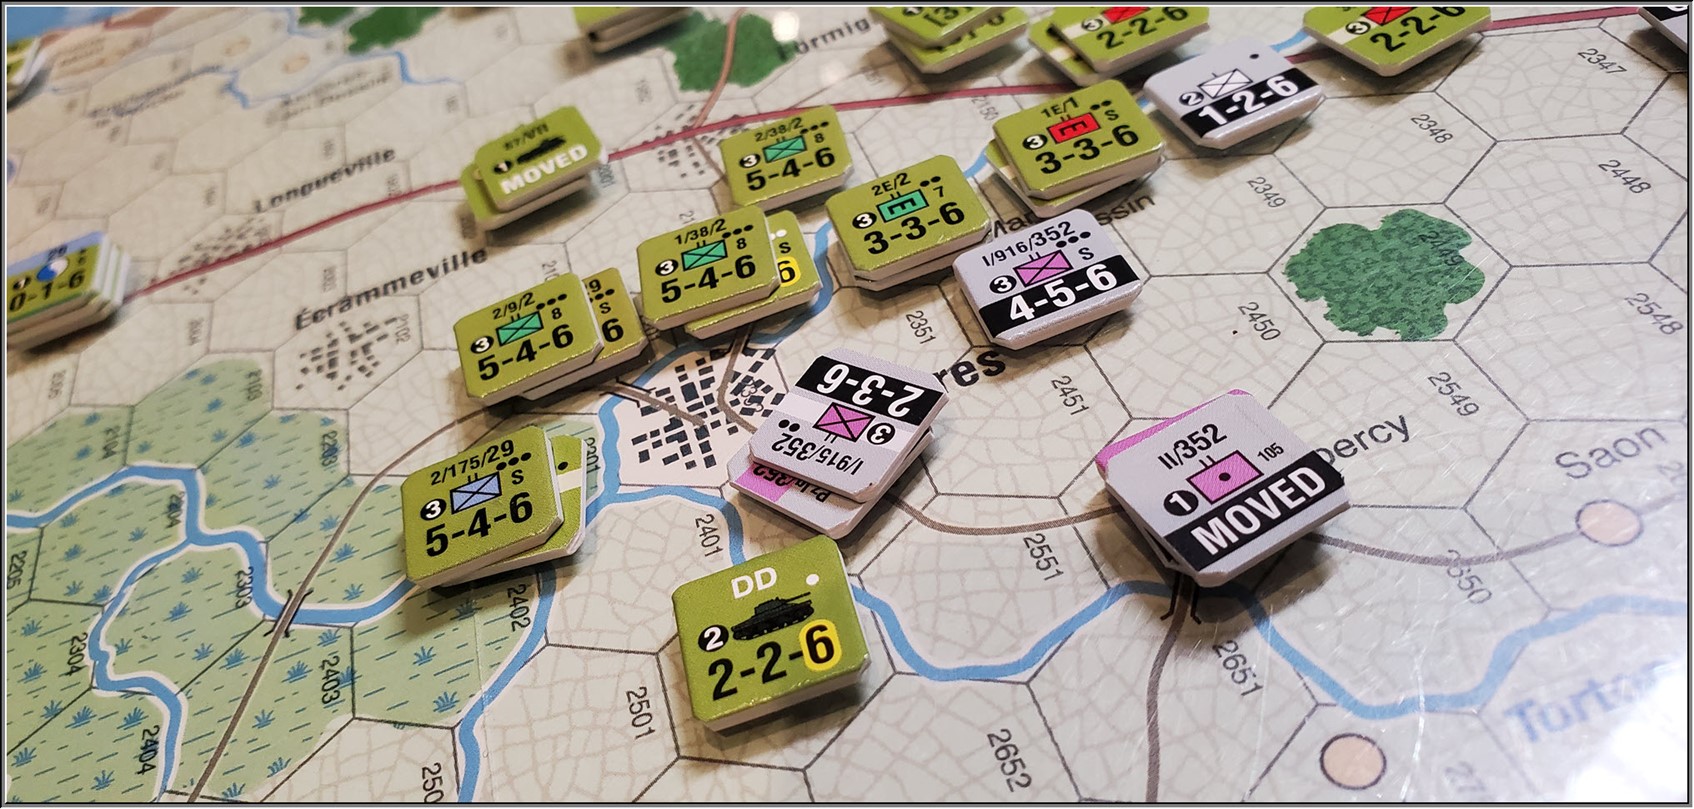
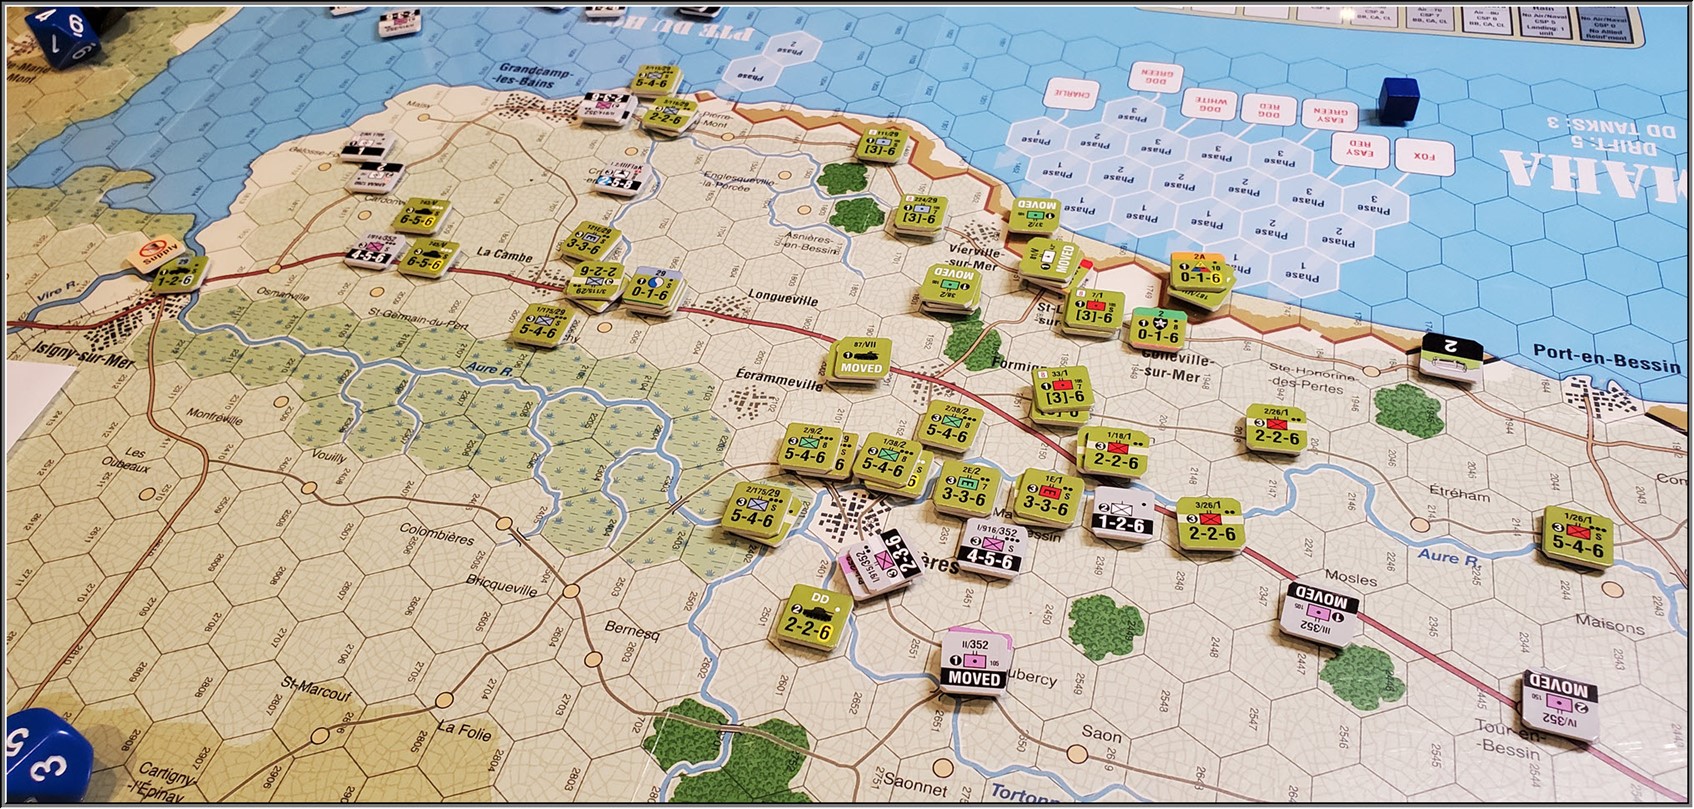
We wrap up with the American making most of tehir objectives. taking Trieres and Isigny . By the end of next turn the American scout will be back in supply and the Germans cleared from the two VC locations. WE call a halt to play. Next we setup from here, and continue the whole campaign starting the night turn.
I love photo-session reports! I also landed on Omaha last weekend: https://theboardgameschronicle.com/2020/06/06/d-day-at-omaha-beach-the-first-waves-scenario/
awesome! Thanks for visiting. I love your site!
How did the 5 RGR move around the strongpoint. I was under the impression that you could not move from one ZOC to another?