I kicked off a campaign game of GCACW .
The base system I’m mildly familiar with. The Campaign begins on May 6th and ends October 20th 1864. Its a 2 map game laid out end to end. I have no expectation of finishing the scenario, rather its more an opportunity to see how the system draws out the Operational Strategies of the era, as well as to gain a better understanding of the “advanced” game and a deeper understanding of the basic v1.3 rules through some serious revolutions.
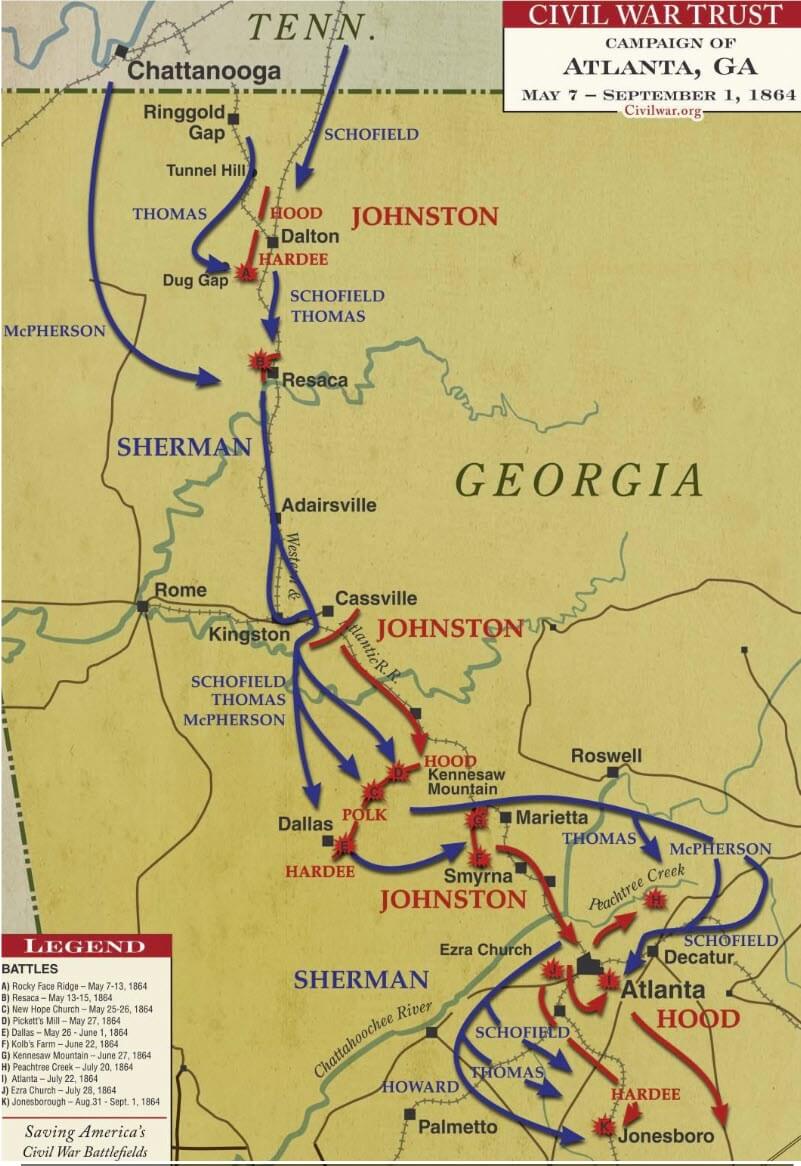
As you can see from the historical map, the scenario starts the day before the primary action of the campaign., but demonstrates that this was a logistically challenging and dynamic battle situation. Each turn represents a day, and units if you are familiar move as often and as far as they can subject to a die roll for MP’s and fatigue accrued with each move.

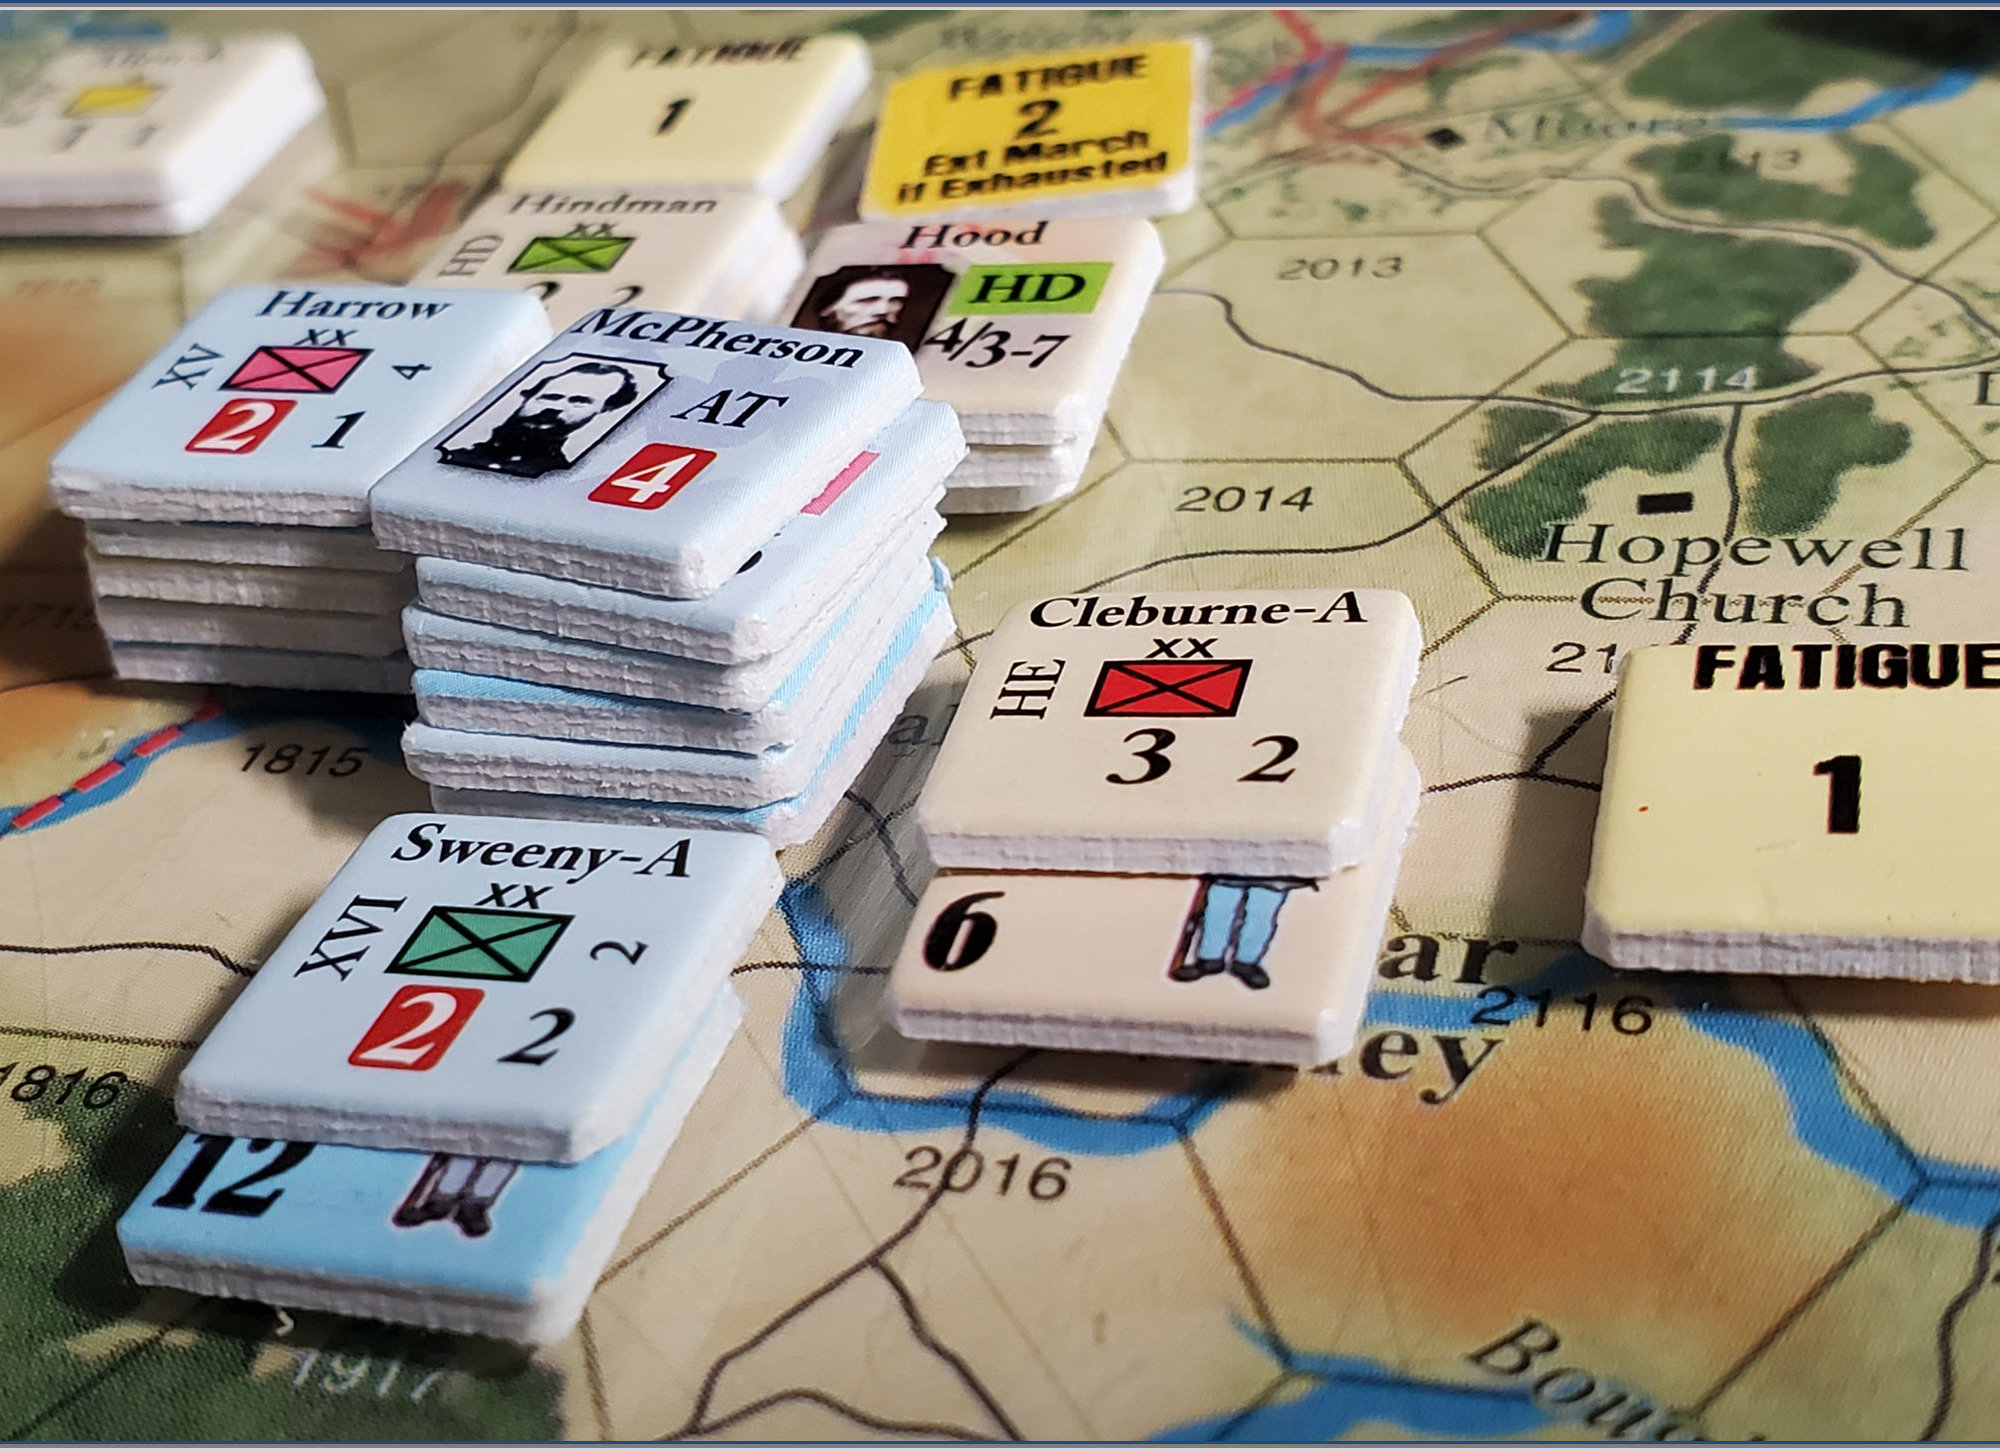
Above are the initial start positions for Sherman’s army, facing off against the CSA who’re heavily dug in around the hills and mountains in Dalton. The Union has some collars and leash’s applied that seasoned GCACW fans will know but new comers like me to the advanced game are a bit challenged by. That will be the focus on this article.
Firstly the idea of Active and Passive Armies.
Active & Passive Stances
I’ll dumb this down to my level, so that we can get back to gaming and strategy. In essence the Union Army led by Sherman needs to do its best to stay within 8 hexes of Sherman’s counter.
Otherwise he will not accrue command points, and he may place his army out of cohesion [A bad thing]. Every four turns there is a strategic cycle the determines the Union Army stance. – Active or Passive.
An accounting of Divisions and every three Brigades/Regiments etc that is out of 8 hex range accrues points added to a 2d6 roll. So too for demoralization and a few other nominal things. For instance for each Division out of range +4 points. Each Brigade +2.
Sherman starts out of range with enough problems to generate a +20 to 2d6 roll which determines how expensive his command point cost is to stay “active’ . Its my assessment that at best Sherman will have a +10 to 15 to the roll in the first strategic period, possible more if he wants to catch the Confederates on the hop and isolate them from a major river defensive line. An average roll of 7 means that the cost to stay active would be in the range of 5-7. The Union receives 1 Command pt a Strategic cycle if it is NOT out of Cohesion. They start with 6 points.
So does the Union play an aggressive game and try to isolate the Rebels quickly, ideally at the same time trying to keep the points gap in the 8-10 range OR do they just go slow, consolidate forces then prepare to assault across a heavily fortified river with everyone in range of Sherman?
What is the effect of being in Passive mode you ask?
- -1 Movement point to all Union Units
- No assaults unless a Corps Leader is present in command radius or within 3 hexes of a rail road line. Greatly reducing Union combat flexibility.
- When the first doubles are rolled on initiative further restricts are placed on the Union units.
- When the third doubles is rolled the Rebs can choose to end the turn, or kick off a strategic movement round that leads to turn end.
Based on what I’m seeing in essence in the first 24-30 turns the Union player will have a bout 8 turns as an Active force, the rest will be Passive.
What does it mean?
I think the net impact is, the Union has to make an early choice.
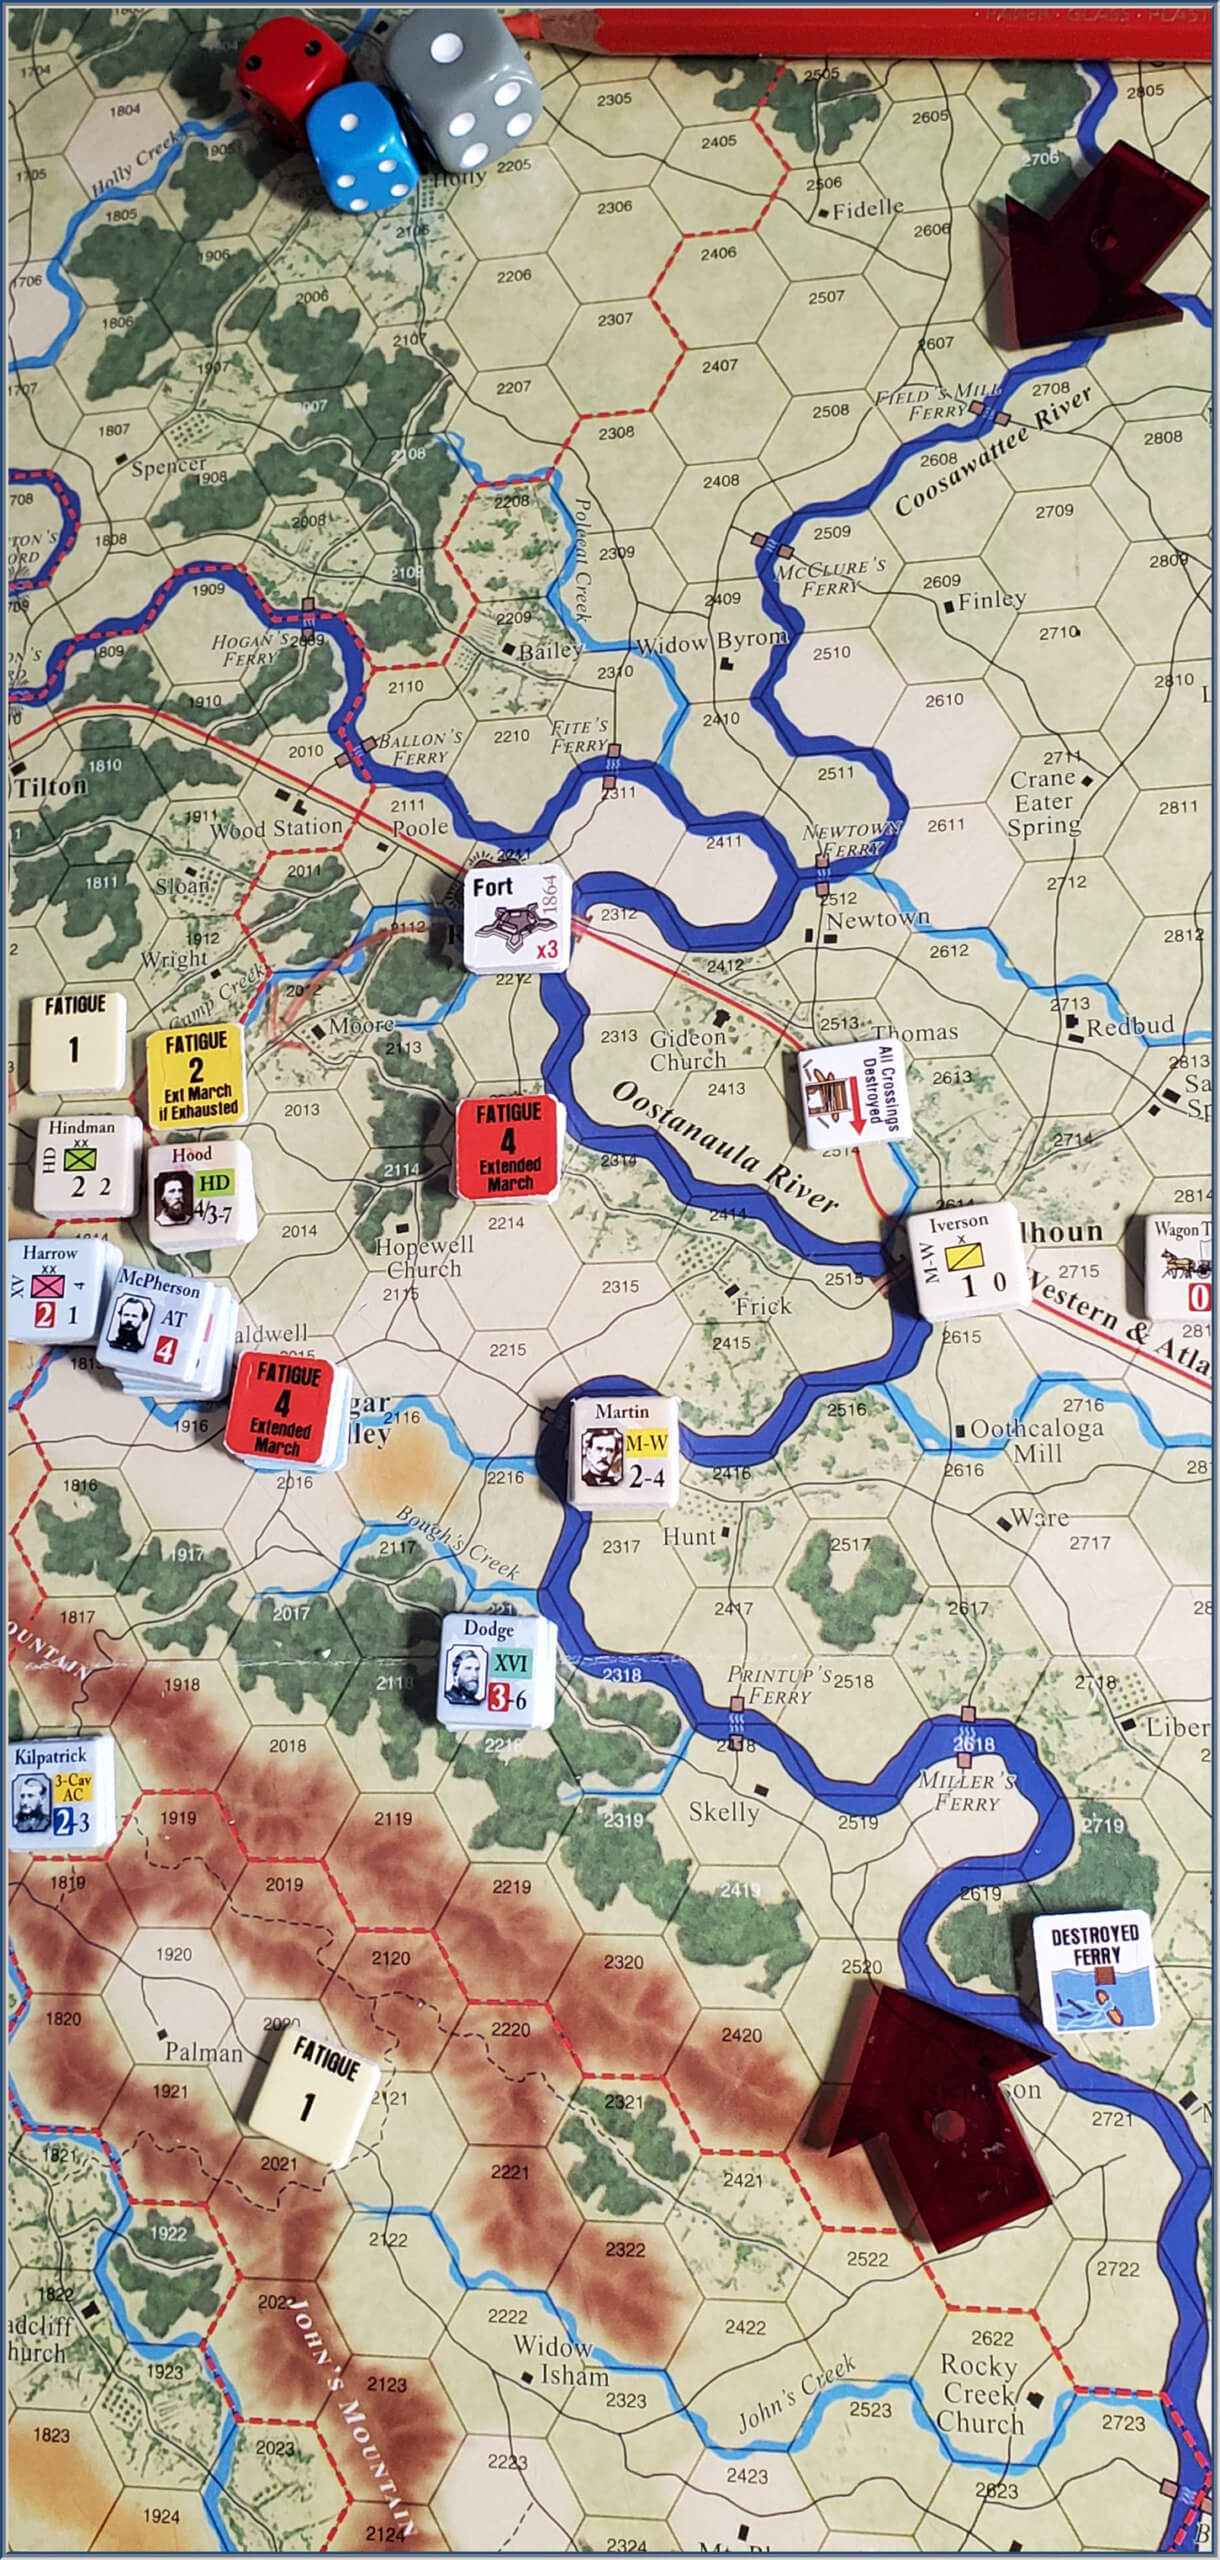
1. Attempt to cut off a significant portion of the CSA forces within 8 turns from crossing the River all while pulling units together within 8 hexes of Sherman AND close to the primary rail line. Then be prepared to consolidate forces, and ideally breach the river line between the 2 red arrows above while in Passive mode.
- Can the Union trap enough force between Dalton and the River to decide the campaign early? Will they be able to do that while in Passive mode?
2. Or attack and isolate around Dalton, while pulling forces into Sherman’s circle of influence. Then make a concerted effort to cross the Oostanaula River in force to then continue on to Atlanta. The downside here is it gives the Confederate army time to fortify the river line, meaning that Sherman’s army will need to seek a flank, thereby driving out of range some portion of his army. A no win situation as far as Active/Passive goes.
So just a few turns in we have been presented with some prickly difficult choices, that filter down to the tactical level meaning that the Union may need to be very aggressive with McPherson to cut off the CSA, possibly burning out his army, while the Rebels attempt no doubt to make their escape across the River and setup their defence.
What else do both sides need to consider?
Supply. But more on that in the next post.
Good for you getting into this system! I think it’s great and it’s a great solitaire system.