Major General George Erskine and his staff of the 7th Armoured Division  had had a long war. Africa, Italy and now NW Europe after a brief stint at home to refit.
How much more could be asked of a General, his staff and ultimately his soldiers?
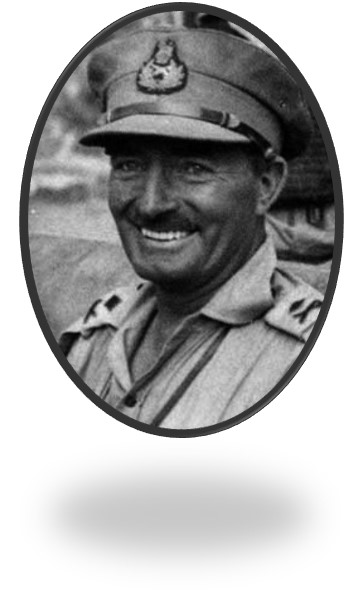
Public Domain, https://en.wikipedia.org/w/index.php?curid=24656934
Clearly significantly more.
Shortly after D-Day his men landed and formed up to support the faltering attacks on Caen.
Monty would once again feed Erskine’s 7th Armoured into the maw of MG 42’s, Panzer wagons and 88mm guns.
At least it wasn’t dusty…
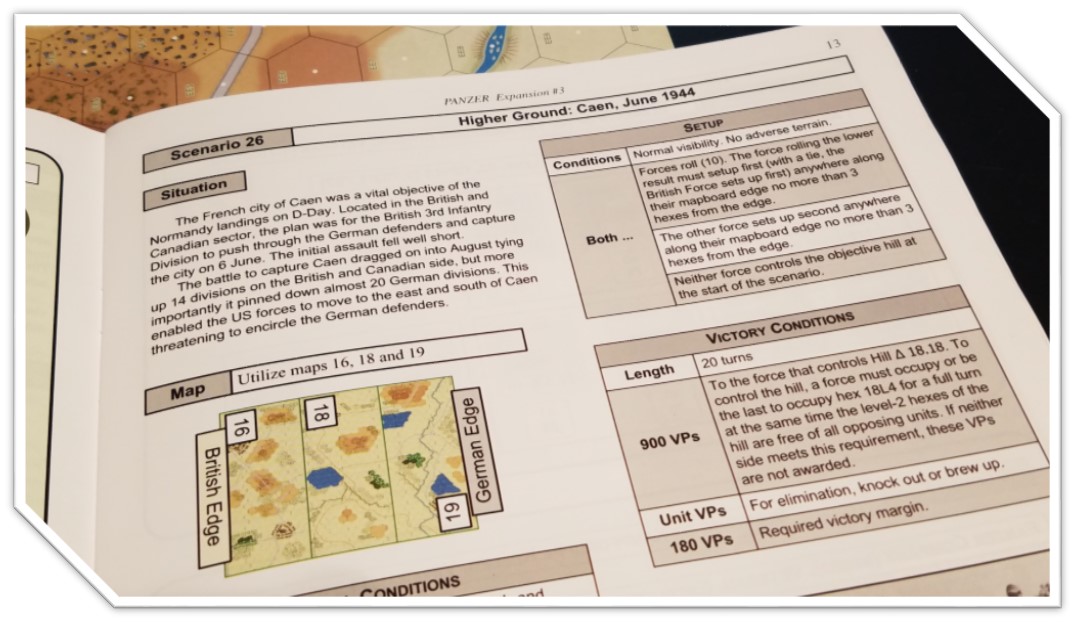
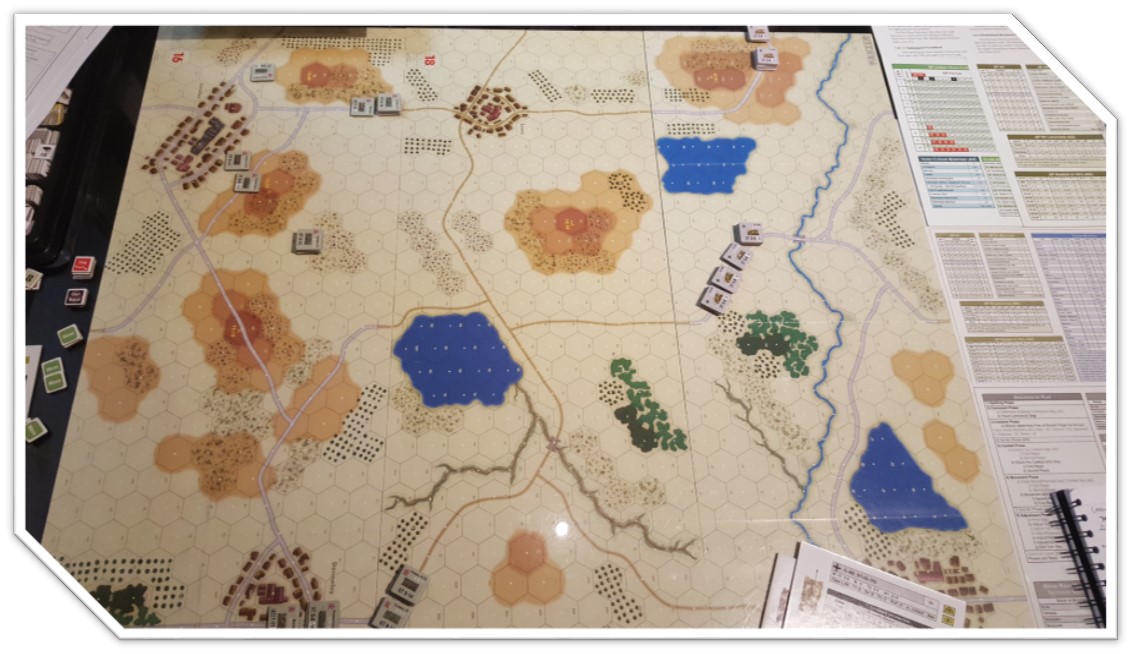
Both sides need to capture hill 18.18. smack center of map and presenting itself with almost no close cover. Ranged overwatch will likely be a factor in the ensuing hostilities as will maneuver.
Forces:
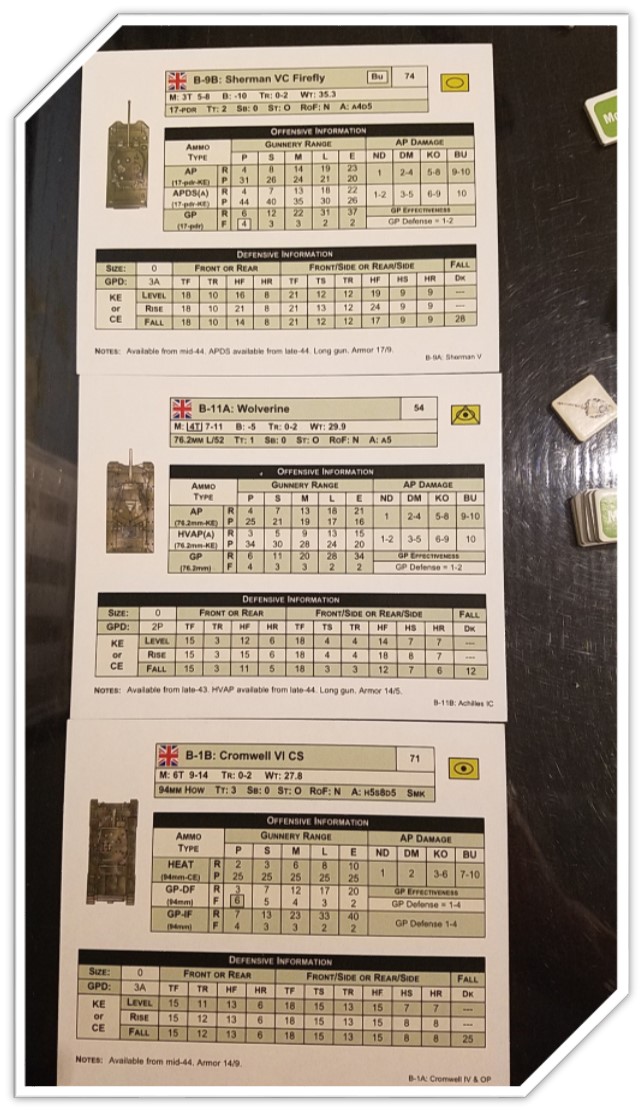
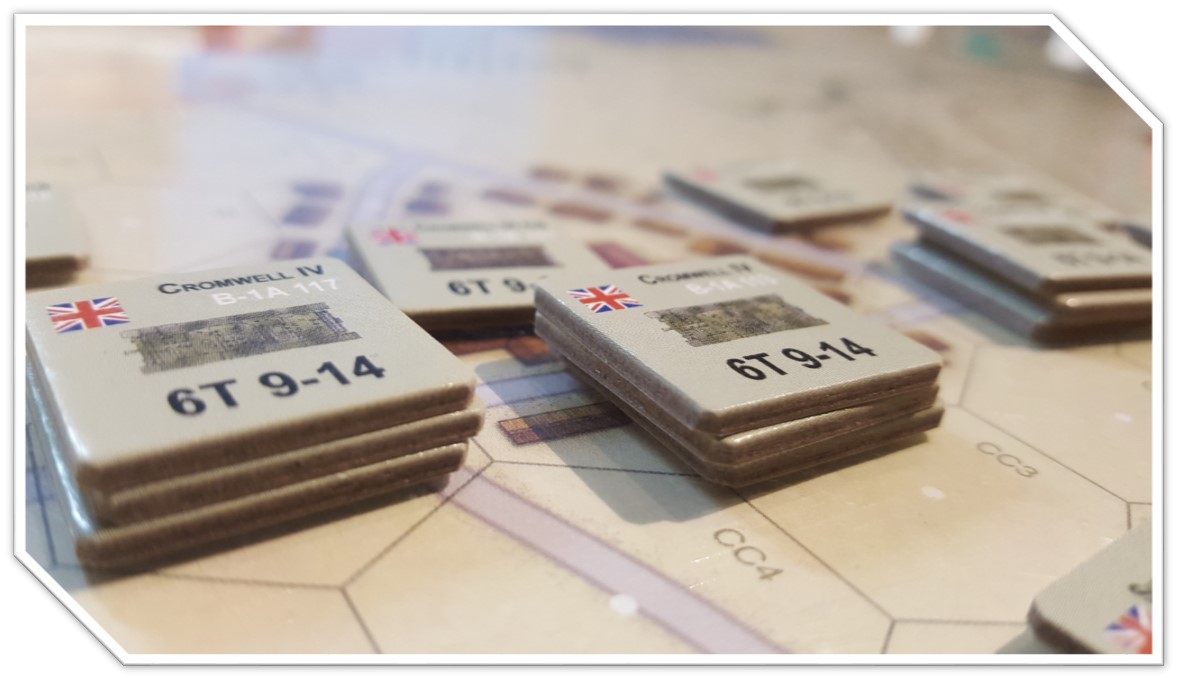
Brits have 4 troops of 3 Cromwells and a FireFly, plus two attached Wolverines. The command unit has 4 Cromwells.
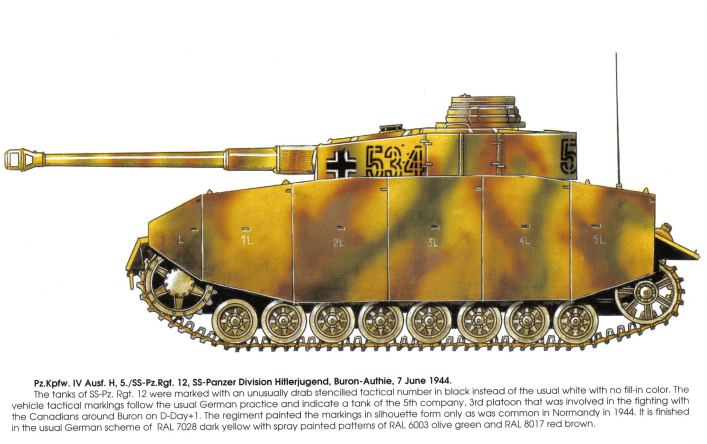
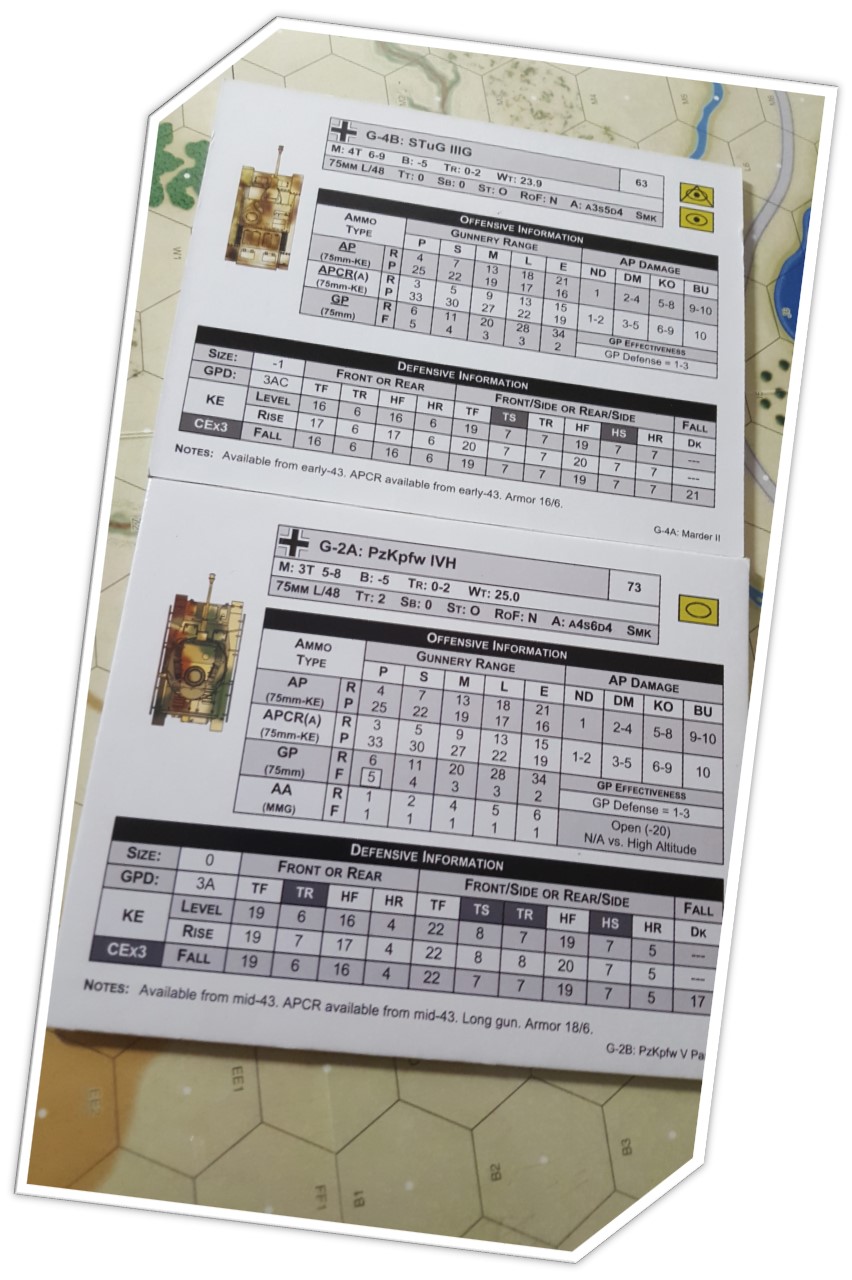
While the German Lehr have 3 platoons or Panzerzug of Panzer IV H’s + 3 Stug IIIG’s + 2 Command tanks.
7th Armoured Plan:
Troop 1 plus attached units to head to Village Lezey, with 1 FF to offer overwatch at 16.20. The Command Tank and 1 FF will cover from 16.13.
Troop 2 stage to 16 m2 [ rough terrain at base of objective.]
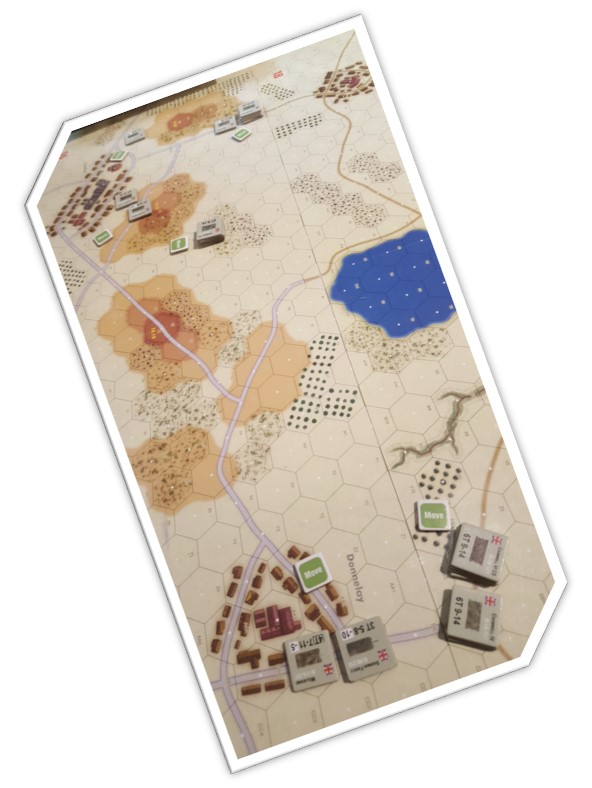
Troop 3 & 4 to head for the bridge on the right flank thru Donnelay and look for lines of fire to support an assault and attack the flank.
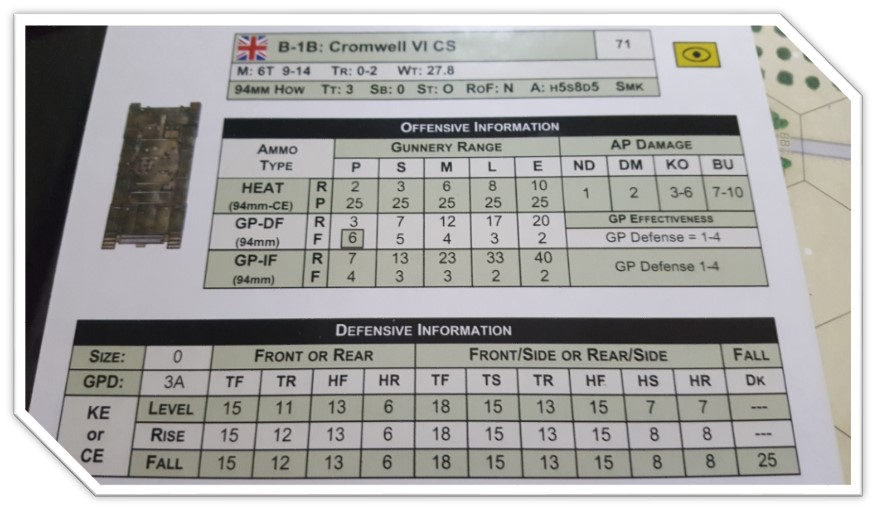
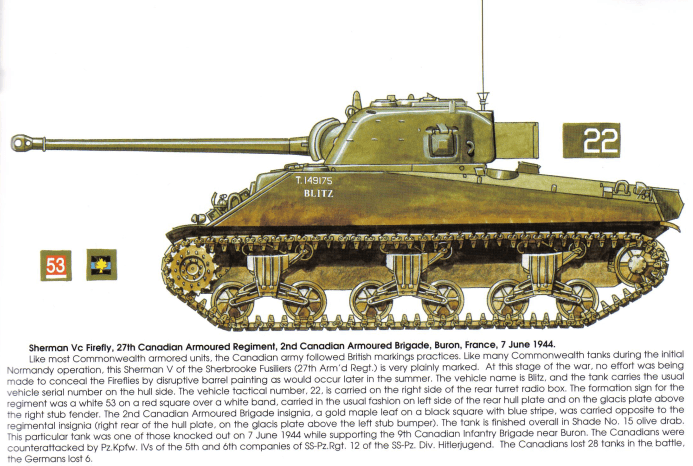
The Brits [yes I know it’s a Canadian insignia…chill] have one major advantage with the Sherman FireFly, its slightly better range characteristics.
The Germans Lehr force have all Panzer IV’s and some Stugg III’s. The actual number of available tanks in this theatre in total is very low for the Germans. So we should consider this a relatively large engagement.
As we can see the FF and the Panzer IV are well matched based upon gun range capability. I delve into more detail in this video here as to where the primary advantages are for each side: HERE
German Panzer Lehr Plan
1 zug and 2 Stugg III to the Village Lezy via 19.18 under cover.
2nd and 3rd zug to the bridge and attempt to hit the base of the objective. 1 zug held in reserve near woods 19.p3 area to overwatch.

The primary Victory location:

Opening moves:
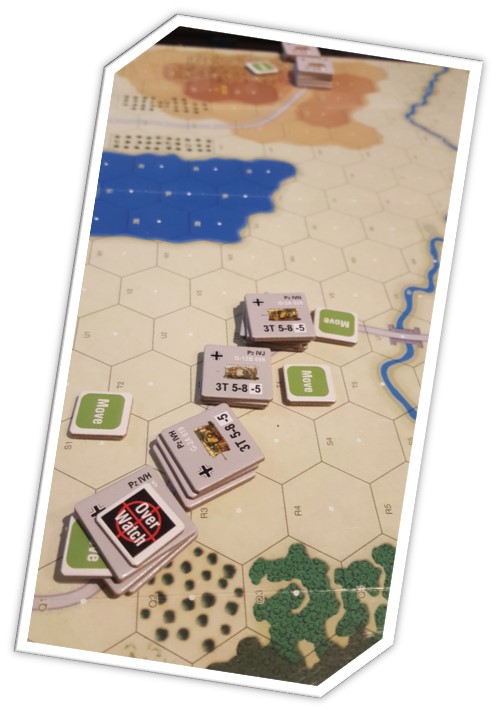
So the movement rates have indeed shown themselves to be one of the keys to success. The fast moving Cromwell has put itself into positions across the combat area to threaten the slower Pzr IV’s.
As the forces prepare for Turn 2 the Germans place one unit in Overwatch, realizing they may get a lucky shot or even better, a quick kill and give the Cromwell’s pause.
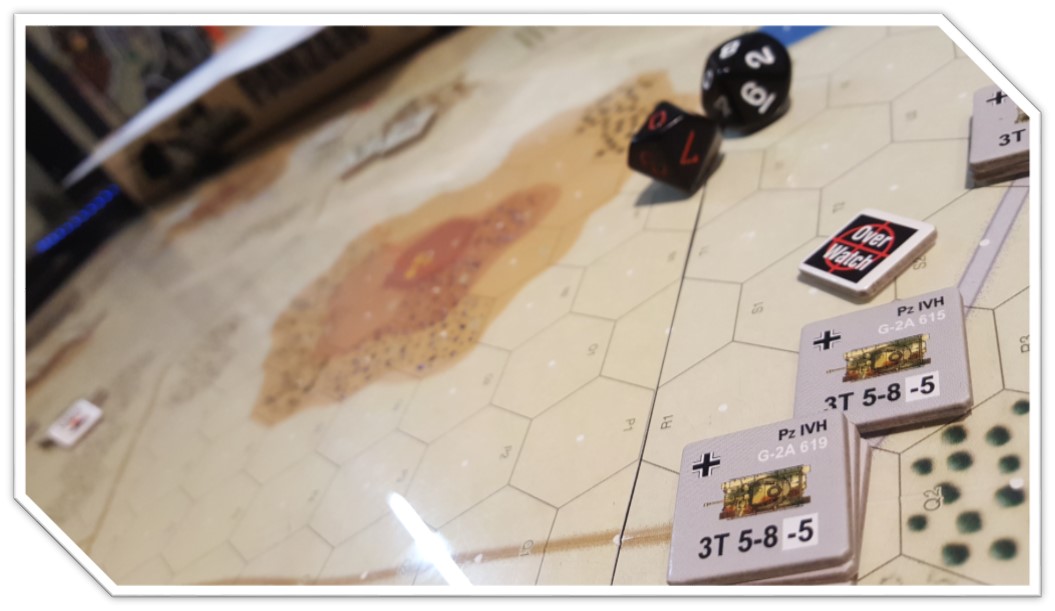
The overwatch shot is a boomer. The Germans roll an 08. Going to be a hit no matter mods. But they only cause damage to the Cromwell.
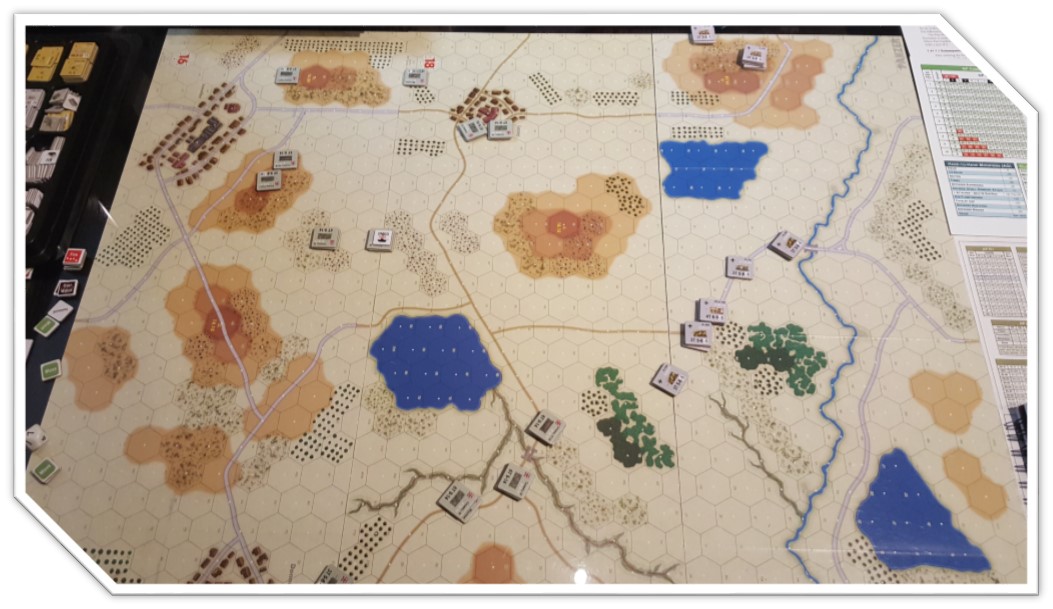
We can see now prior to final facing that the Brits are well placed in the Village, the FF is slowly climbing the hill behind Lezey [dang those boys move slow] , and in the center a similar but riskier situation is unfolding. The Command tank plus a FF is covering from the hill while a 2 Troop moves to get into the rough terrain near the objective. In the far right Troop 3 & 4 have raced to the bridge and now can cover the objective approach from the right flank also.
A game of cat and mouse may evolve here in and around these woods.
More shortly.