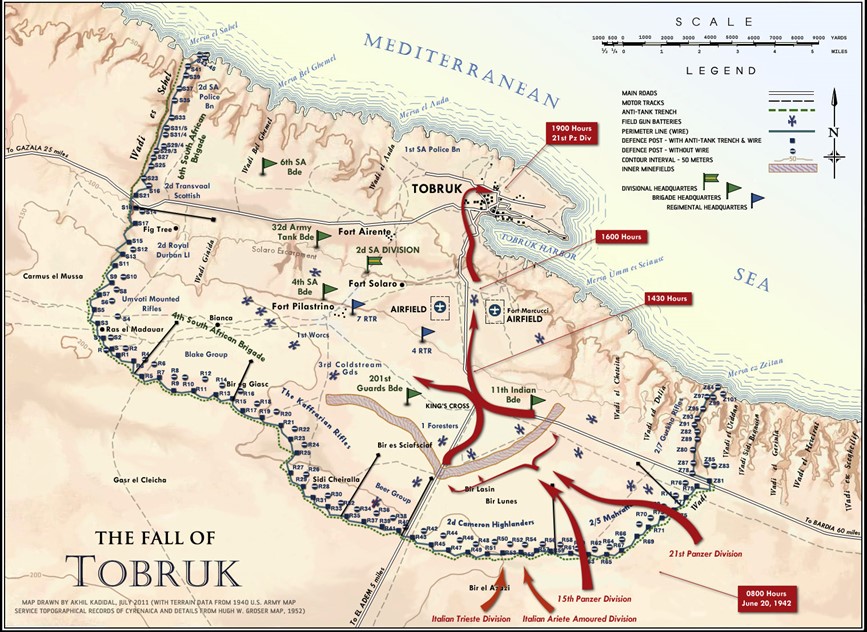
A quick Wiki summary for those who want a bit of context:
The Axis capture of Tobruk, also known as the Fall of Tobruk and the Second Battle of Tobruk (17–21 June 1942) was part of the Western Desert Campaign in Libya during the Second World War. The battle was fought by Panzerarmee Afrika (Armata Corazzata Africa in Italian) German–Italian military force in north Africa, which included the Afrika Korps (Generalleutnant Erwin Rommel) and the British Eighth Army (General Neil Ritchie). The Eighth Army comprised contingents from Britain, India, South Africa and other Allied troops.
Axis forces had conducted the Siege of Tobruk for eight months in 1941 before its defenders, who had become an emblem of resistance were relieved in December. British commanders had decided not to defend Tobruk for a second time and its minefields had been stripped for use in the Gazala Line to the west. By mid-1942, the garrison included many inexperienced troops and on 15 June 1942, the new Major-General, Hendrik Klopper, of the 2nd South African Division took command.[2] An immense stock of supplies had been accumulated around the port for Operation Acrobat but the Axis forestalled the attack with Operation Venice (Unternehmen Venezia) and the Battle of Gazala began on 26 May 1942. The Eighth Army was defeated and driven east of Tobruk, leaving it isolated. The British Prime Minister, Winston Churchill, placed great store on the symbolic value of Tobruk and there was an exchange of ambiguous signals leading to the garrison being surrounded, rather than evacuated as originally intended.
Panzerarmee Afrika attacked Tobruk with massed air support, penetrated a weak spot on the eastern defensive perimeter capturing the port and 33,000 prisoners, many of the garrison on the western perimeter not having been involved in the fighting. The surrender was the second largest capitulation by the British Army in the war, after the Battle of Singapore (February 1942). The loss of Tobruk came as a severe blow to the British leadership and precipitated a political crisis in Britain. Unexpectedly, the defeat evoked additional sympathy from the United States for the British and the dispatch of supplies and equipment from the US to the Middle East was expedited. Rommel persuaded the Axis commanders that the supplies captured at Tobruk and the disorganised state of the British forces would enable the Axis easily to occupy Egypt and the Suez Canal.
Operation Herkules, the invasion of Malta, was postponed and the Axis air forces supported the pursuit into Egypt instead, which was hampered by supply constraints as the Panzerarmee Afrika advanced further from its bases. The Axis advance was halted at the First Battle of Alamein in July 1942. A British Court of Inquiry was held in absentia in 1942, which found Klopper to be largely blameless for the surrender and ascribed the defeat to failures among the British high command. Only seven copies of the verdict were circulated, one being transmitted to General Jan Smuts on 2 October 1942.[3] The findings were kept secret until after the war, which did little to restore the reputation of Klopper or his troops.
***
Complexity: 3/10
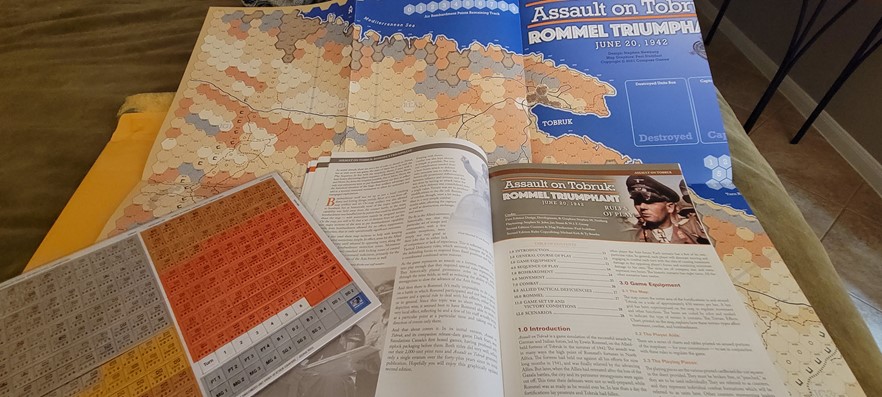
Scale: two hour turns, 625 yard hexes and company sized units.
This will be a three part AAR in summary detail with a lot of images.
See post here on my summary thoughts post game: https://bigboardgaming.com/assault-on-tobruk-paper-wars-99/
Opening moves Turn 1
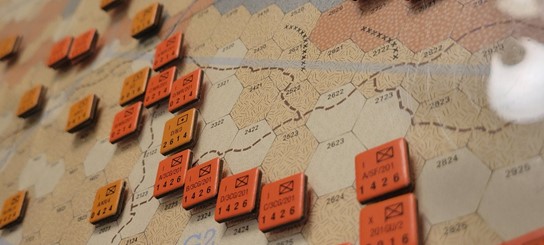
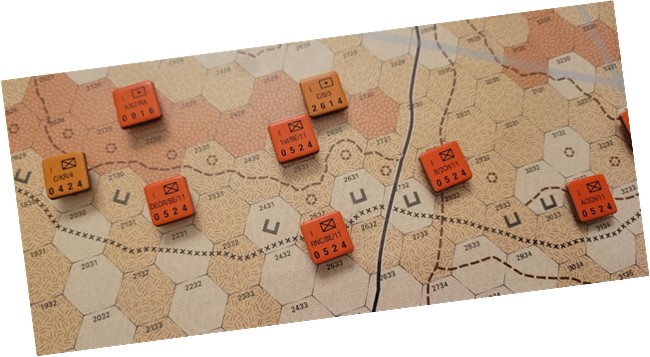
132nd Battalion and 88 th attack via road to Kinds Cross from the South. The Italians race up the road. Staying tightly packed so as to limit exposure to ‘releasing’ strongpoint residents to move, a command and control feature highlighting command weakness and lack of overall awareness as well as good old historical fidelity.
The Italians goal is to link up with the Germans at the Hospital and clear a route from there to Tobruk. The Italians have the fastest light tanks, and as a side note you can see how effective they are in the TCS title Ariete!
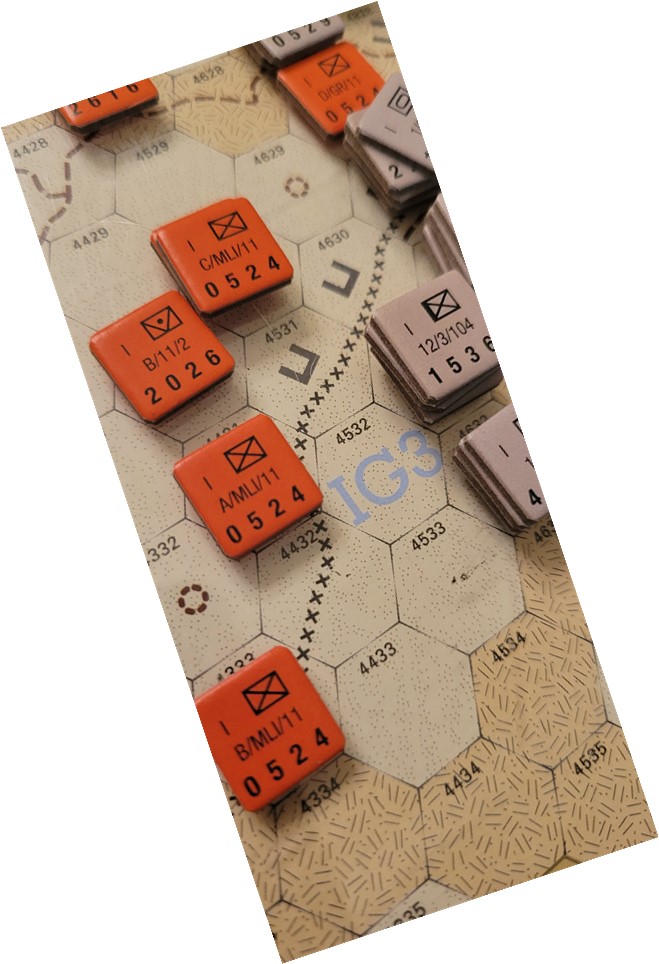
11th Brigade has units on the road and behind defenses. RNC/BE/11 and 2CG/11 [ Coy B].
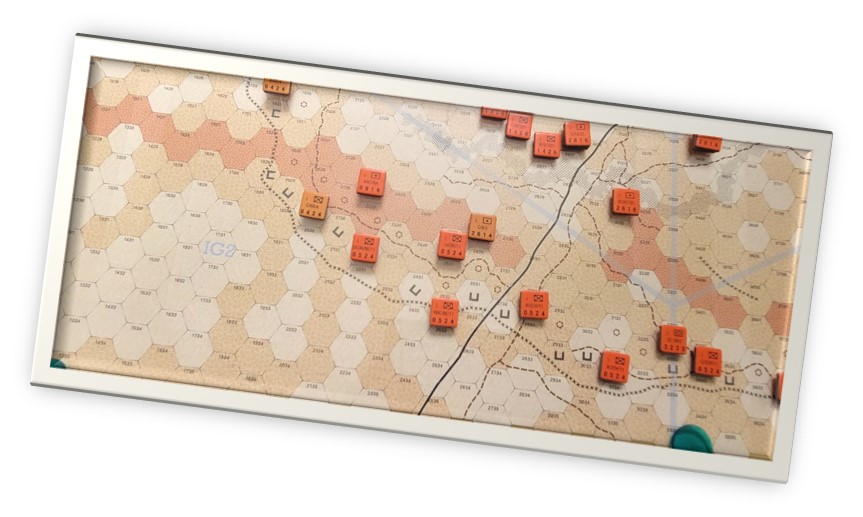
Offboard arty hits the map. Suppressing both formations. Indeed one surrenders.
Allowing attacks and 2nd move phase to place the Italians withing striking distance of the minefield zone.
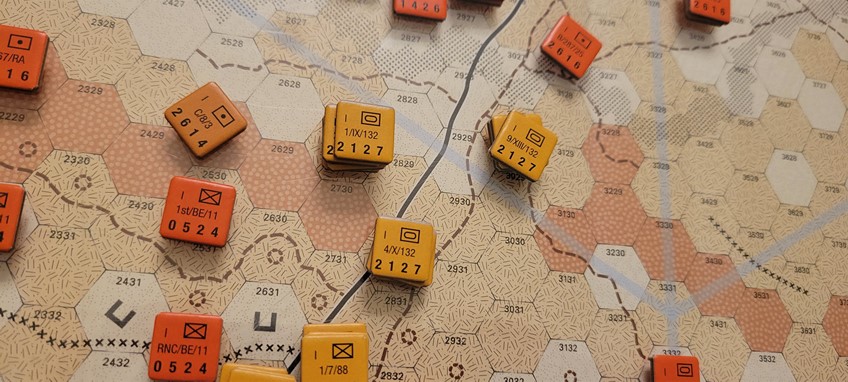
Over on the Eastern side of the map where the Germans enter a similar series of events occurs. Air and Arty rain down on the Commonwealth forces.
Fortunately neither units surrenders here. Mannys KG, the 5th and 104th enter first.
Theses units here should have cooled their jets and waited a turn. We have now released these units to move from Strongpoints etc. Darn it.
End of Turn 1 after Allied retrograde movements and adjustments.
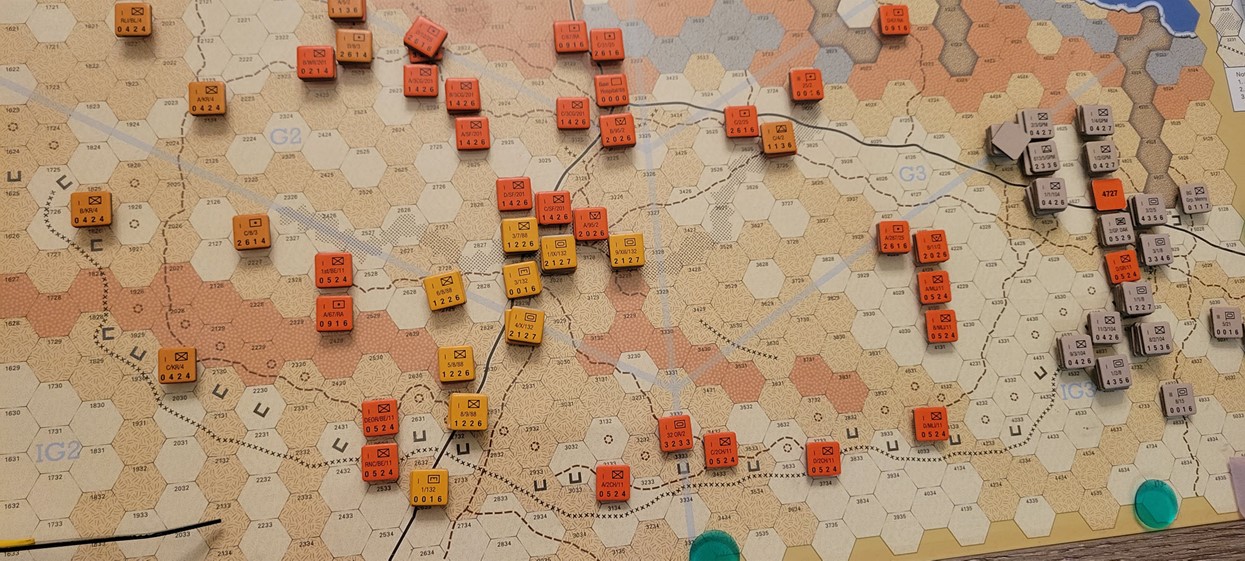
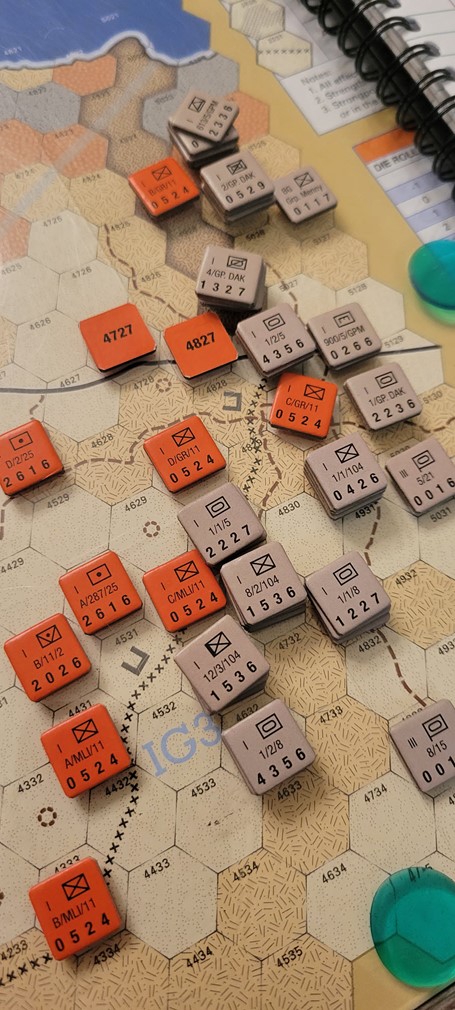
During turn 2 Axis advance and supress a wide range of units. They press inwards along two converging axes.
Italian firepower demonstrates it weakness and they are really curtailed in what they can achieve.
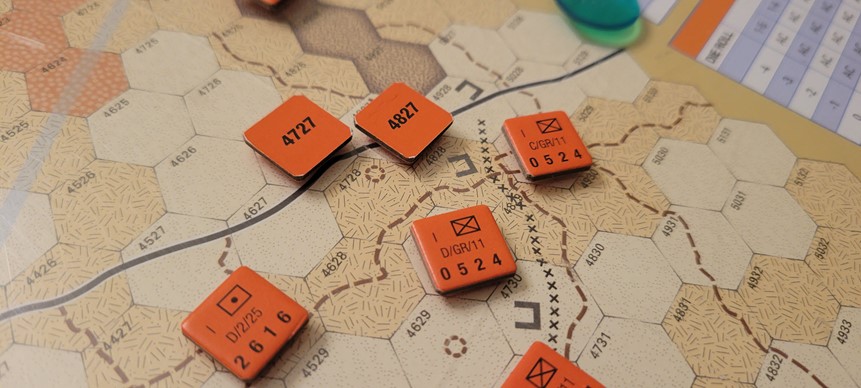
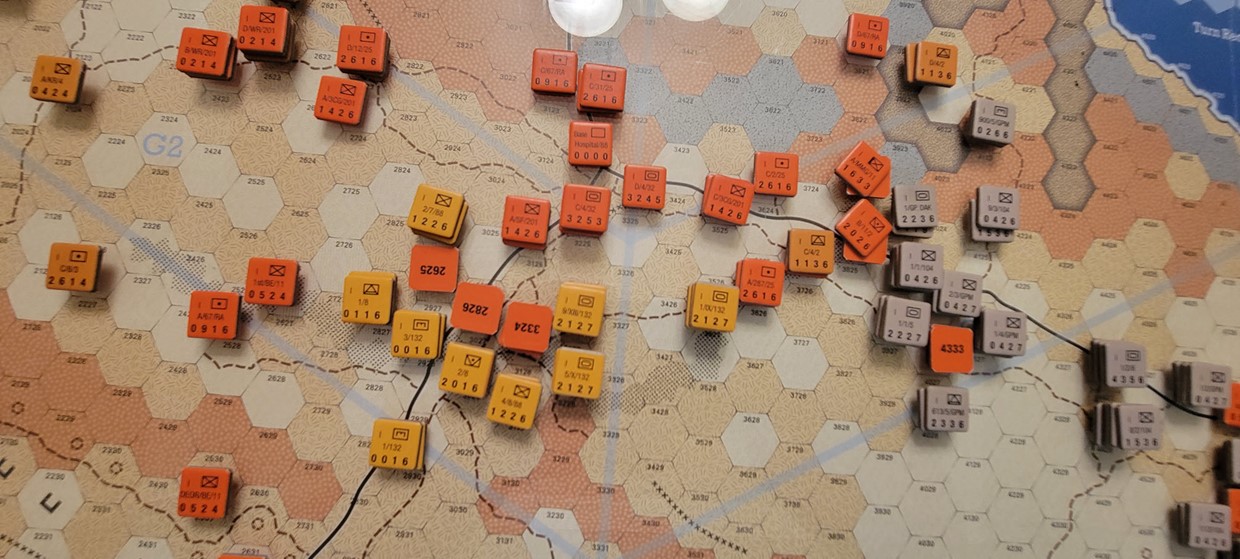
The Germans however have no such worries. Menny’s group attacks into the Wadi [a bit of historical referencing there ] 4/GP/DAK and elements of 5th and 5/21 attacked up the road, capturing Brits/Indians etal along the way. No idea why GR/11 is outside the wire. It really should have been in defense mode. Perhaps it was doing some recon and got caught up in the action.
The allies screen on the slopes and move back towards Kings Cross. MLI/11 also pulls back and any units not locked on the map via the rules head East.
On to Turn 3