

Took longer than I expected to get pat 2 of this AAR done. Part one and related video can be found by searching for Salerno on the site drop-down menu.
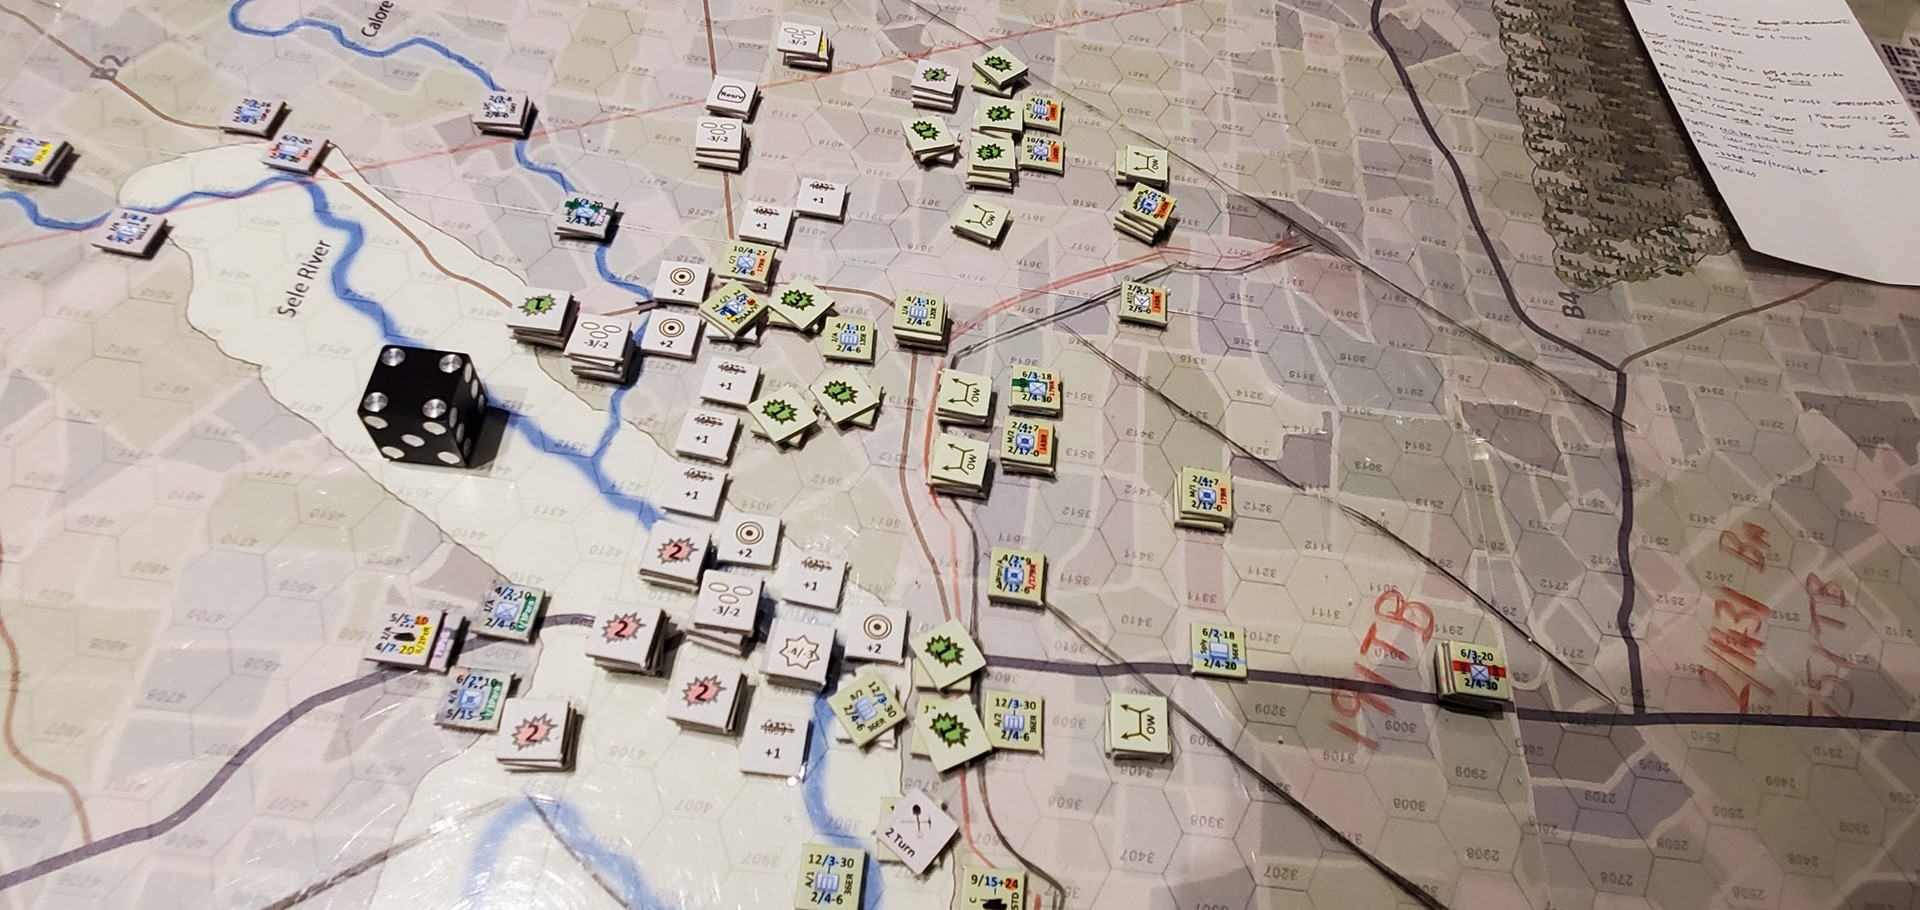
Overwatch fires place suppressions on the Allies , despite this the Yanks still close up. And return fire where possible.
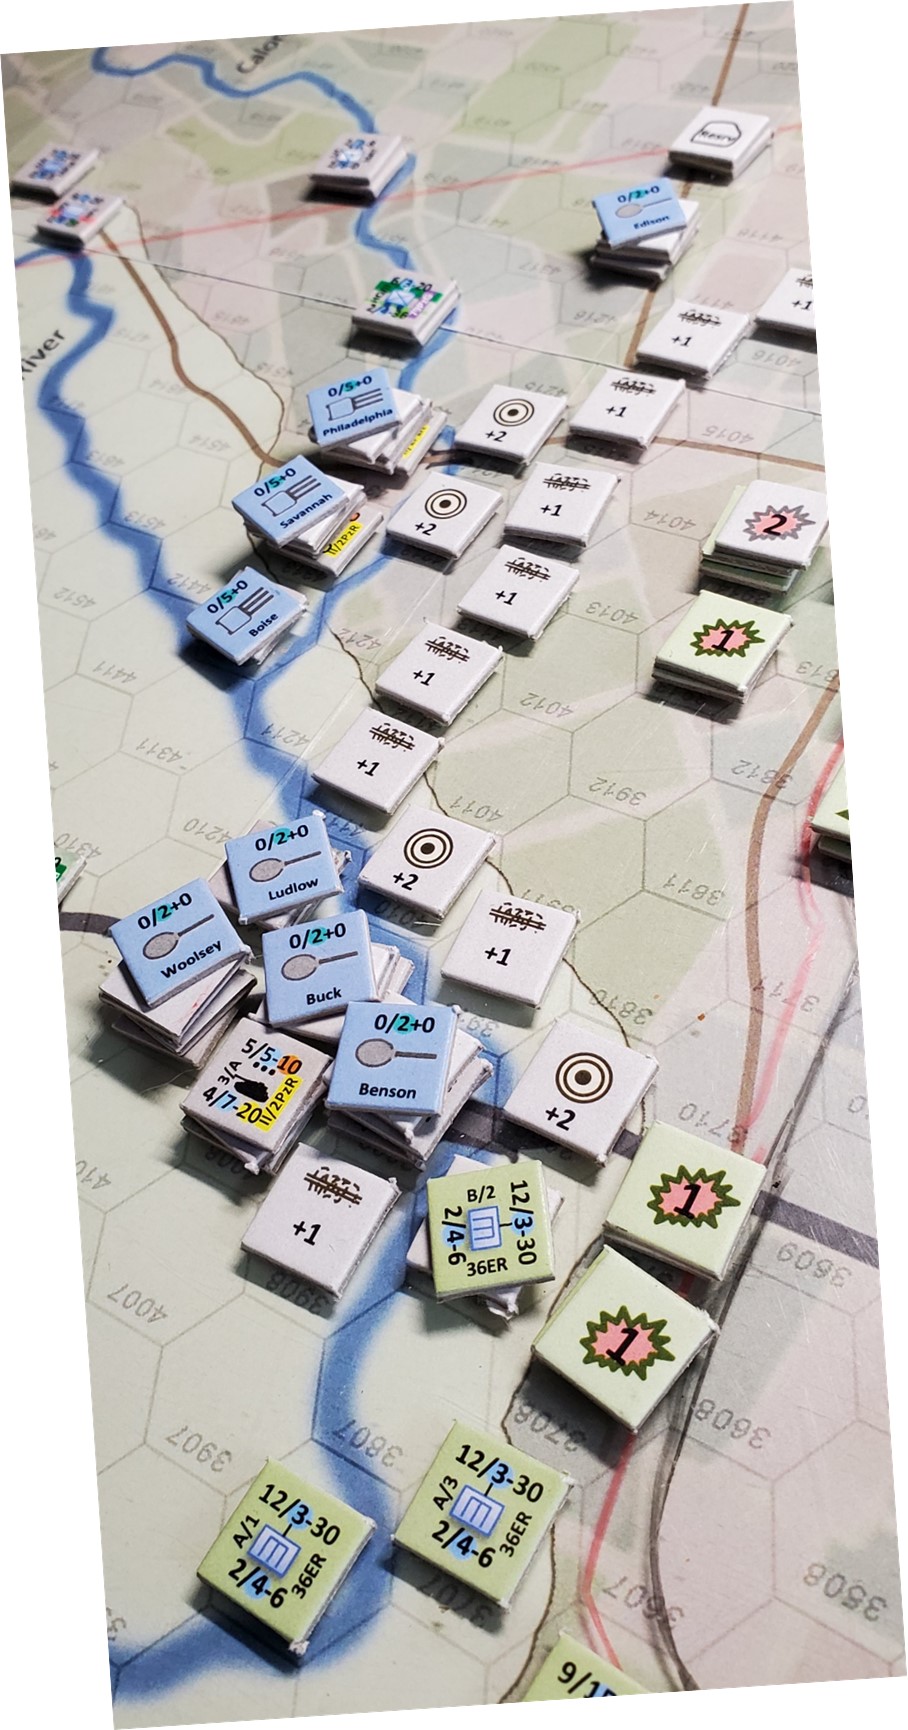
16th AT and arty fire on the approaching 36ER, as does the 501AA detachment. 2B II/2nd Pzr also causes an S2 result. The Yanks are getting pummelled.
The US Naval fire pounds the ground and rains down across the German line.
While loud, the effort bears little fruit.
Near the bridge the fighting heats up, as engineers close to clear mines and wire.
Sadly we leave the battle here due to our miss reading of the setup instructions. The Germans are missing an entire battalion as mentioned in a prior post.
I’ve swapped notes with the designer, who replied with some new setup charts that would be used in his Normandy module. Unfortunately I found those less helpful than the current ones. Lots of words but still not clear explanations of what an icon on a setup map image means “one unit, full Bn, the HQ? Its all just very vague. Or perhaps it is designed for ex military staff only. I was going to make the investment in a second module to see how ‘large scale’ play feels, but the extremely high cost to lower production quality [map size and art quality, counter quality rulebook quality and DPI of the text on counters] the math does not work, especially when I have to fight the setup instructions, right from the get-go. Yes I understand this is a niche publisher.
Overall the system probably plays well and is smooth in some regards, but once suppressions start to kick in, the percentage of this and that, kick in. 1 suppression drops fire power by 10%, 2, 20%.. now if the numbers were smaller or rationalized to a degree that would be one thing. But we are dealing a lot of counters and a lot of numbers on those counters. Which just makes for burdensome play. I’m just not sure how to home brew fix these things.