All right, welcome back to the big board everybody.

Looking at wrapping up on the June 7, not 8th turn.
As we recall this game is the simulation of the Battle of Normandy runs with a turn sequence that goes night turn [night interphase ++], and that’s where we started, went through all the weather and mulberries execution and working out how they work, replacements and reinforcements then the air allocation. We then moved to the Allied Night player turn, the German Night player turn, which basically consisted of a fair bit of movement and one or two combats that needed to be taken care of.
We do the inter phase and then move the ‘turn marker’ over to the 8 June turn [still unclear here. This then proceeds to the AM cycle, which we did, and the PM cycle as well. Which popped us into the end of day phase to end the turn [end of the day].
You know what, that actually must be some sort of mistake there. Now that I look at it, there is an advanced turn marker in two places on the signs of play section A, let me just show you on the video.

Oh, and this is from the first edition, this probably belongs in the night turn advance. You know, you do all that stuff. As I mentioned before, end of turn phase here. Then we go to section B, from A which is the the turn PM [time], turn then D, end of day phase, advanced turn marker I am guessing they mean the am/pm chit] .
That does not seem logical to me, and this is one of the reasons why I was a little bit confused about the game play that I’ve just executed as to whether or not I was actually executing on the 7th or the 8th of June. This makes a big difference for VP calculation.
As you know, we’re looking to try and see if we can score either on the 9th or 15 June. Sudden Victory for the Allies. It’ll make a big difference if I’ve got two extra turns there. So we’ll get to the bottom of that. I’ll go look online and see if there’s an advanced sequence of play that I can check.
Let’s have a look at what has transpired across the AM and PM turns that we just played.
CAEN
Near Caen, the 21st Panzer and the 12th SS advanced into Caen attempting to dislodge some elements of the British Third division that had taken one hex of Caen north of the river, and then that didn’t go terribly well. Both sides took some pretty horrendous losses and status quo, so the Brits have captured one hex of that, which will give them four VPS, which we’ll need to note on the turn cycle.
Both 12th SS and 3rd conduct savagery in the combat forcing a step loss each. As German elements moved neither 12th SS nor Lehr suffered from Air attacks on the move despite full force efforts!!
The recon attacks with the air were unsuccessful in general, so that was a bit disappointing, but you’ve got to put a lot of points on the board. You only have 20 maximum , you can use a turn to get some hits and we just just didn’t make any headway. I suspect its not an activity I will pursue much of going forward… Nice idea weak impact.
As I recall historically, Allied Air ‘claimed a lot of kills’ but generated little to no appreciable impact. Especially if we consider the scale of the Battle for Normandy.
6th Airborne area; under a little bit of pressure, but they’re consolidated now with some support from Third division and we’ve actually started shifting some of these Canadian chaps over the either Canadian Marines or Commandos. I forget what they are, but they’re battalion sized units, so nevertheless, they’re being supported and screening the Germans.

But the Germans have brought the 346 division and 711 division and also elements from 21st panzer still sort of sit floating around there while the balance of forces from the Germans are in Caen. The other thing that the Germans are also doing around Versailles, sort of the southeast woods from Caen to Hasan, trying to extend the line along the Odon river here that will prevent hopefully any sort of flanking isolation efforts by the Brits given that the Canadian 3rd Canadian division and some attached elements of armor are pressing pretty heavily towards St Manvieu.

All right, so that’s basically Sword and Juno beaches that we’re looking at here. You can see 51st Division is still just only just getting onto the ground there, onto the beaches, that unloading, trying to get squared away is taking time, while the 50th Division has really pushed all the Germans back. And it’s open farmland between Creully and Bayeux basically, and nothing much in between them all the way down to Tilly, which is just a few kilometers away from Villers Bocage, which is further down South.
So the Germans have only just managed to get units there and in scant numbers I might add.. They need to have something there because it’s worth a VP, hence the white block I think there are they’re all worth the single VP as well, and they’re worth protecting.
Now you can see the Brits 50th division and circling, but holding off on attacking because I’ve got to be careful. I need to push some armor across to them in order to get to Bayeux . I’ve got to get Bayeux in the next couple of turms. It’s got to happen if we want to achieve the victory levels that we’re looking for. But it’s tempting to go deep because there’s nothing holding back the Brits from actually driving deep. Not that there’s anywhere really significant to go. The leash is Supply range. That factor I need to be more fully aware of.

I would have to be thinking, put my thinking cap on tactically and strategically about where I would go and why I would go there, go wherever either to reinforce the attack on Caen Westward or consolidate and take Bayeux, you know, who knows, try and send some screening forces further southward to slow down any German reinforcements that might be approaching.
That’s another thing we could do with the units that have been landing at Gold Beach.
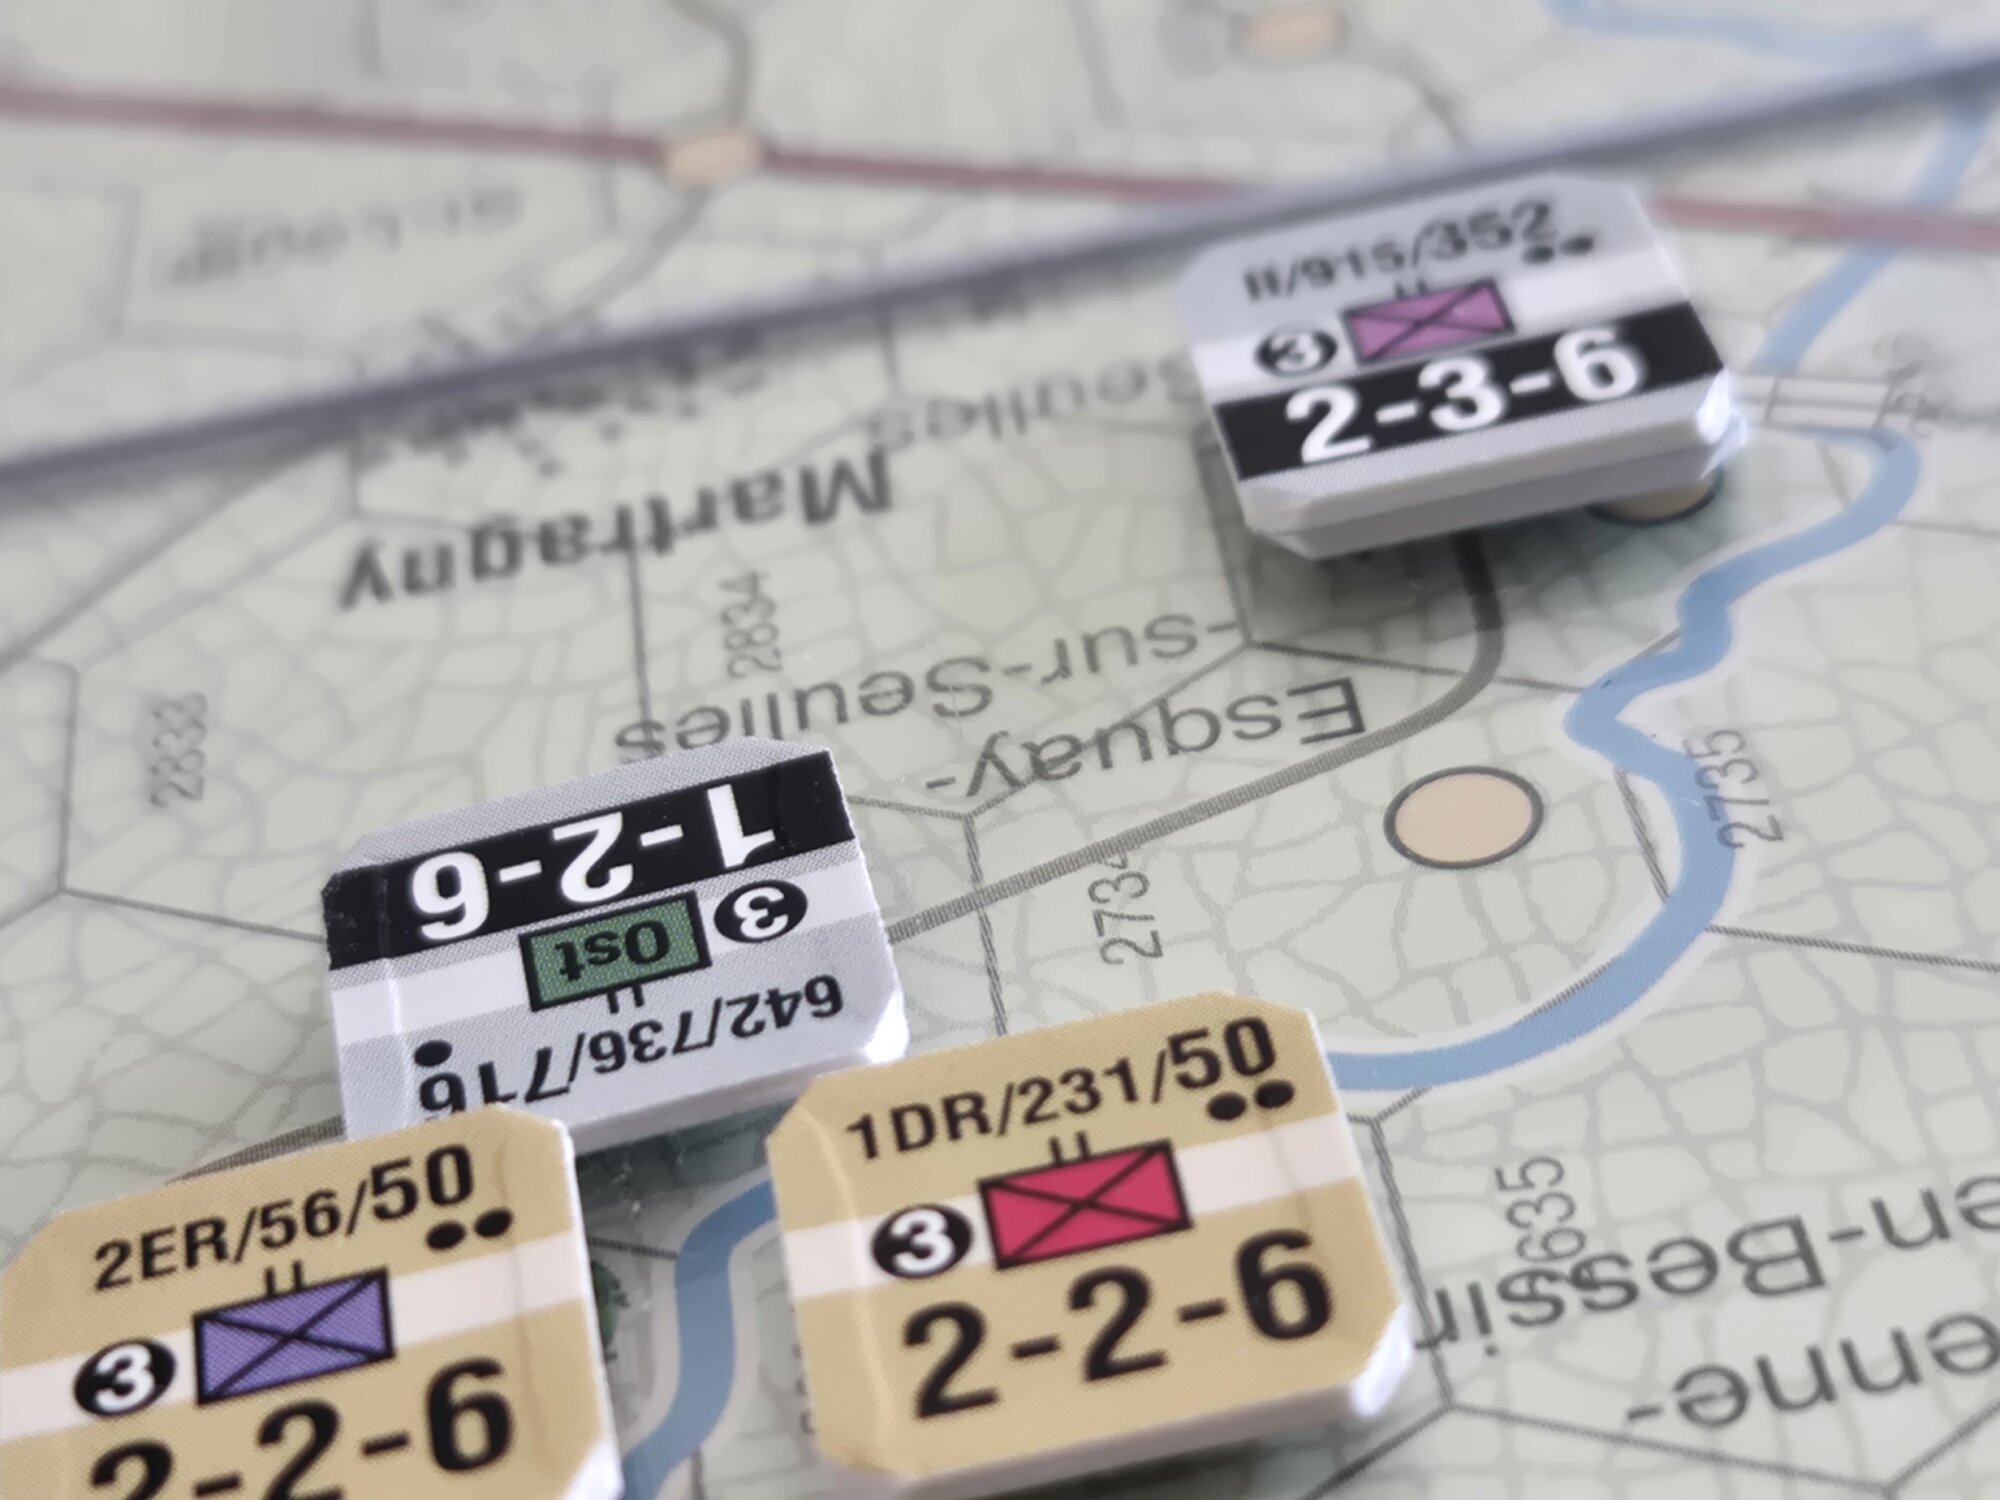
Now this interesting little tactical thing that can crop up from time to time that is useful for the allies to force the Germans to retreat when you’ve got a weak unit like one of these reduced ones. Well, here’s a great example of an OST battalion [INSERT] right from the 700 16th.
Those guys, you know, they were here and the allies had attacked and the result was a one step loss, but no retreat. And so the Germans are stuck there now. So if they are in the same spot next turn, they must attack. If they don’t want to attack, they’re going to move and they’re going to have to move away. So they would choose to move away. So in your mech movement phase, when you’ve got mech units like these chaps,

Units from the 73rd, probably a battalion here, two stepper from the Army group. When you get those guys, you can push those guys in the mechanized movement phase, which occurs, after move and combat, push them up adjacent to Germans and leave them there for the next turn. And hopefully, obviously, they’ll not be attacked because, well these dudes have shit defense … .LOL You’ve got to be careful about what units you really are pushing up adjacent. It’s a way to force the Germans back further without having to attack. If you’re successful with your first combat, you can then push through and place units adjacent to the enemy and then that’ll force them to make a tough choice, either counter attack and keep the hex. And hopefully we push you back, or they can use artillery to ‘soak off’. They could fire their artillery and use up their shots for the turn and let that absorb the mandatory attack that has to happen due to the adjacency rule for Mandatory Attacks. Not all hexes have to be a mandatory attack. There’s some flexibility and all of that.
Okay, let’s get on to Omaha Beach.
OMAHA

Struggling with these guys because they’re taking pretty heavy, real heavy losses. But the First division Big Red One is pushing, Southwest really just hunted the 352nd division out of this area. Treviaries is going to be taken shortly.
There’s literally two units: a Jaeger element, a FJ battalion, and an artillery piece. The first division still has some relatively tough guys there, but have you got to be careful.
Next turn reinforcement is key here! The Mulberry bridges aren’t anywhere near being built yet.
Similar for the 29th ID, they took a lot of losses there, gently easing their way currently forwards.
What is that going to be? East towards Cherbourg and potentially trying to link up with Juno? I’ve got some Rangers down here as well and a couple of elements from the 2nd Armored element of where we’ve landed and added a little bit of firepower here and there. I think their job really will be to link up with the elements that will eventually take care and time, then start pressing southwards towards St Lo. That would be a significant objective, just given the number of roading of sections that it has a 7 roads that intersect . So no wonder why that was important.
Juno

Okay, now the fun stuff for the amusing slash ahistorical elements The Allies elected to hold their positions with 82nd airborne along this sort of river line here and across the Saint Mary GE [INSERT SPELLING ] took Saint Mary GE and then waited for Fourth division to come and reinforce them. 101st Division was also over in this area as well, and they’re doing their job holding line while 90th ID and some parts of 101st headed towards Carentan to go do what they need to do there to capture those VPs, because I believe that’s two VPs a Hex and we’d like to capture those by the end of term 9 if we can. Now, with that in mind, German, very interesting. We have, 709th, 701st and 91st division will press on Saint Mere Eglese and the coastline. Let’s see what we can do. They’ve been making some piecemeal attacks here and nipping away at the allied positions in and around Saint Mare Eglese. And then they’ve taken all the 243rd division, which you can see is kind of streaming southwards past. This is a town called [INSERT NAME ] Pond Pond Abbey PO n TL apostro ABB e . pushing across the river, across the Duvet river here. Then they will try to kind of loop around and reinforce Carentan and potentially help hold that if they can get around there quick enough.
So that’s what’s going on. Off in the distance. There are some minor elements that are being advanced up the roads from way, way down on the southern portions of the maps, but that’s kind of a full encapsulation of what’s going on. A lot of air used, but we did not use up all of our all of our airpoints. I’ve been using air basically as a terrain negator. So if I’ve got a decent odds out of 4 or 5 to 1, and then there’s a -3 DRM for Bocage or City, I will then apply three air points to that. And that negates that. If it’s in farmland, it’s a -2. I’ll use two air points. So I’ve been fairly frugal with them, probably could be more aggressive and used them in nearly every attack, but they also cost supply points, so you’ve got to be very careful with the supply consumption.
I believe I’m still actually doing okay. Well I’m more than okay, actually. After the first turn full I have 110, 118, if that’s accurate, might be a little less 118 combat supply points. So I think we’re good to go. We want to, push hard, we want to press, we’re going to now move into the night Inter turn phase and see what happens from there. And we will catch up soon.