Apost shared from BGG with permission from(LgRangeContactPatrol)

Battle of Utica, start. Hamilcar has his army cross the Bagradas River at dawn to attack the designated river guard. Spendius, leaving only enough forces to maintain the siege, reinforces his river guard with 10,000 men from his main force.

Hamilcar’s elephants easily break through the rebel skirmish line but place themselves in range of Spendius’ main force.
Spendius inspires his men…
“It matters not that Hamilcar himself leads their army. We ARE the undefeated army of Sicily! The Carthaginians are weak and send peasants against us. Without their Elephants they are nothing! Steel yourselves, men, and fear not these beasts. All advance!
The Samnites and the soldiers of Magna Gracia are detached to reinforce the river force. The former Roman AS legionaries perform great work, finishing off many of the elephants by javelin. The main rebel line engages the elephant line in bloody combat. Men in beasts are slain in great numbers.

Mago, the Carthaginian commander of the Elephant Corps, is driven off. The fighting on the rebel left becomes chaotic.

Hamilcar’s main infantry force is over a mile away from the combat and Hamilcar decides that they must form in battle array to advance in support of the elephants. The Carthaginian Sacred Band of Cavalry, by far the best unit on the field, is sent ahead in an attempt to spoil the rebel attack. The rebel cavalry on the left flank, no match for these devoted soldiers, but they manage to keep Maharbal from completing his flanking maneuver until they are chased off by an elephant breakthrough.

The rebel left forms a desperate defensive line. Spendius manages to keep the best of his troops in the fight long enough to shore up his flank, and the host of infantry manages to encircle and destroy what elephants remain. The cost is high on both sides but the Carthaginians lose almost all of their elephants.
The Carthaginian conscripts, following in support of the Sacred Band Cavalry, manage to route the rebel’s Celt swordsmen. Autaritas is stretched to the limit but due to Spendius being trumped by Hamilcar, he is ineligible to attempt momentum. His cavalry and hoplites are in good order and eager to fight, but the Carthaginian forces stay well beyond their reach.

Spendius’ troops lose their nerve and do not stand before the Sacred band’s charge on their left. It is a simple task for them to ride down the exhausted infantry line afterwards. Spendius and some of his best troops manage to escape, but the siege of Utica is over. The end result is close to the historical one – Spendius would lose 8,000 men in this battle historically, but in this simulated battle, he takes almost all of Carthage’s elephants with him. Hamilcar would go on to be the hero and savior of Carthage, but he will be forced to go on without his elephants. It will likely be many years before the Elephant trainers will be able to replenish these losses.
Thoughts on this battle:
Hamilcar is an elite commander and he will always have the ability to move first. What’s more is that there are twice as many Carthaginian commanders as rebel commanders. Spendius is a decent commander and his strategy rating gives him an 80% chance of coordinating his other line, but he is only able to do so much. Even if he had more initiative, he would be hard pressed to counter the moves of all four Carthaginian generals, and even then there are few commanders who ever lived who could not potentially be trumped by Hamilcar Barca in this game system.
Note that I had substituted Ligurians for Numidian MI because I assumed, incorrectly, that the Roman allied Numidian counters would not be used in this module. This gives the rebel player one higher TQ point for each of those units, which wouldn’t have altered the final result but which gave them a leg up against the elephants. It is a minor change though, since the Belearic Slingers are one of the best counter elephant units in the game. Thise module is one of the rare opportunities you get to use the very best slingers against elephants instead of having them on the same side.
Also note that I always use Depletion and Engaged rules. Depletion seems like a no brainer considering that it is the only form of individual unit casualty tracking. Engaged, I think, is a massive improvement to the game for two reasons; it causes the game to move along more smoothly and quickly. Engaged makes the game seem more realistic – having two units locked in combat but to stop and stare at each other doesn’t make a lot of sense and it seems out of place in a melee oriented game. I go one step further and continue all currently Engaged units’ combat when a shock attack is made anywhere on the map. The rationale is simply that I find myself in agreement with the designer’s notes on how long it was feasible that heavily armed men would continue to fight each other before the contest came to a decision, one way or another.
The die rolls for trumping were very close in this battle. Spendius was able to maintain momentum until he was finally trumped by Hamilcar with a flat Zero. Even the best commander can be stretched too thinly. My thoughts are that Spendius is a great leader, as his men would later risk their lives to retrieve his corpse from a Carthaginian camp, but has mostly average ratings to represent his leading a polyglot force. Hamilcar’s Elephant line can be defeated, especially through skillful use of missile units, but the rebel army will be hard pressed to neutralize them before Hamilcar can bring his superior forces to bear. The Hoplites are by far the best unit in the rebel army, but without fortunate momentum rolls (not to mention being force marched) they will be unable to bring their might to bear. Overall this is seemed like an extremely difficult battle for the rebels to win. An aggressive Spendius runs the risk of losing his flanks to the Sacred Band, but a defensive Spendius will inevitably be swarmed by the low quality (but massive) force of Carthaginian conscripts.
Carthage has a lot of weak infantry in this game and it almost resembles a Persian army more than the usual SPQR armies with a solid core of Phalanx and cavalry. The Sacred Band is an overwhelming advantage here. The risk of using the cavalry is a small one, as the rebels have little to work with and there is only a 20% chance of the Sacred Band chasing a routed enemy. The elephant corps probably has more long term value than their route point cost represents, but for the purpose of the battle they make an almost disposable anvil to pin the rebels down with. The only point of caution for them would be if the rebels sacrifice frontage to hold them off, but this opens up other advantages for the Carthaginian. I think I made the right decision, as the Carthaginian, to send the heavy cavalry in both directions. The infantry levies in the rear will take a long time to reach the fight, even if they remain in column, but focusing a frontal attack on the rebel right is probably the only way you can completely throw Hamilcar’s army away. Spendius’ strongest infantry are on his right and that is where his only subordinate is. It turned out to be far better to keep Spendius himself under pressure on his left than to attempt to take out the river guard first.
Even though Spendius lost the same numbers as the histories tell us, this is probably a Pyrrhic victory for Hamilcar as he lost almost all of his elephants. For a follow up battle, I may try Hyppacritae with the Carthaginian elephant losses reflecting those lost in this battle. I like games with campaign experiences and this particular war is a very good place to start making one.

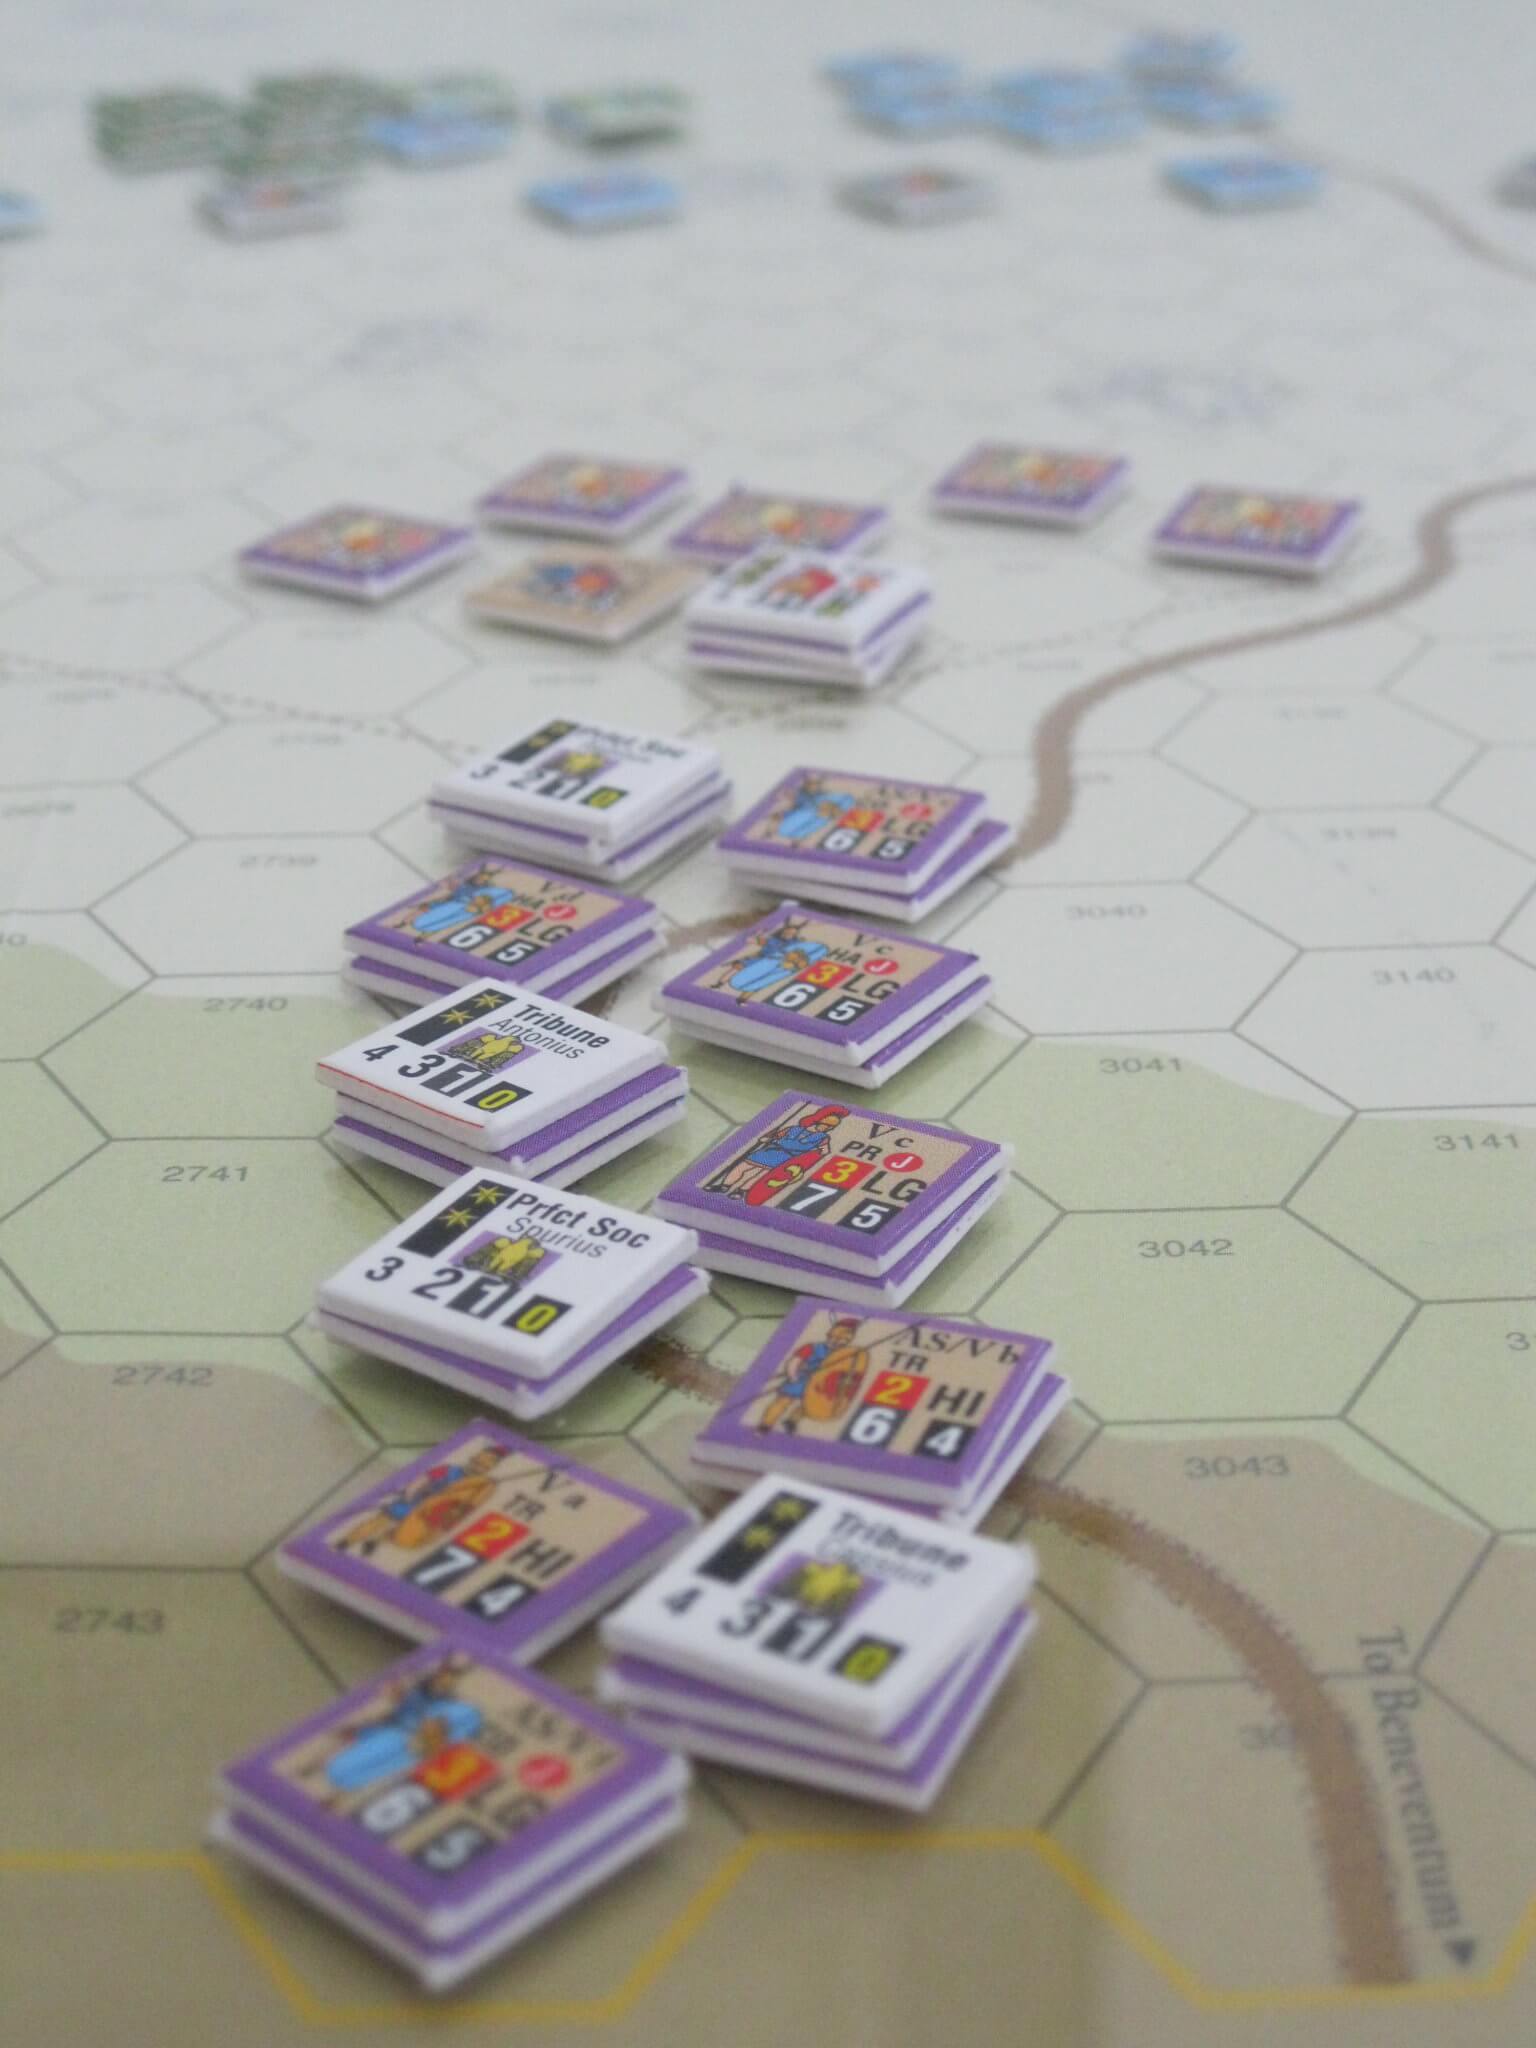
The remaining units of the rebel center after the Sacred Band’s destruction of the left. Some of the cohesion hits were removed before this photo but all were in relatively good order. Were this the final battle, it seems likely that they would have stood their ground, but this was not worth losing the army at the time. The war had not yet descended to the level of constant atrocity which made it famous, and Carthage was still an isolated force. Likewise it would have been costly for the Sacred Band to spend its blood chasing down those professional Hoplites, so it’s easy to see how the war managed to continue as chasing down a routed army isn’t always as simple as hunting wounded deer.

In the follow up battle of Hippacritae, I have begun with a depleted Elephant line but increased the Numidian and Carthaginian Cavalry commitment. These prove to be more than enough to make the Carthaginian force strong and capable. The Numidian Cavalry is already one of the strongest units in the game, due to its high TQ and maneuverability. Even when facing strong infantry, it has great staying power and almost never wavers before combat.

Being outmatched on the flanks, Spendius is forced to fight in a more Roman fashion. The Carthaginian levies are no match for his veteran infantry. The battle on the flanks is a close thing, with the Numidians and Sacred Band performing very well, but without their elephants to create chaos, the Rebel center line is much stronger than the Carthaginian line.

The critical difference in this battle, aside from the lack of Carthaginian elephants, is that Spendius now has two subordinate commanders. Spendius is free to keep keep the cavalry and light infantry on his left flank in the fight long enough to hold off the Sacred Band. Even with Hamilcar’s elite initiative, and pressing his cavalry hard with momentum during the later stages of the second turn, he does not achieve an encirclement. The Numidians manage to route some of the Libyan heavy infantry, but their compatriots move up to replace their position in the line. Spendius is fortunate and manages a win at some cost to his own forces.
Historically, it was the defeat here and escalation of atrocity by Spendius which led to the war becoming more brutal. Presumably the Carthaginian Senate will be more amenable to the rebel demands after this. If not, it is likely that a divided Carthaginian alliance will be exploited by the Romans, just as it was historically.
This was my first attempt at linking two battles together and I intend to do more of these in the future.
Now how would this play out on Field of Glory 2