As rhetoric heats up to a level suitable for hostilities the NATO forces seek to inch forward to prepared positions. The first game action we conduct isto see who is eligible to pre-move on the NATO side [ Any unit rolling 1d6+3 < than their Proficiency rating is allowed to move]. Several units execute these moves to the front or seek slightly better terrain advantage. So before we go too much further with this AAR let it be known that this will serve as a complement to the Videos being posted which will discuss game mechanics were possible, and some overall strategy and observations. Whereas here we will follow the action as it ebbs and flows. Noting specific combats and events where they matter .
Once forward movement is complete the Deep Strike phase for the Soviets only commences. The Soviets opt for maximum effort on air superiority and a balanced approach to runway cratering versus air forces for ground strikes and reserves for combat support.
I just realized post setup that since I’m playing the short version we won’t need the southern sections. Ahh well what the heck let’s roll with it all in any case.

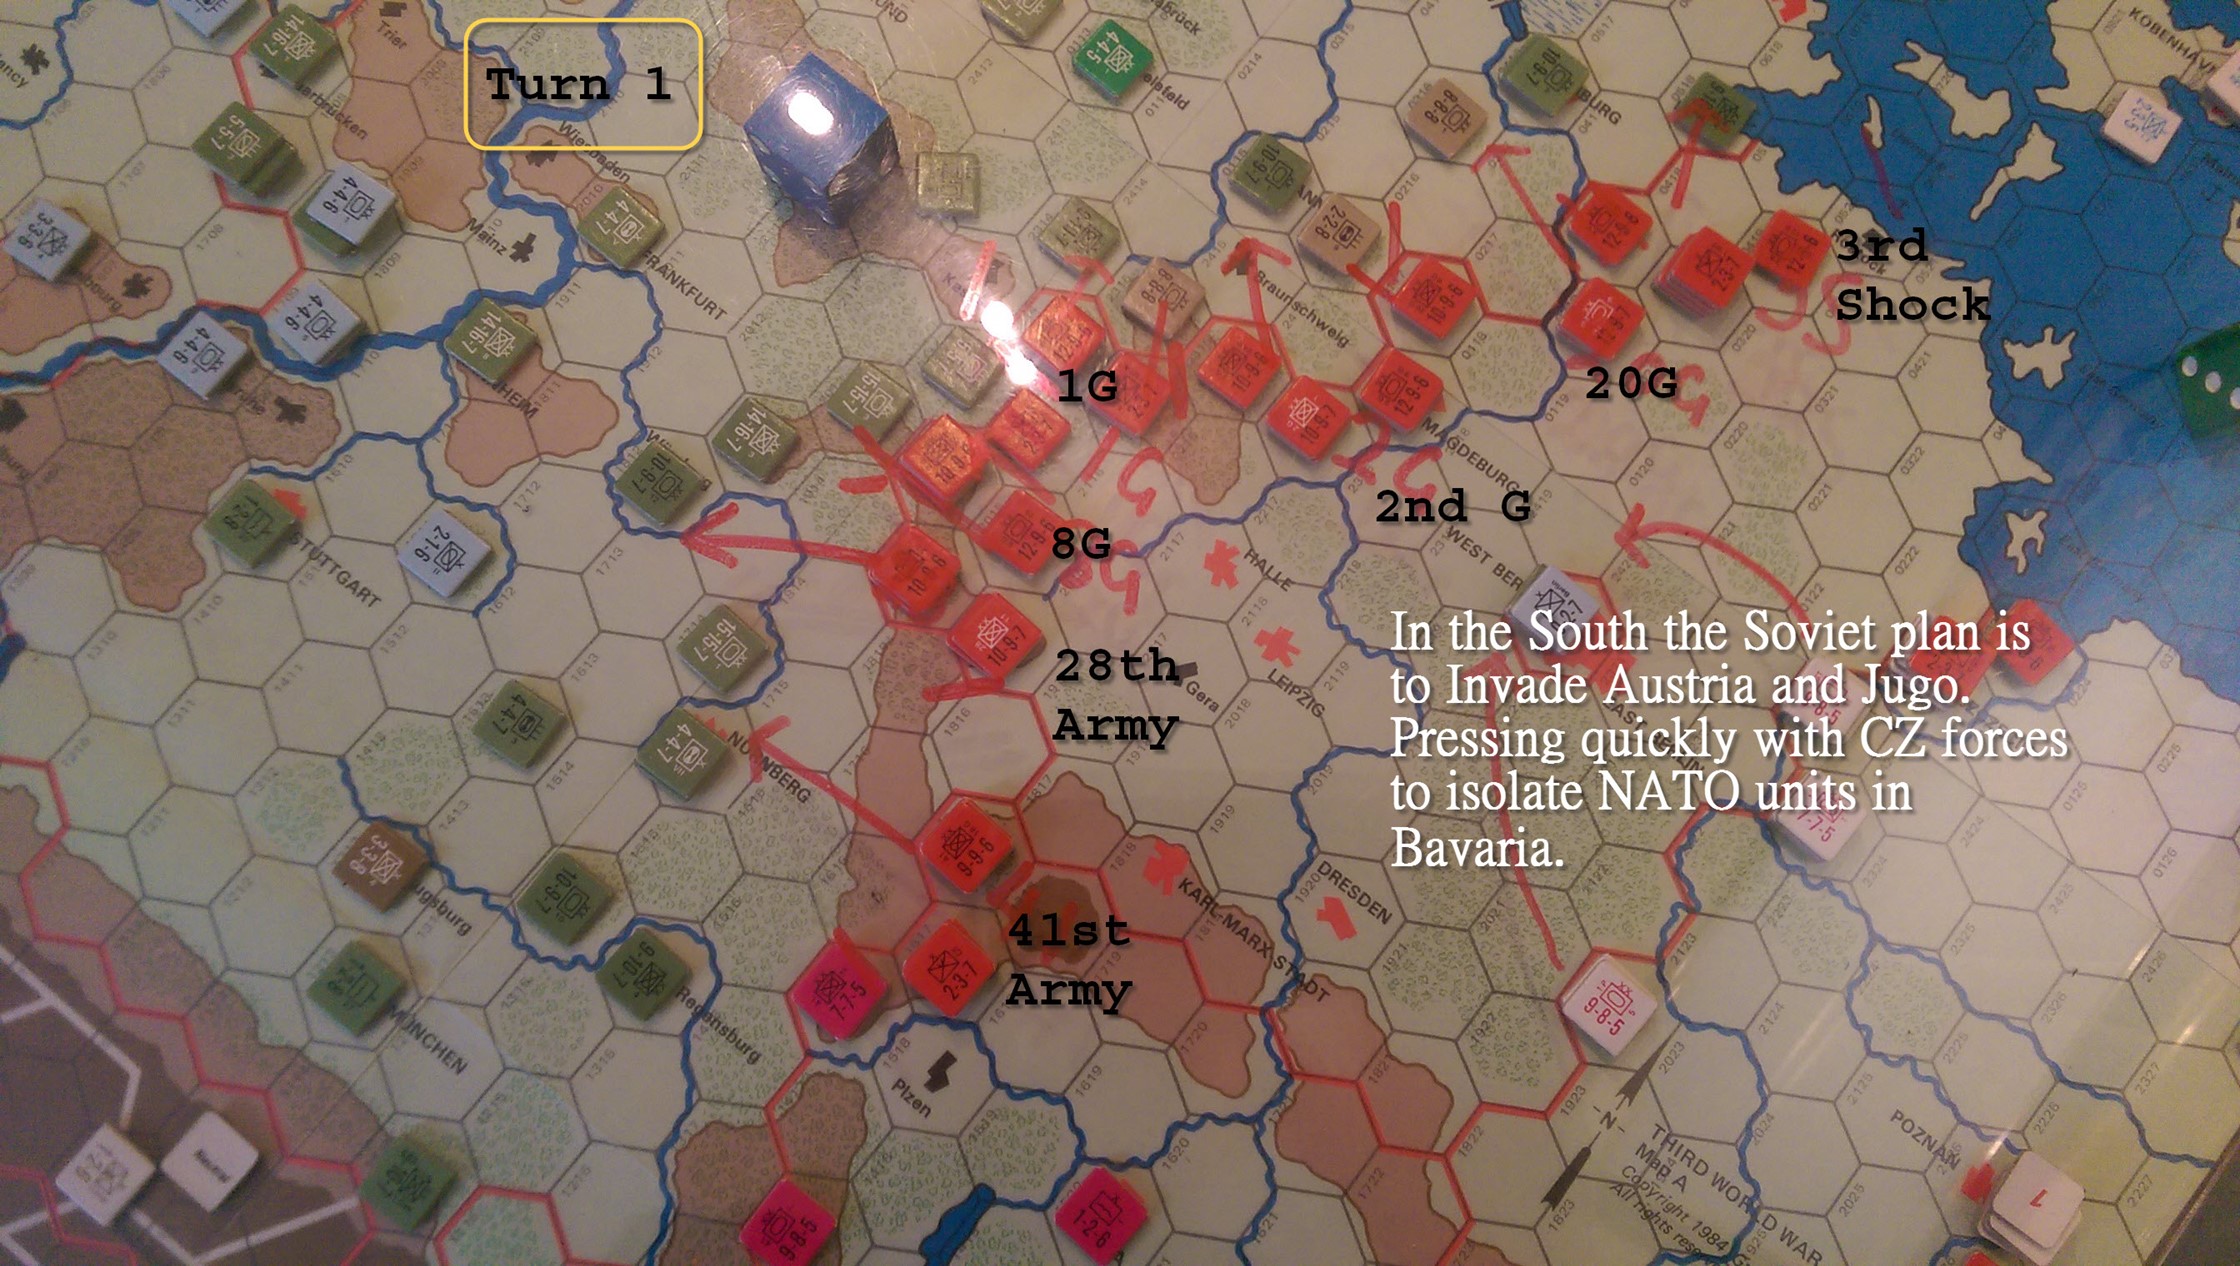
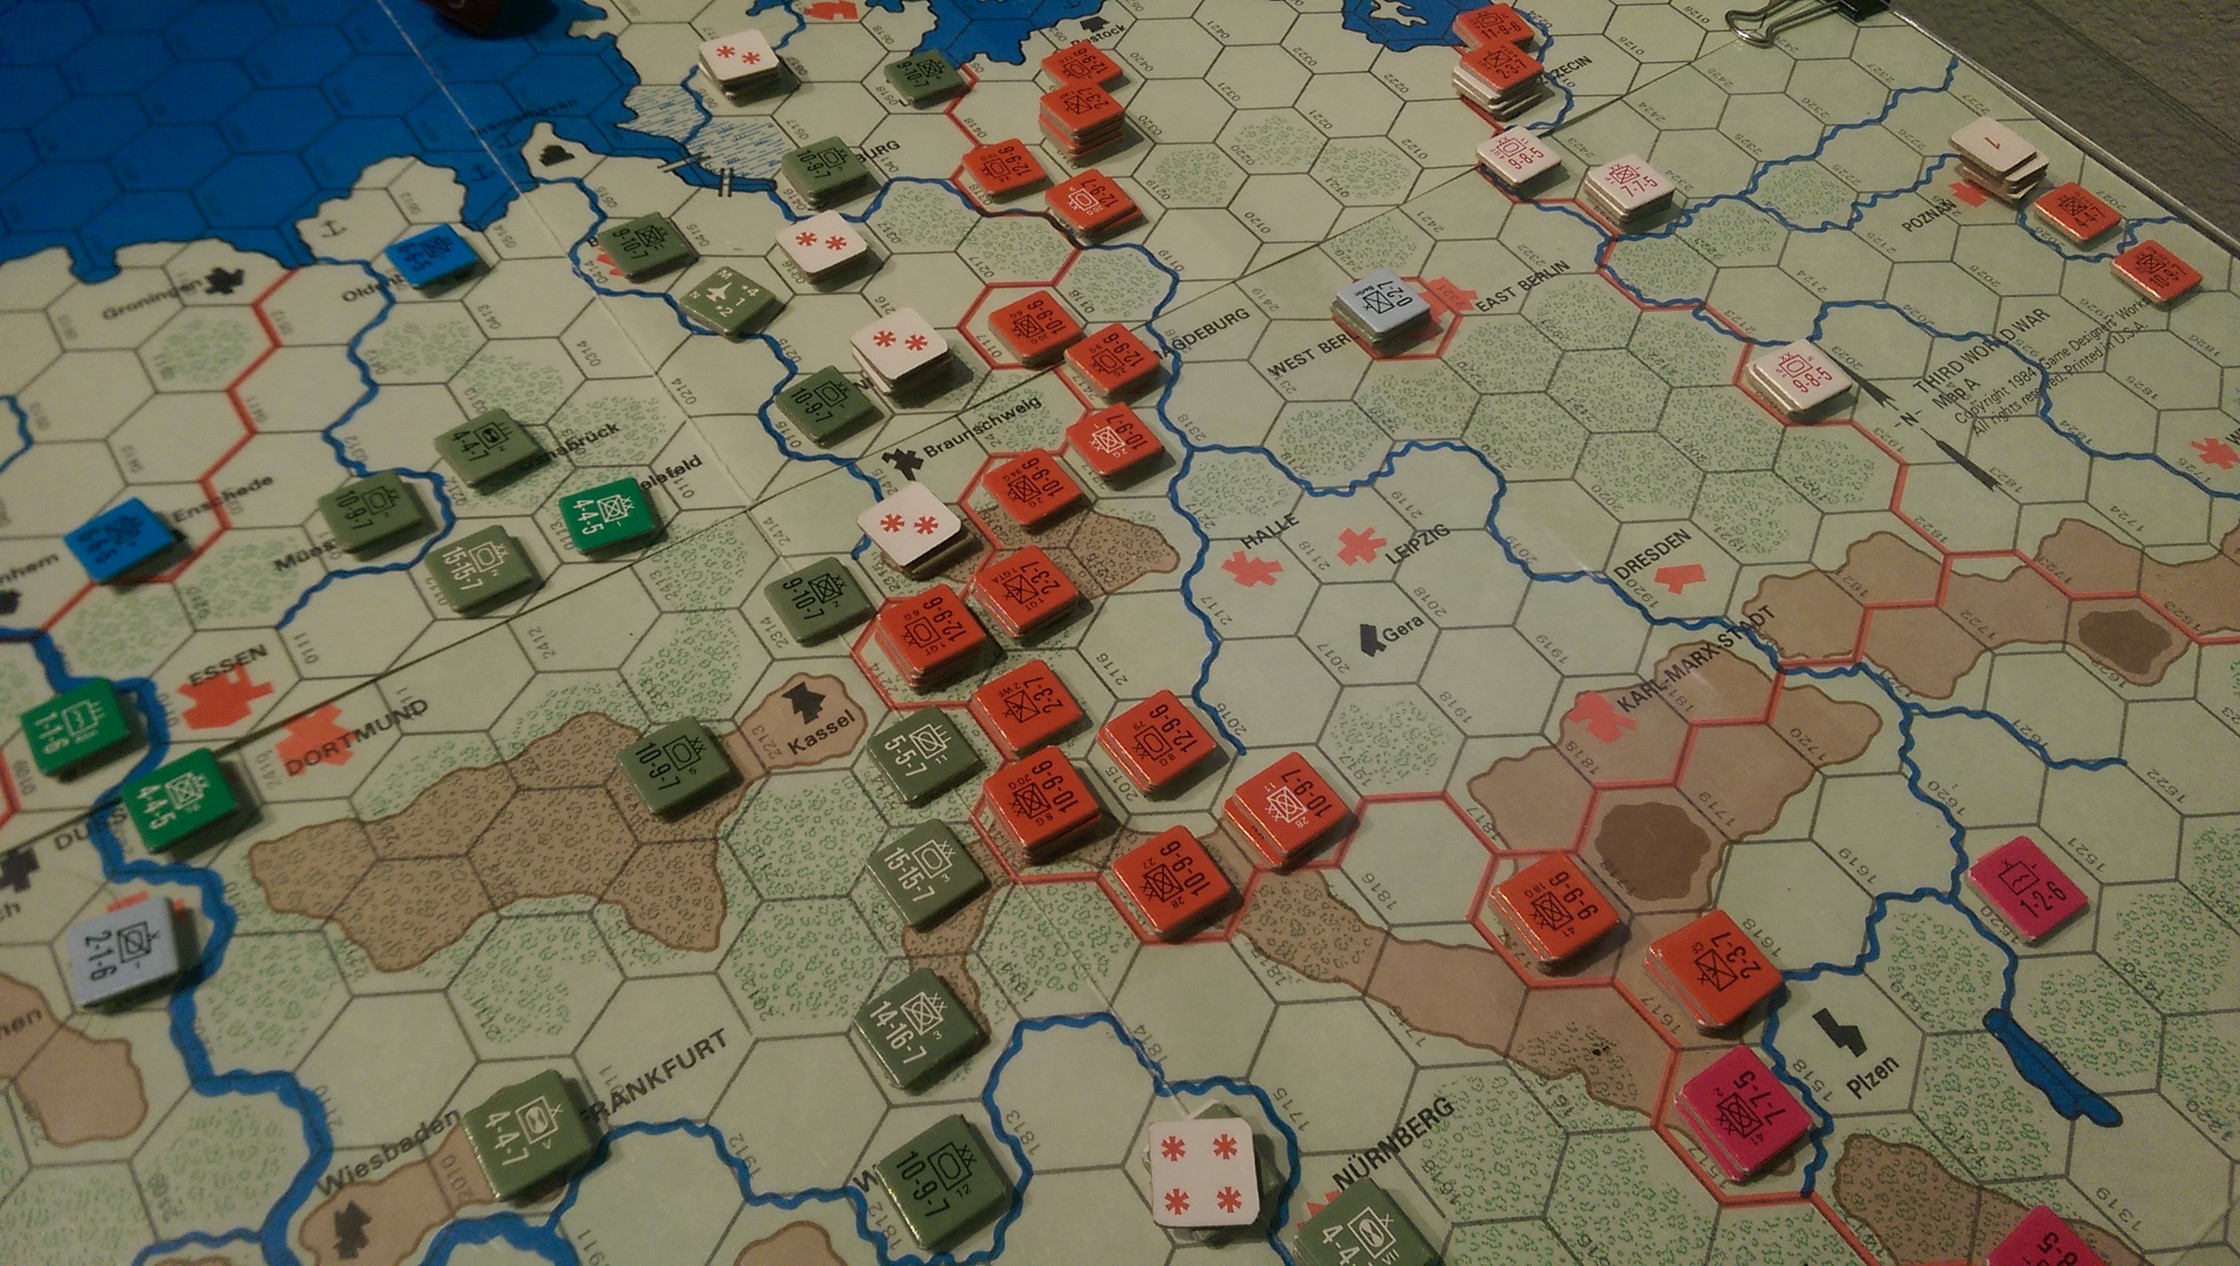
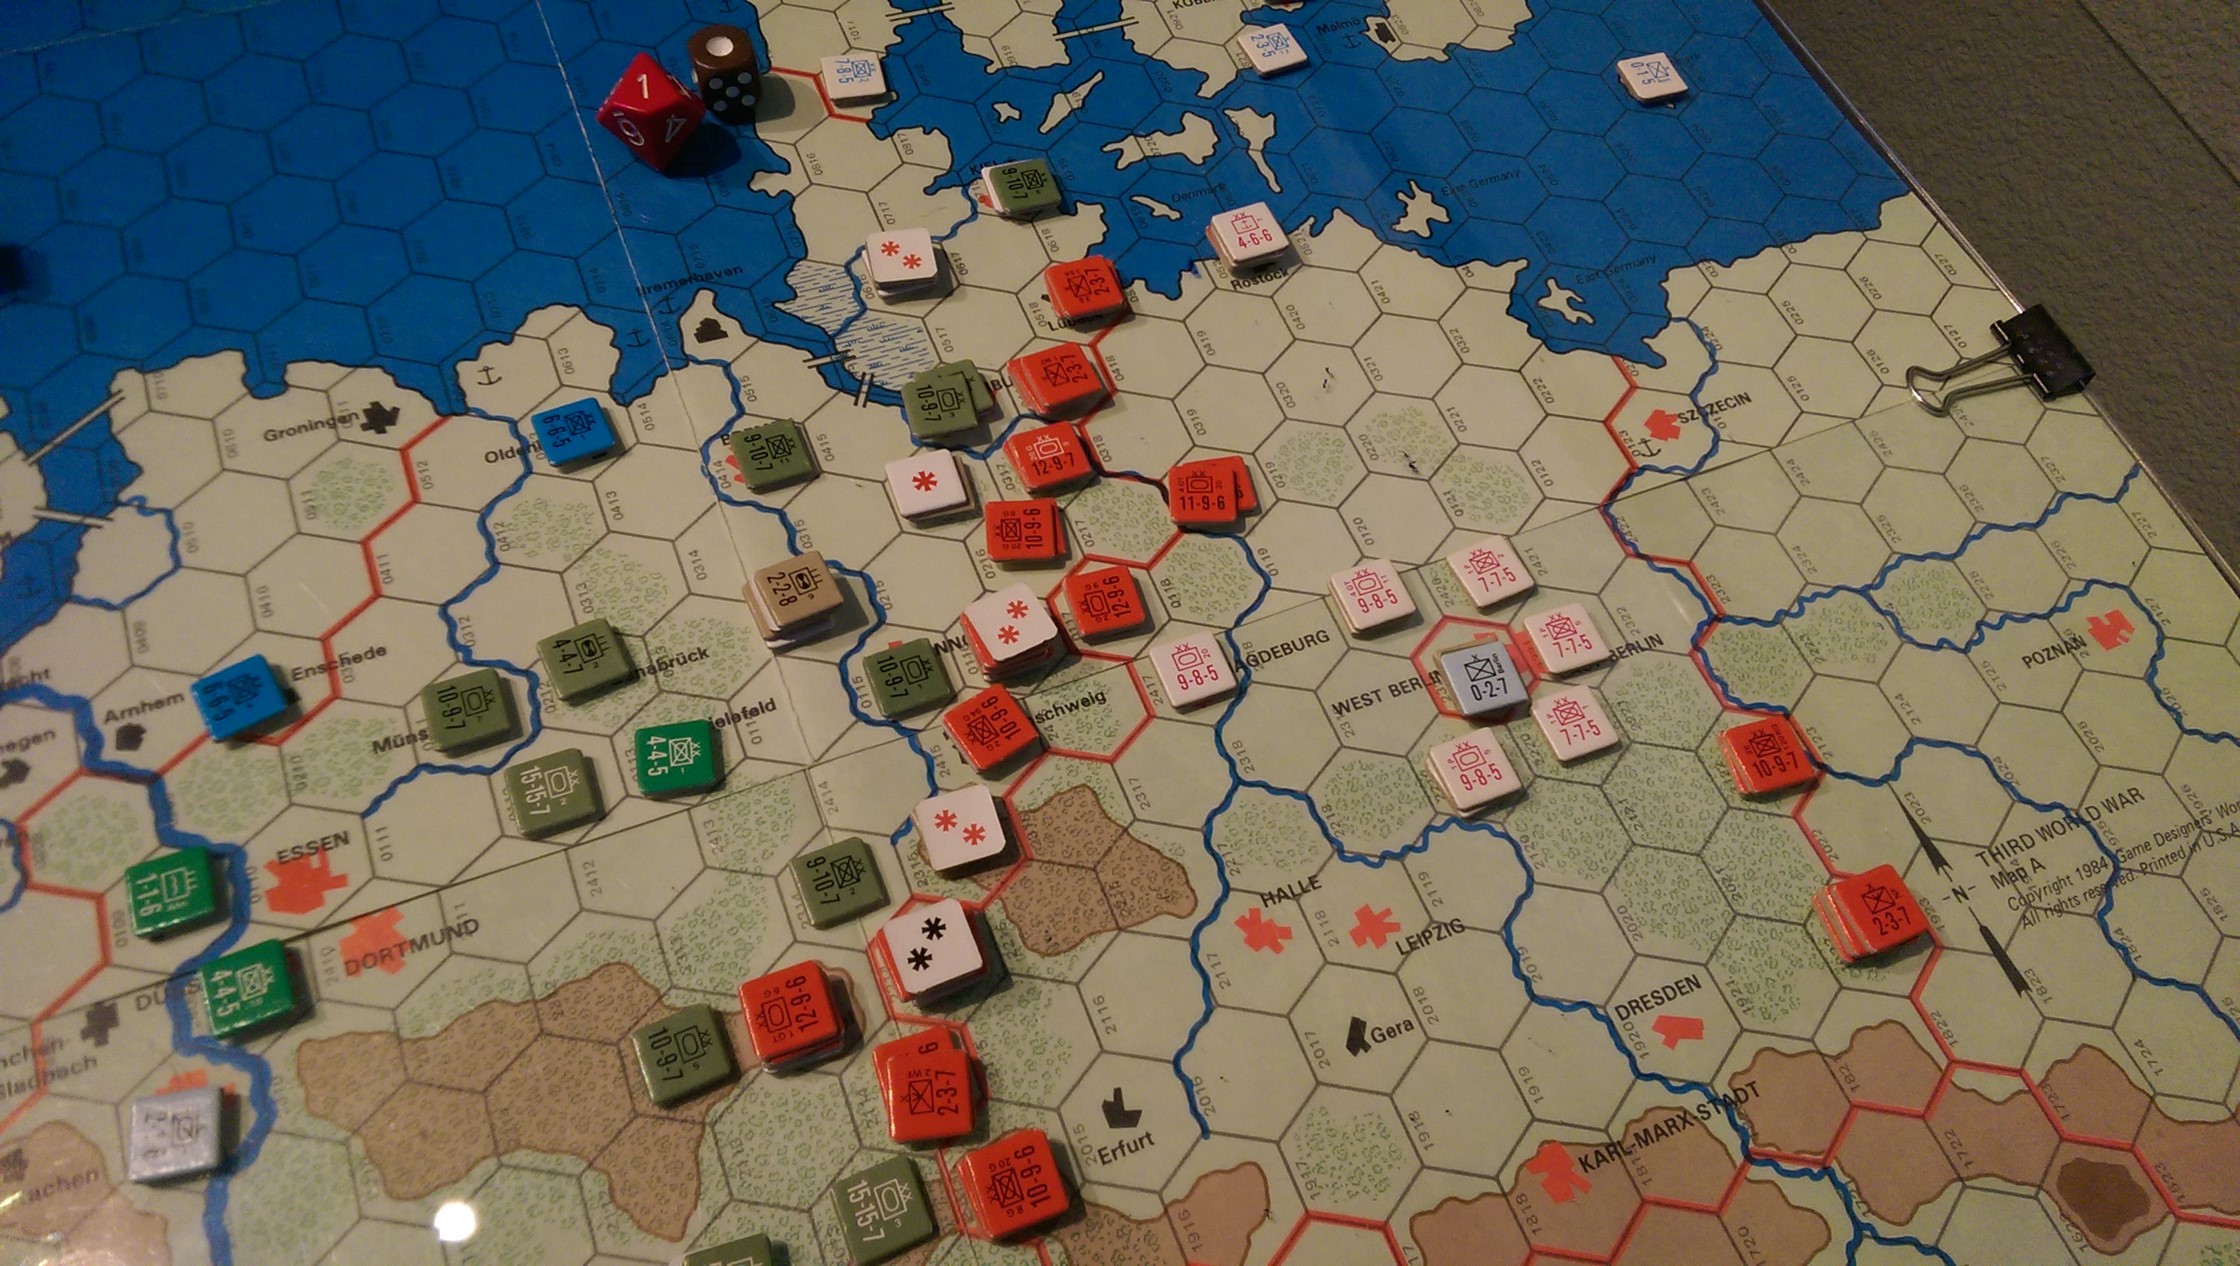
Despite the glare, here we can see where each formation is headed. Soviets suffer a stacking penalty if they mix Armies in stacks. That is enough to keep you organized! Our goal if you recall from the videos is to split the NATO forces and hopefully defeat separately. With the idea being to capture a city and drop a full division behind the lines at some point.
Soviets grab Air superiority using 25 air to NATO’s 18. The Soviets conduct deep strikes and earn a measly 3 hits on cratering airfields! I had hoped for a bigger impact, but intercepts, and AA did their job!
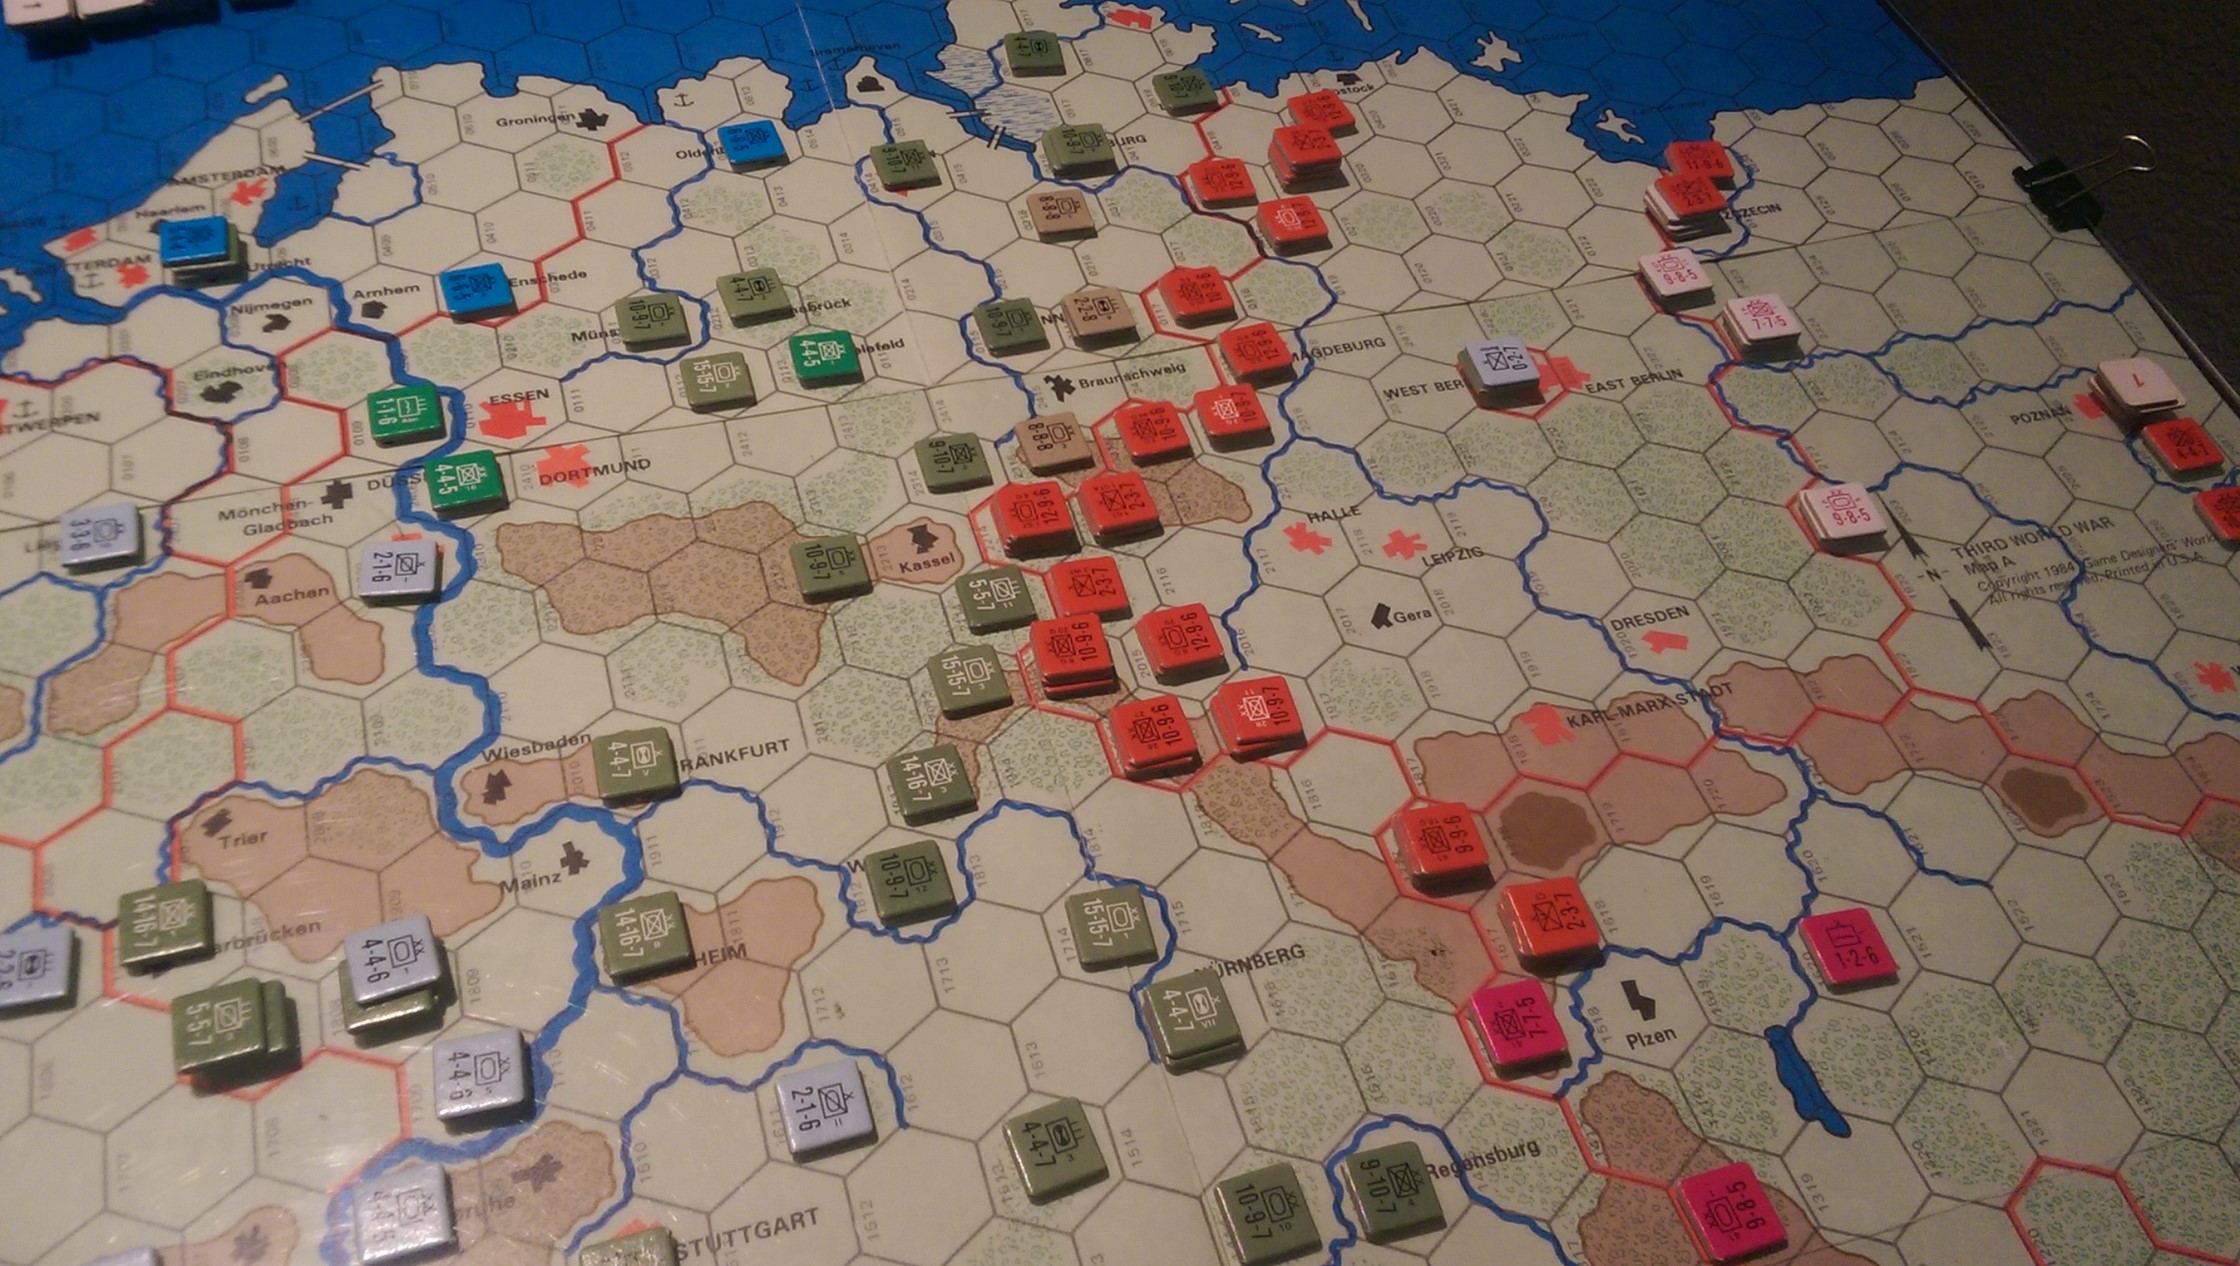
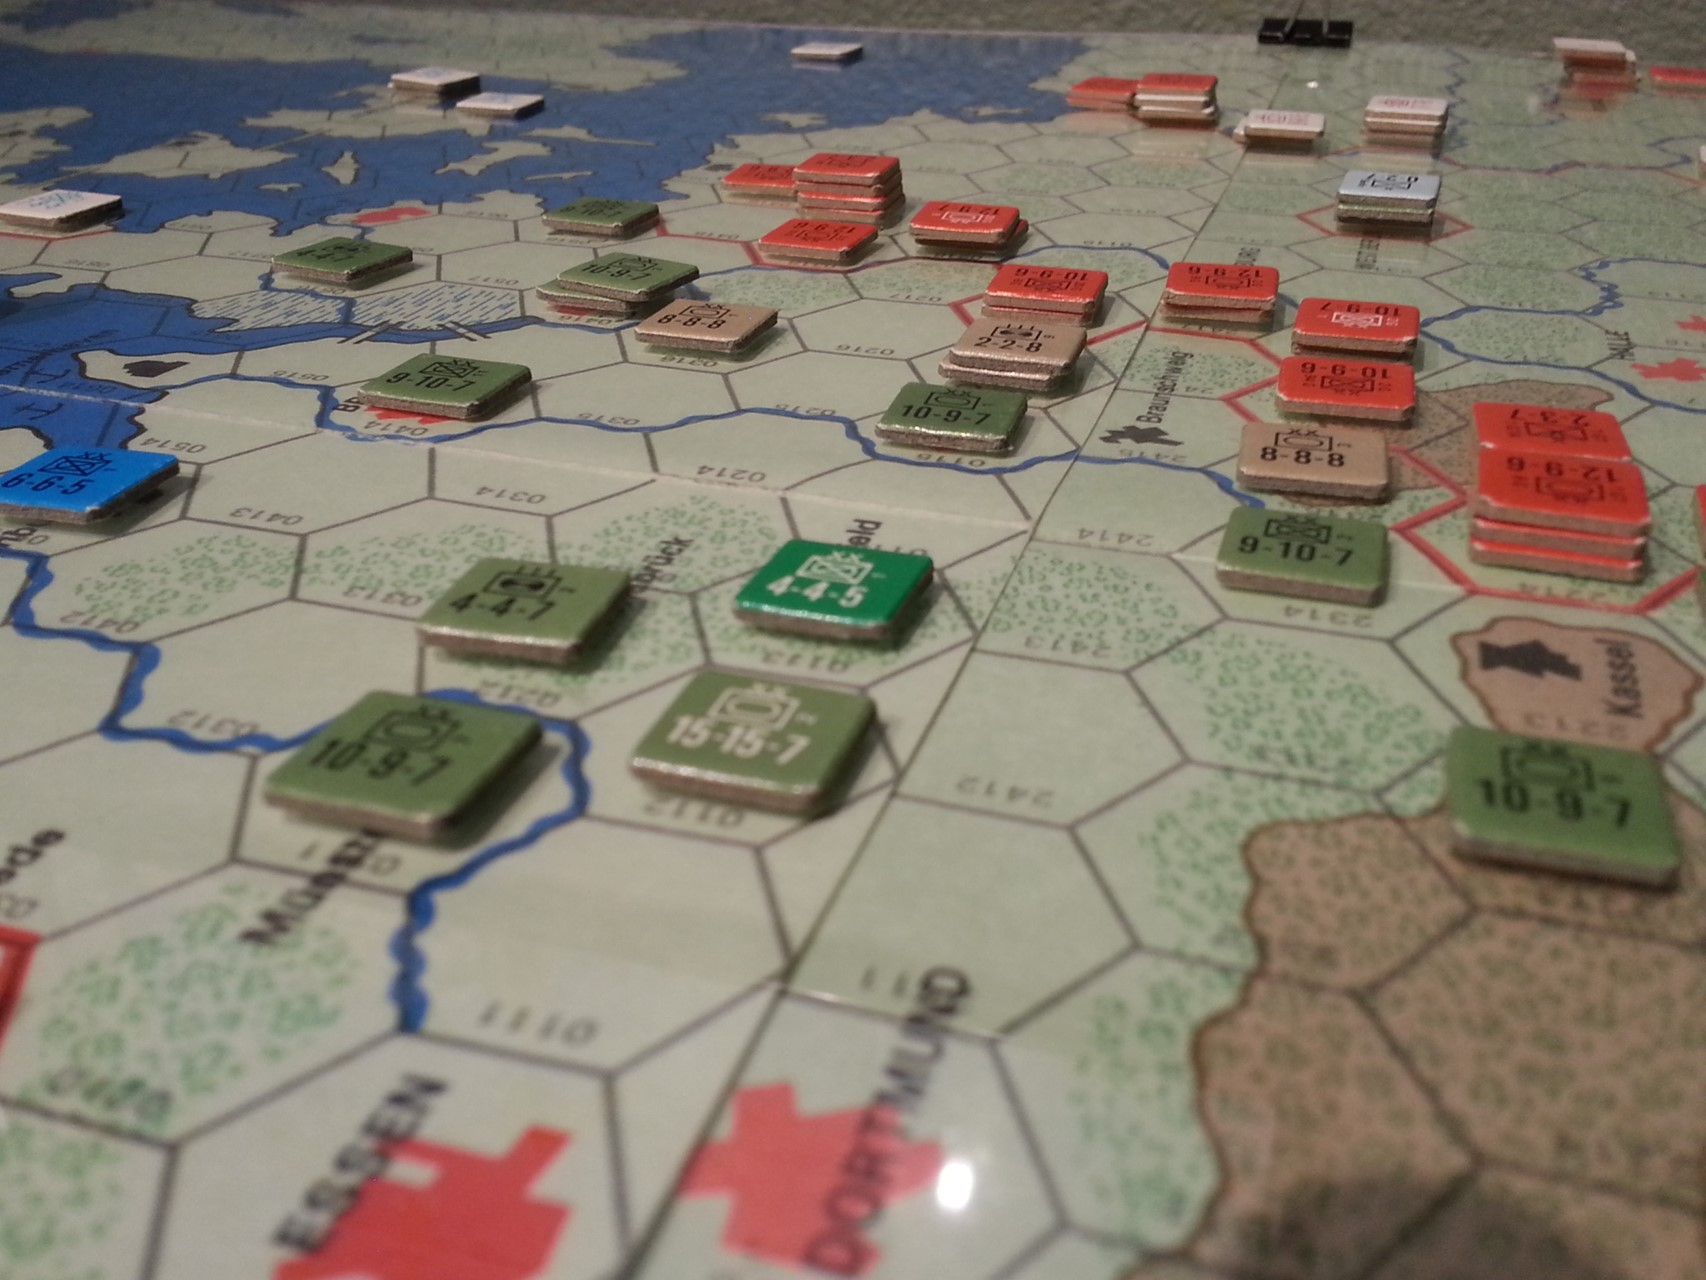
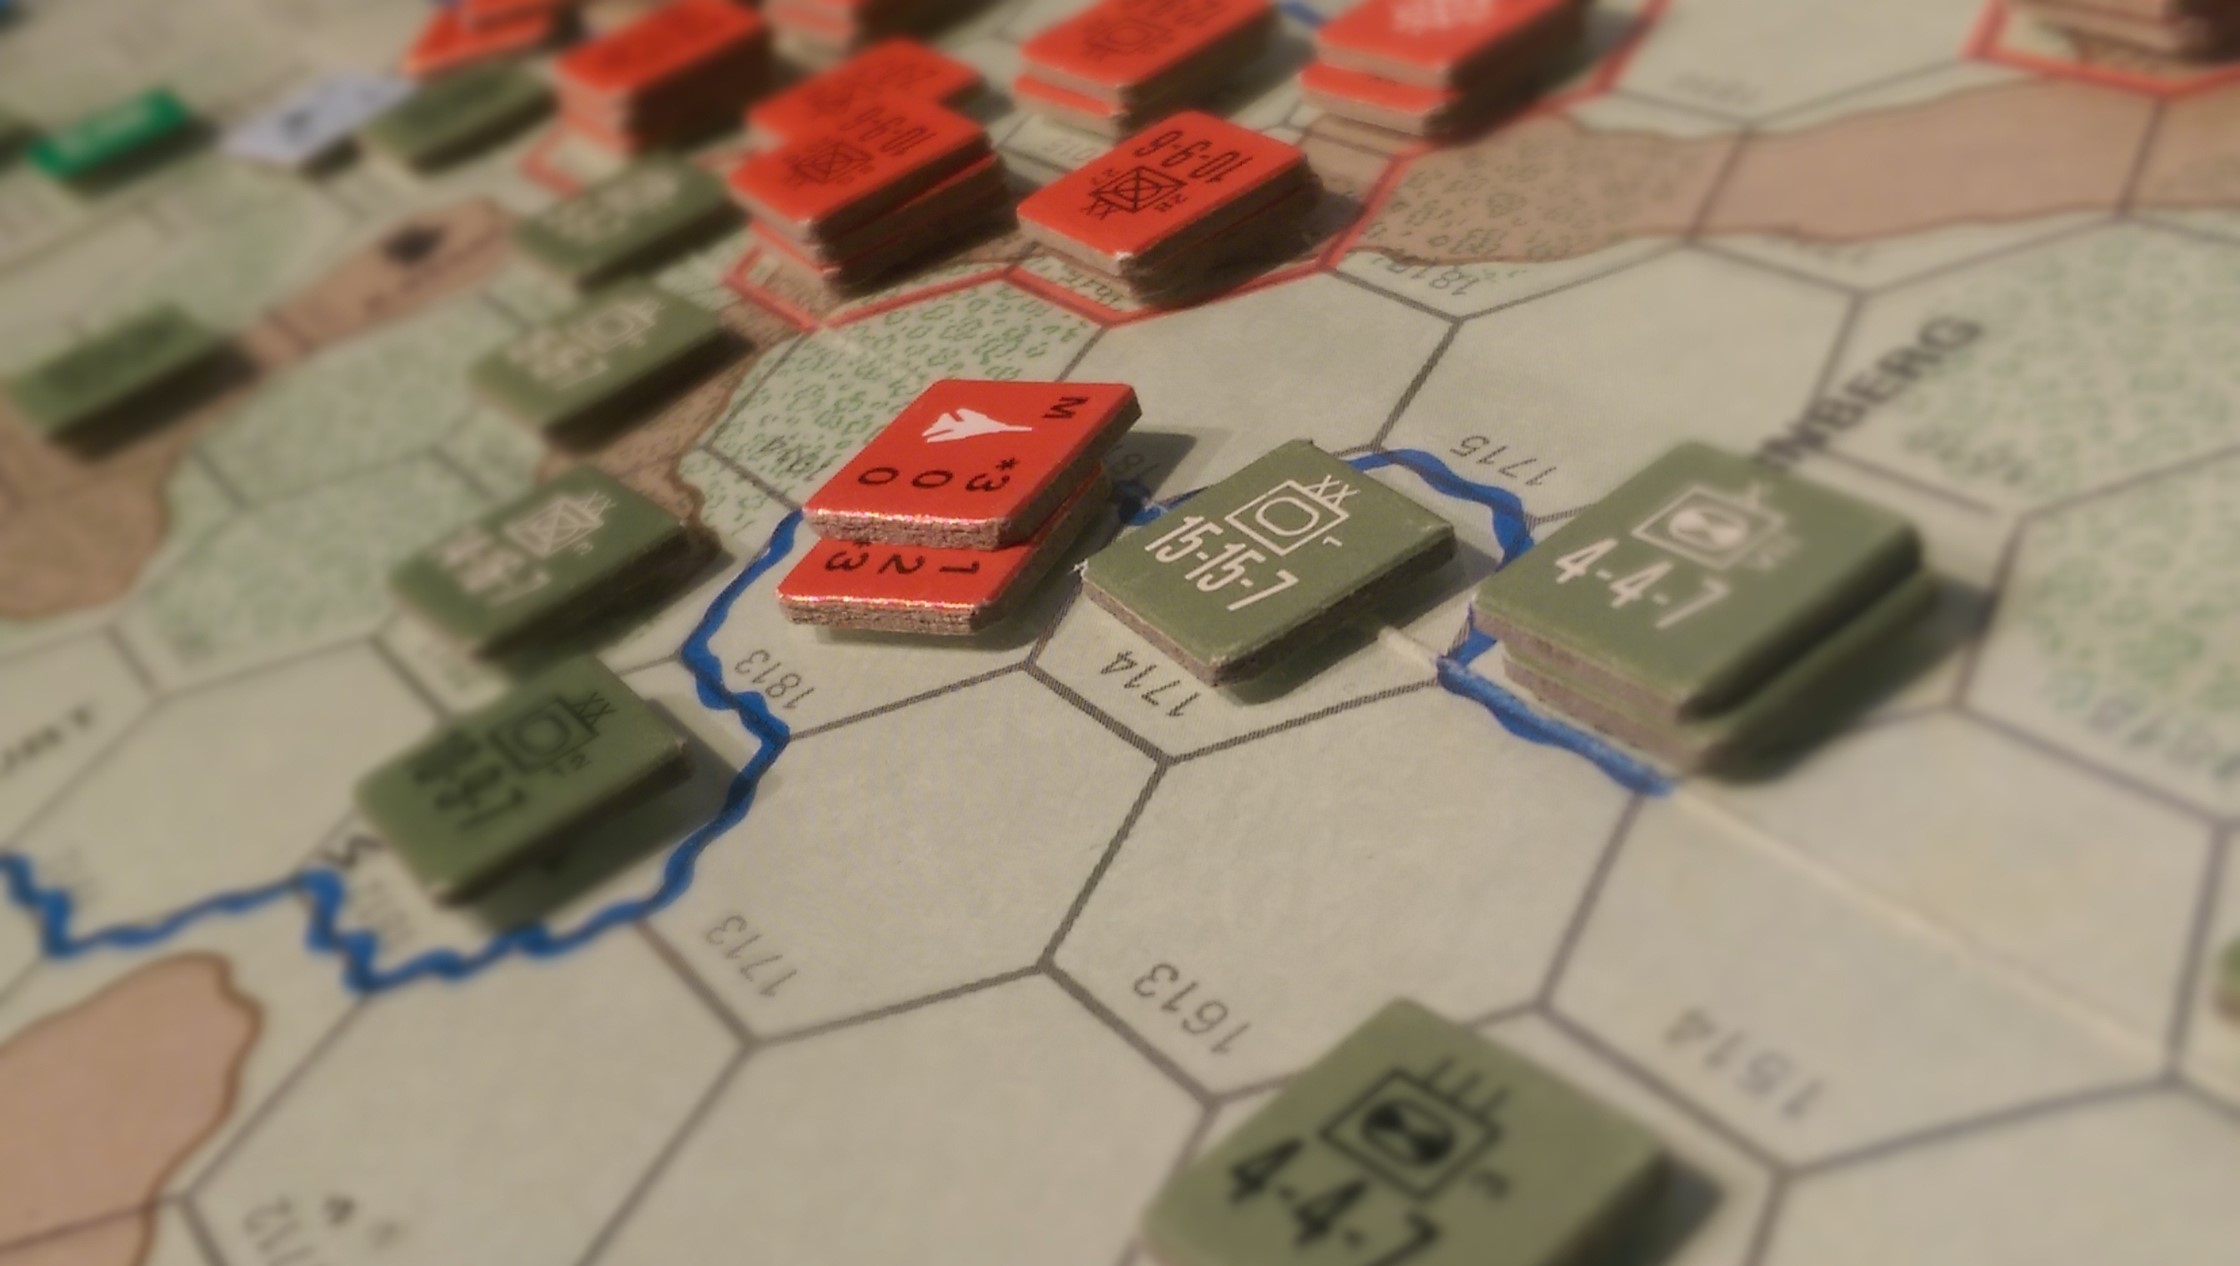
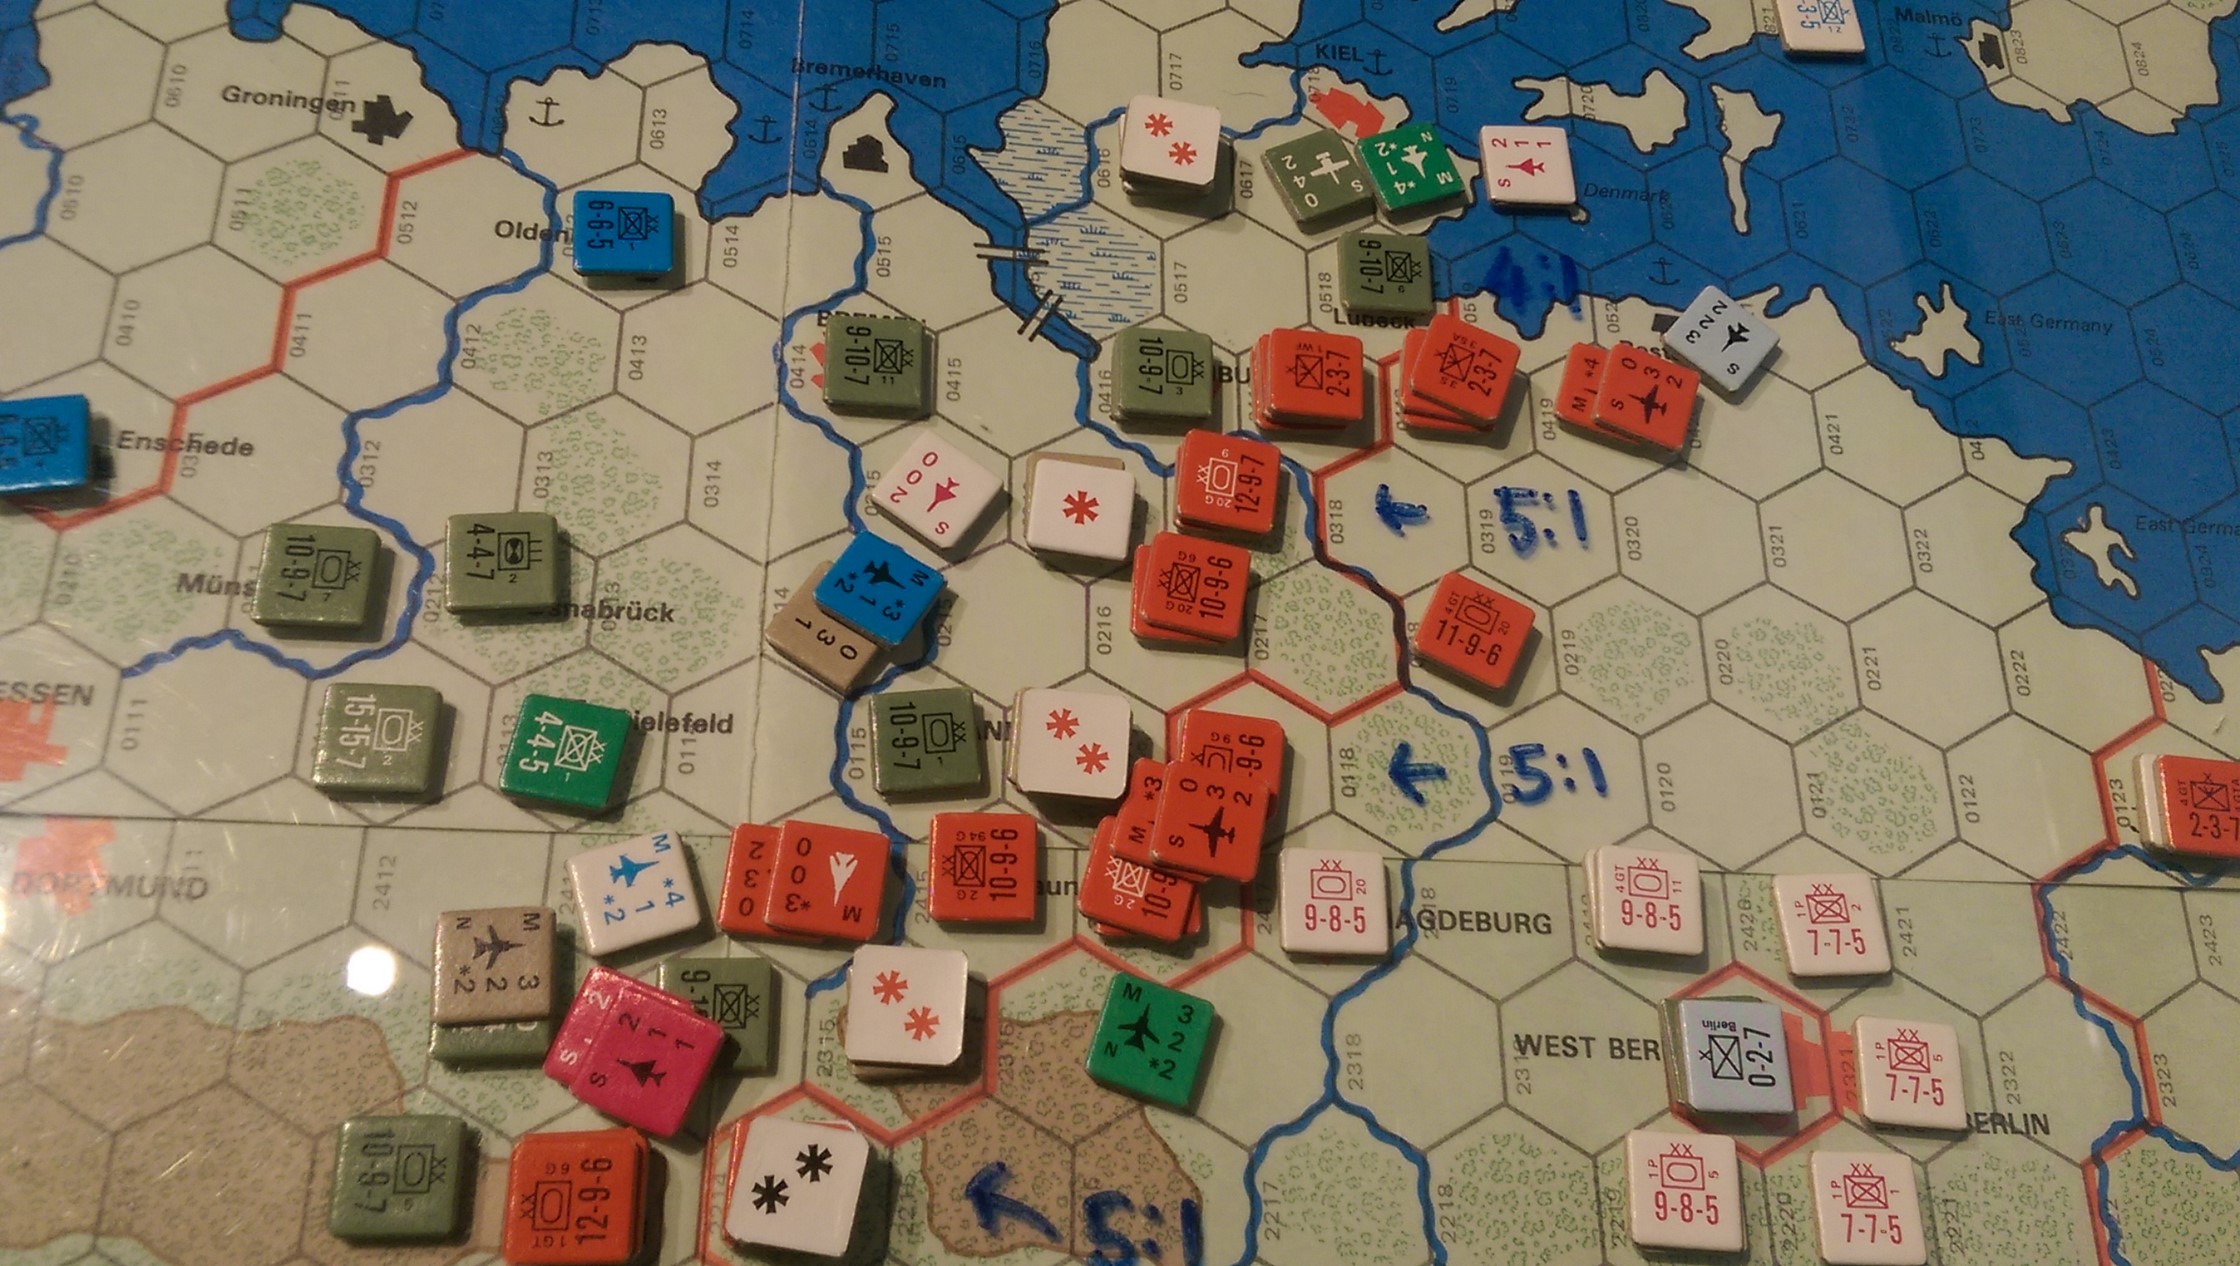
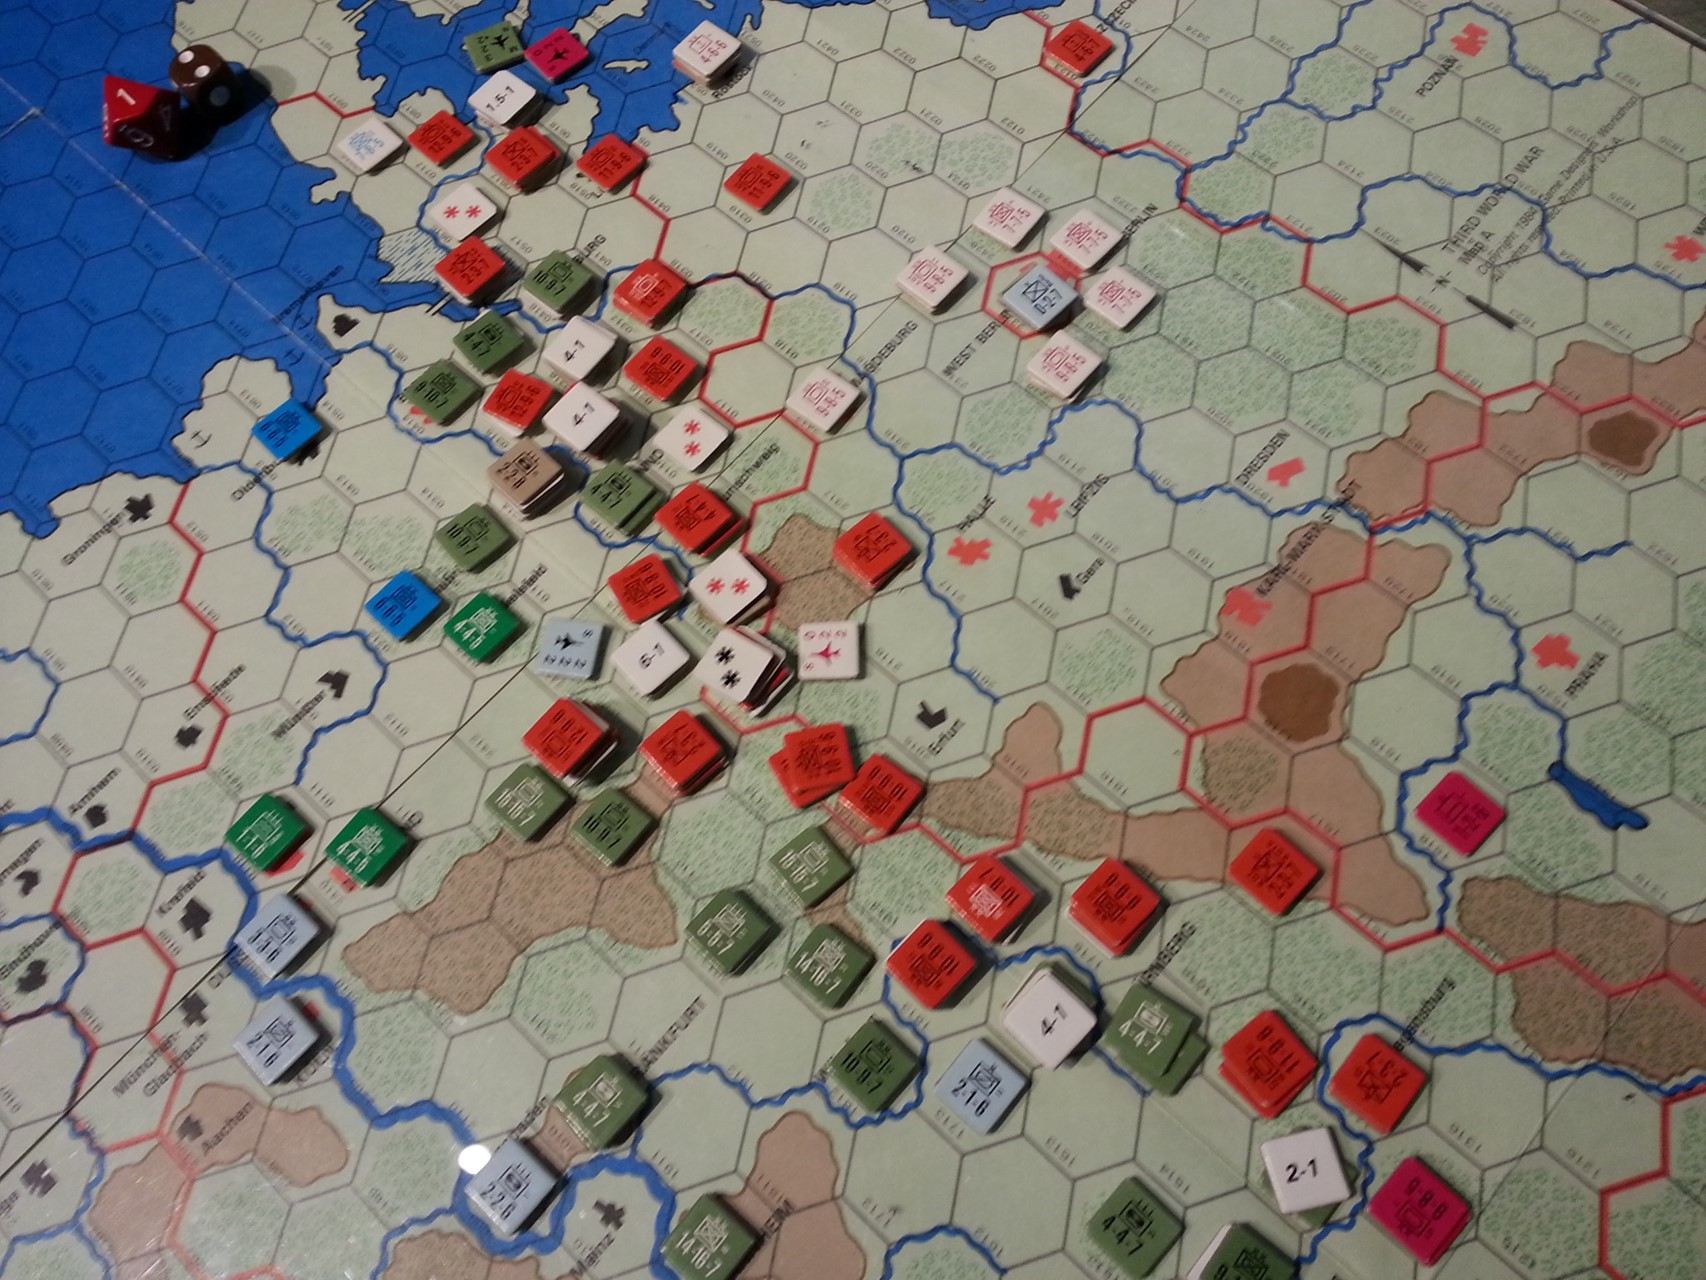
The calm before the storm, some close ups of dispositions in the North looking North from Kassel.

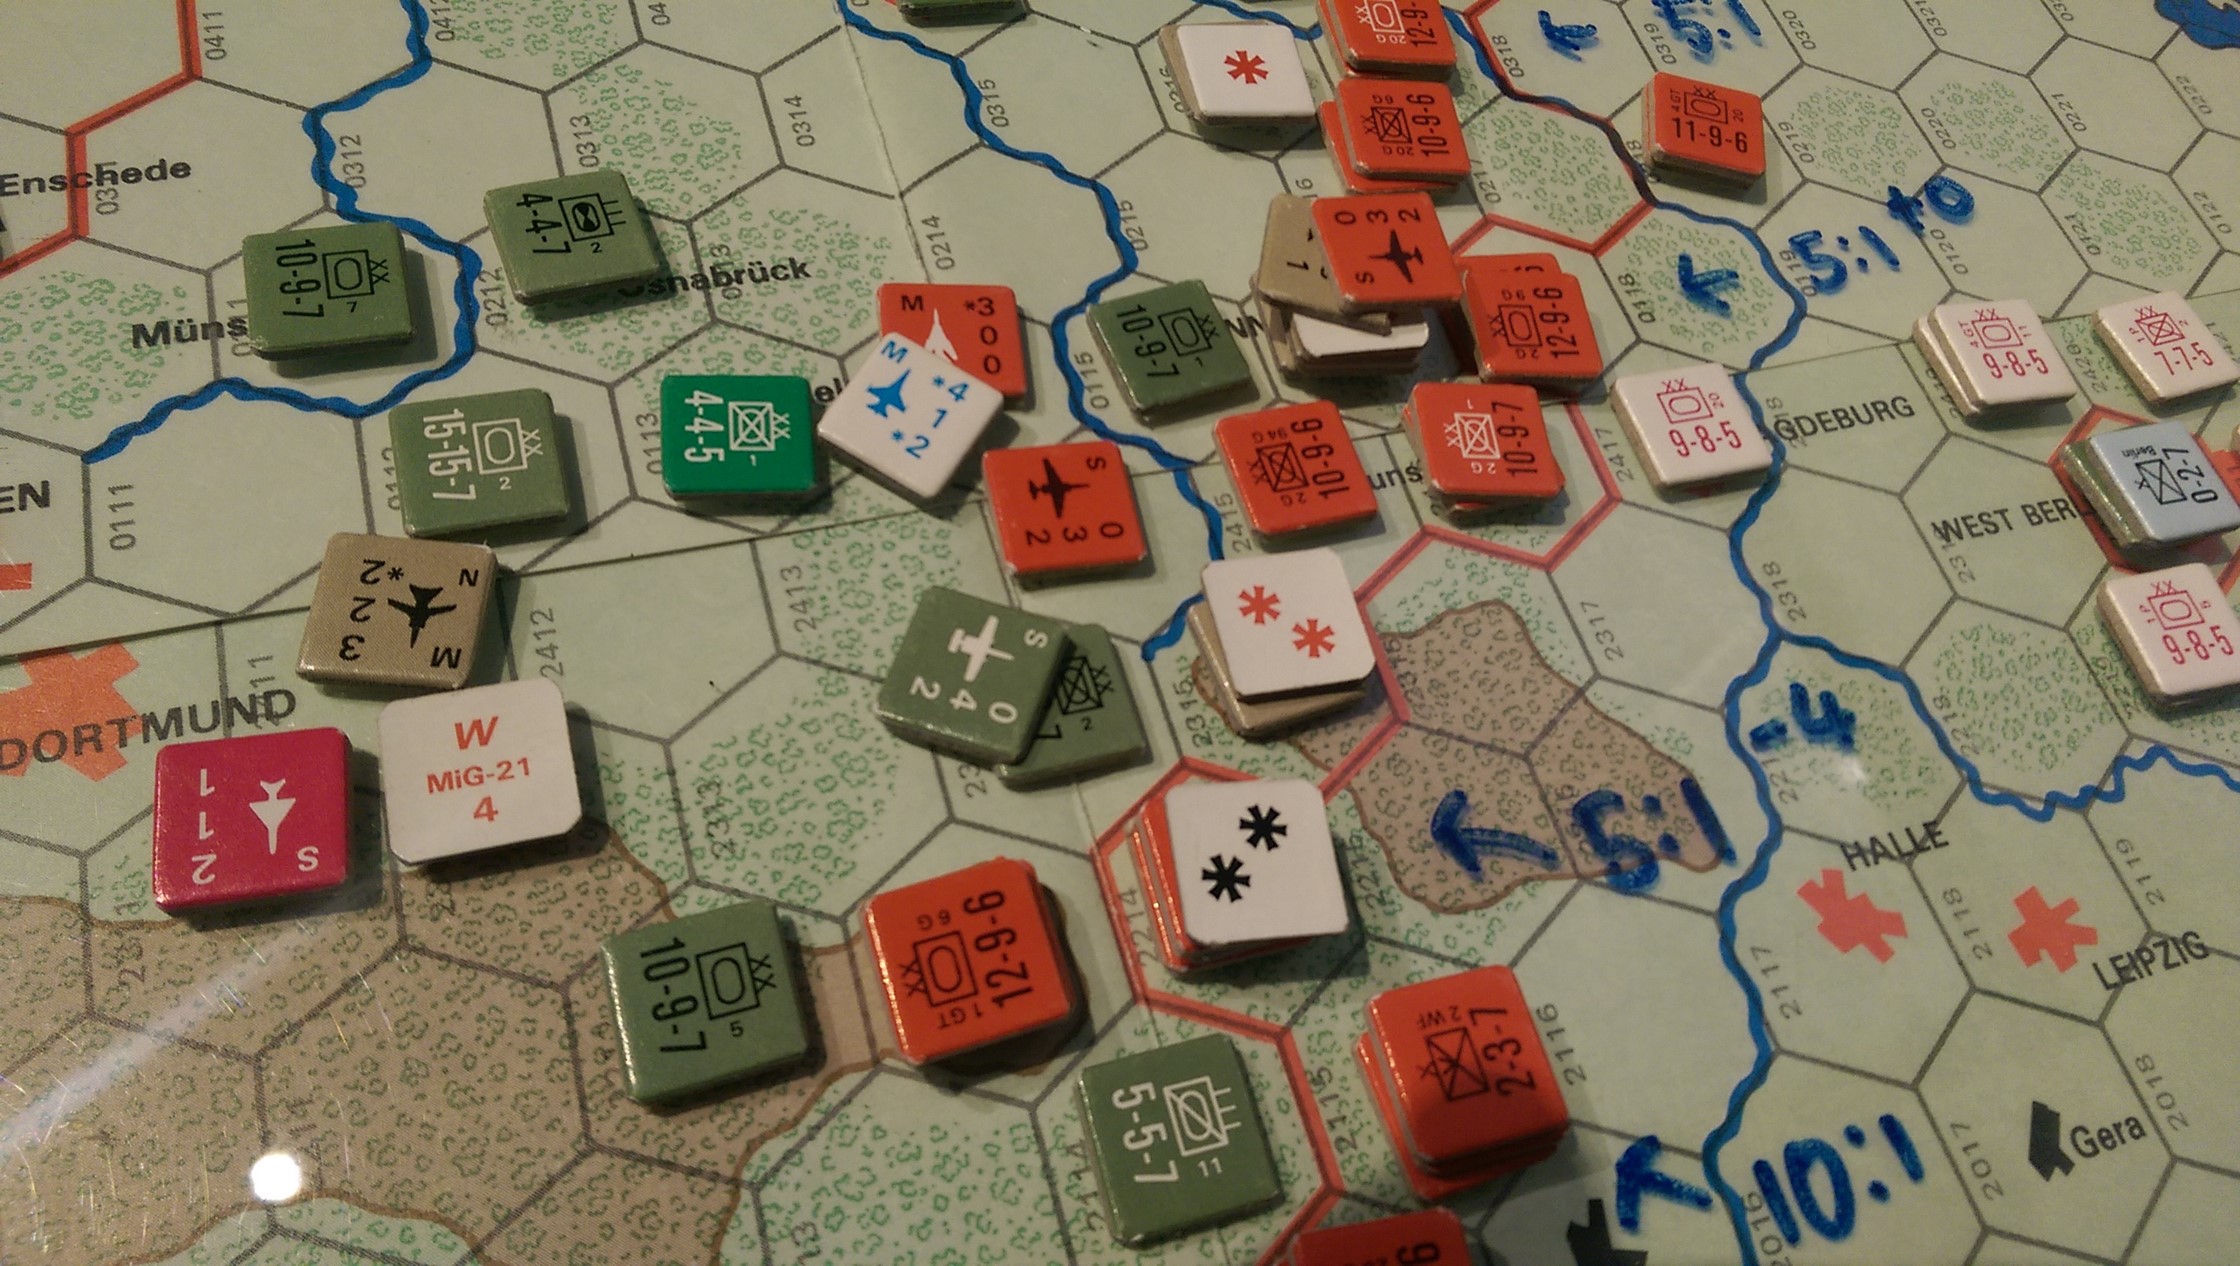
Essen Eastwards!
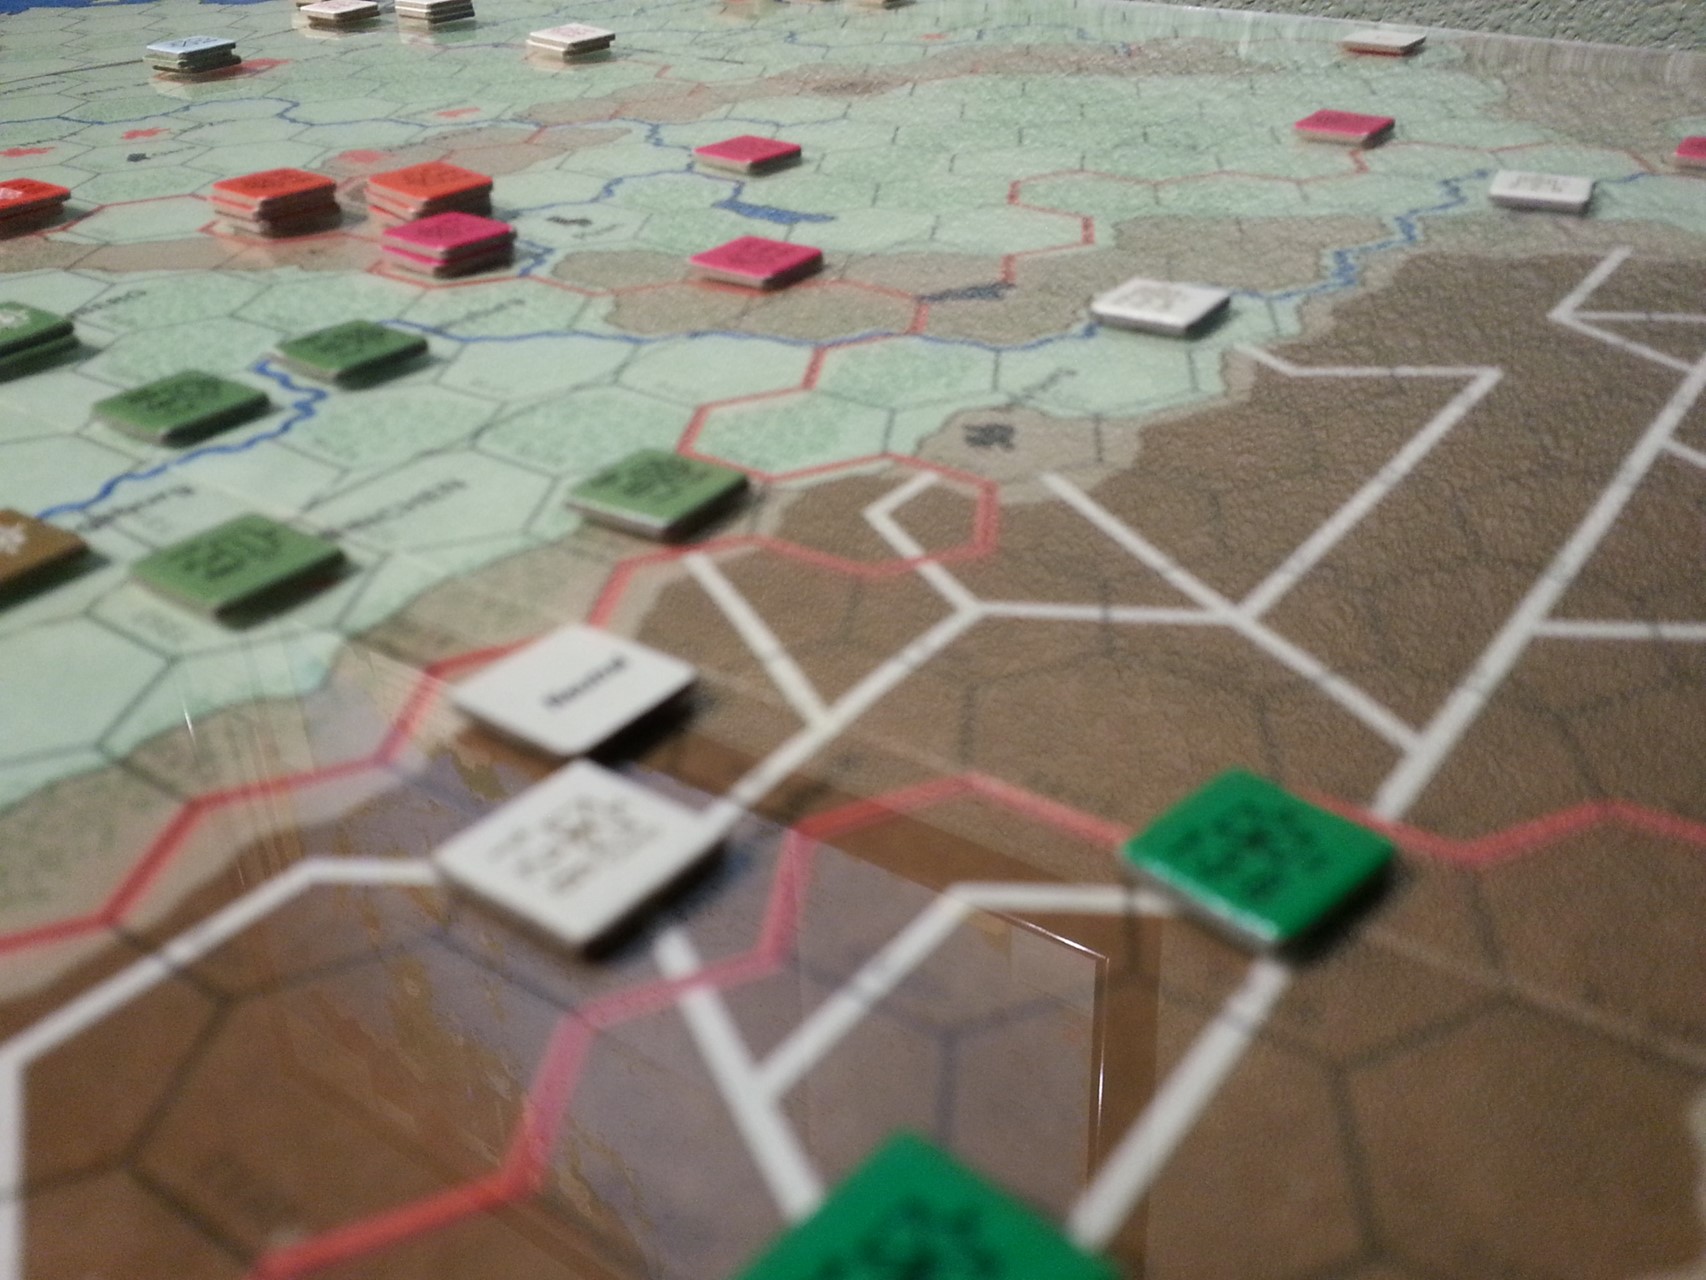
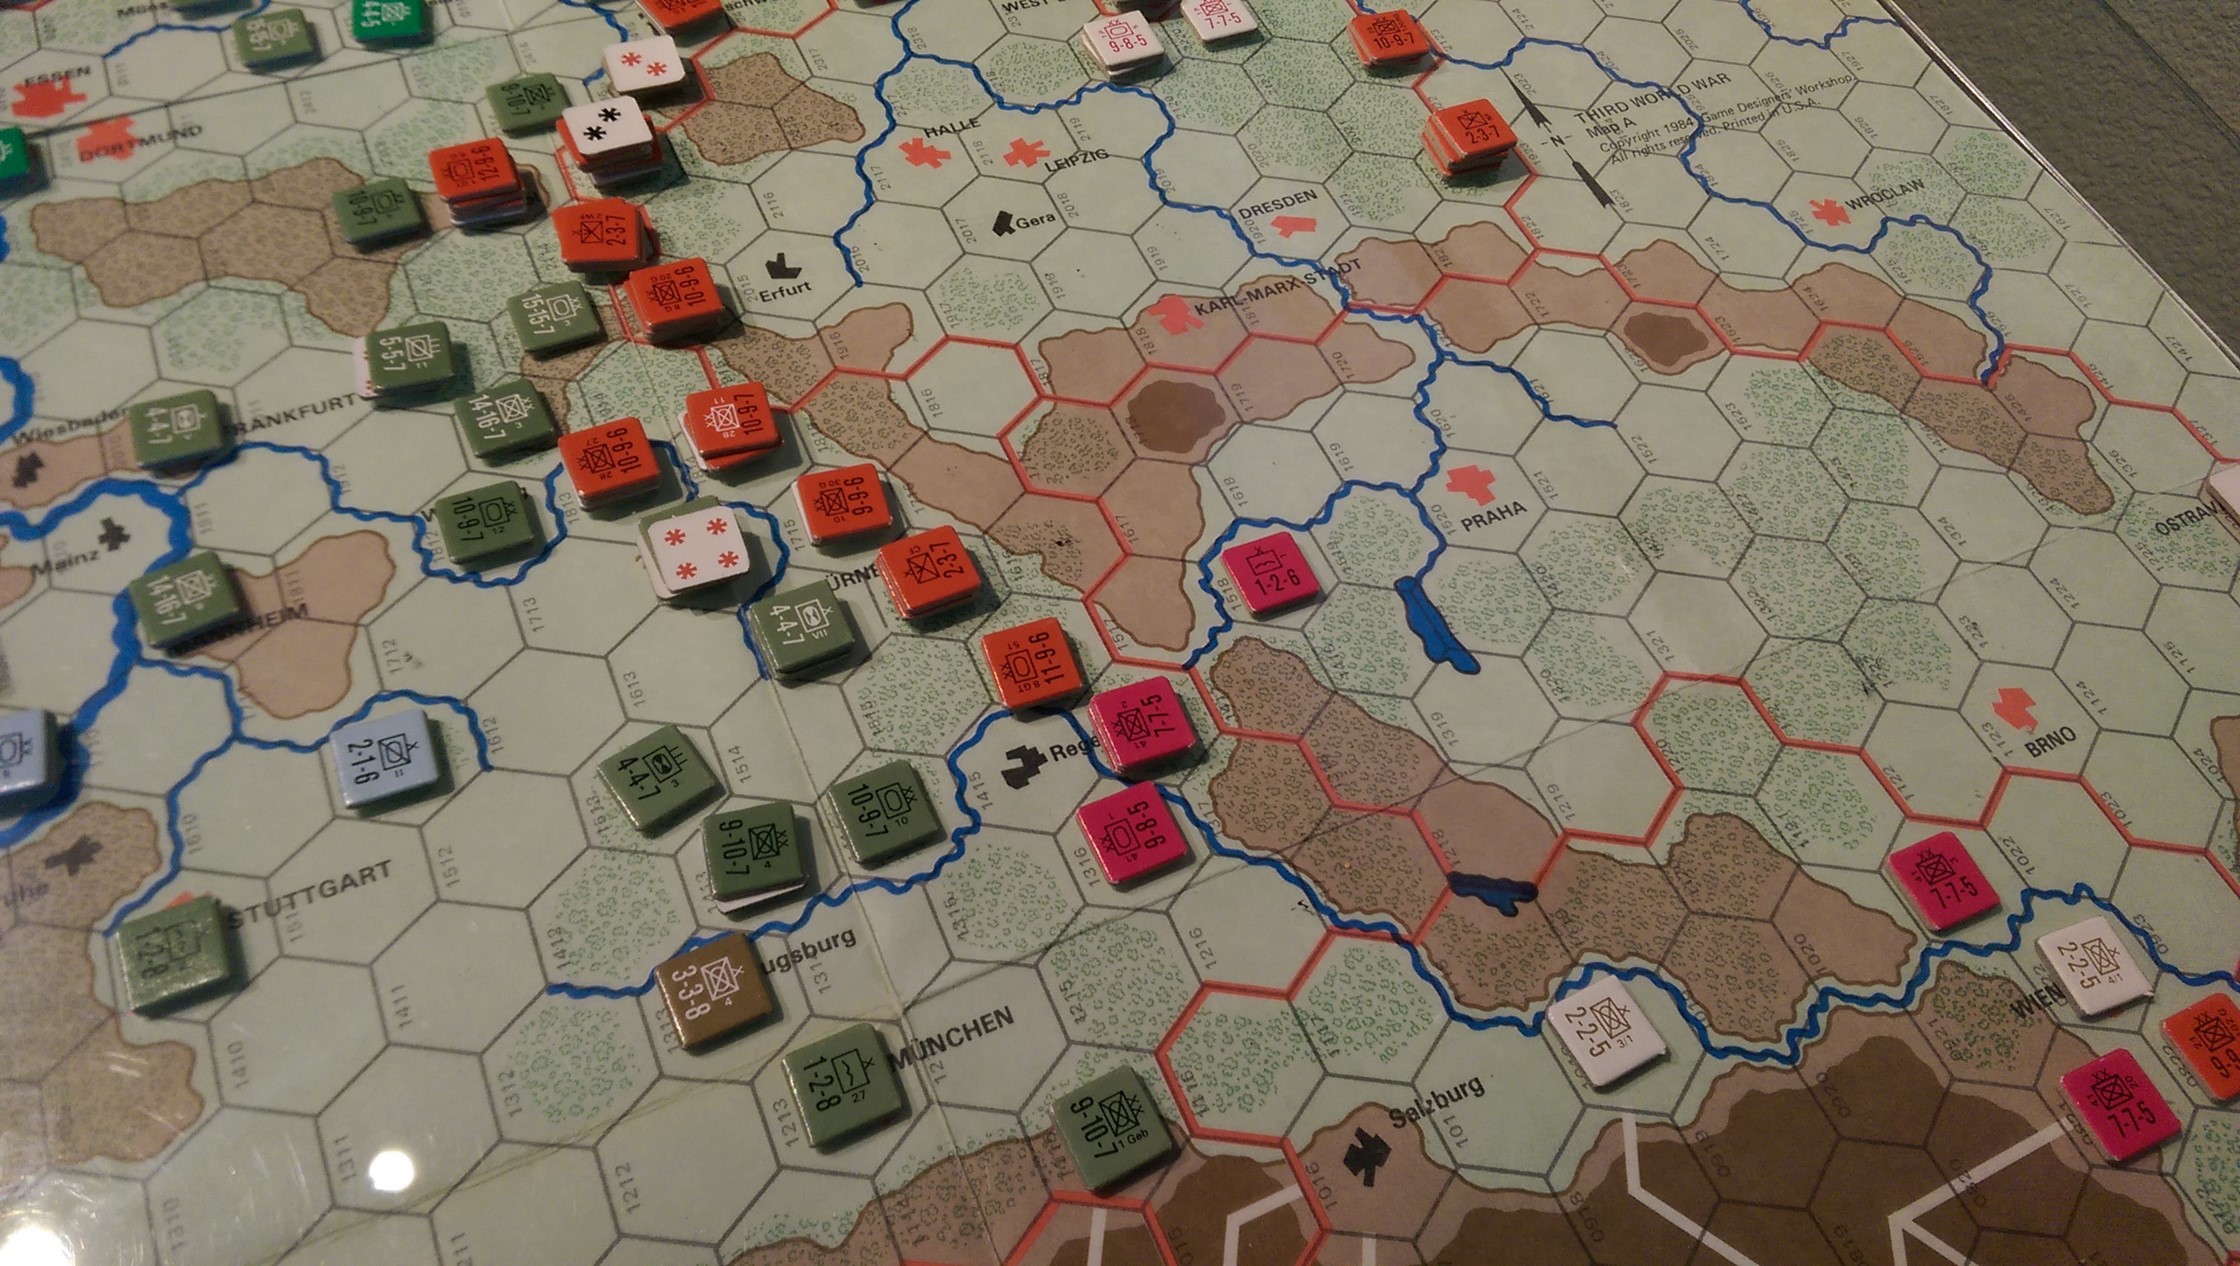
Our thin Bavarian Front.
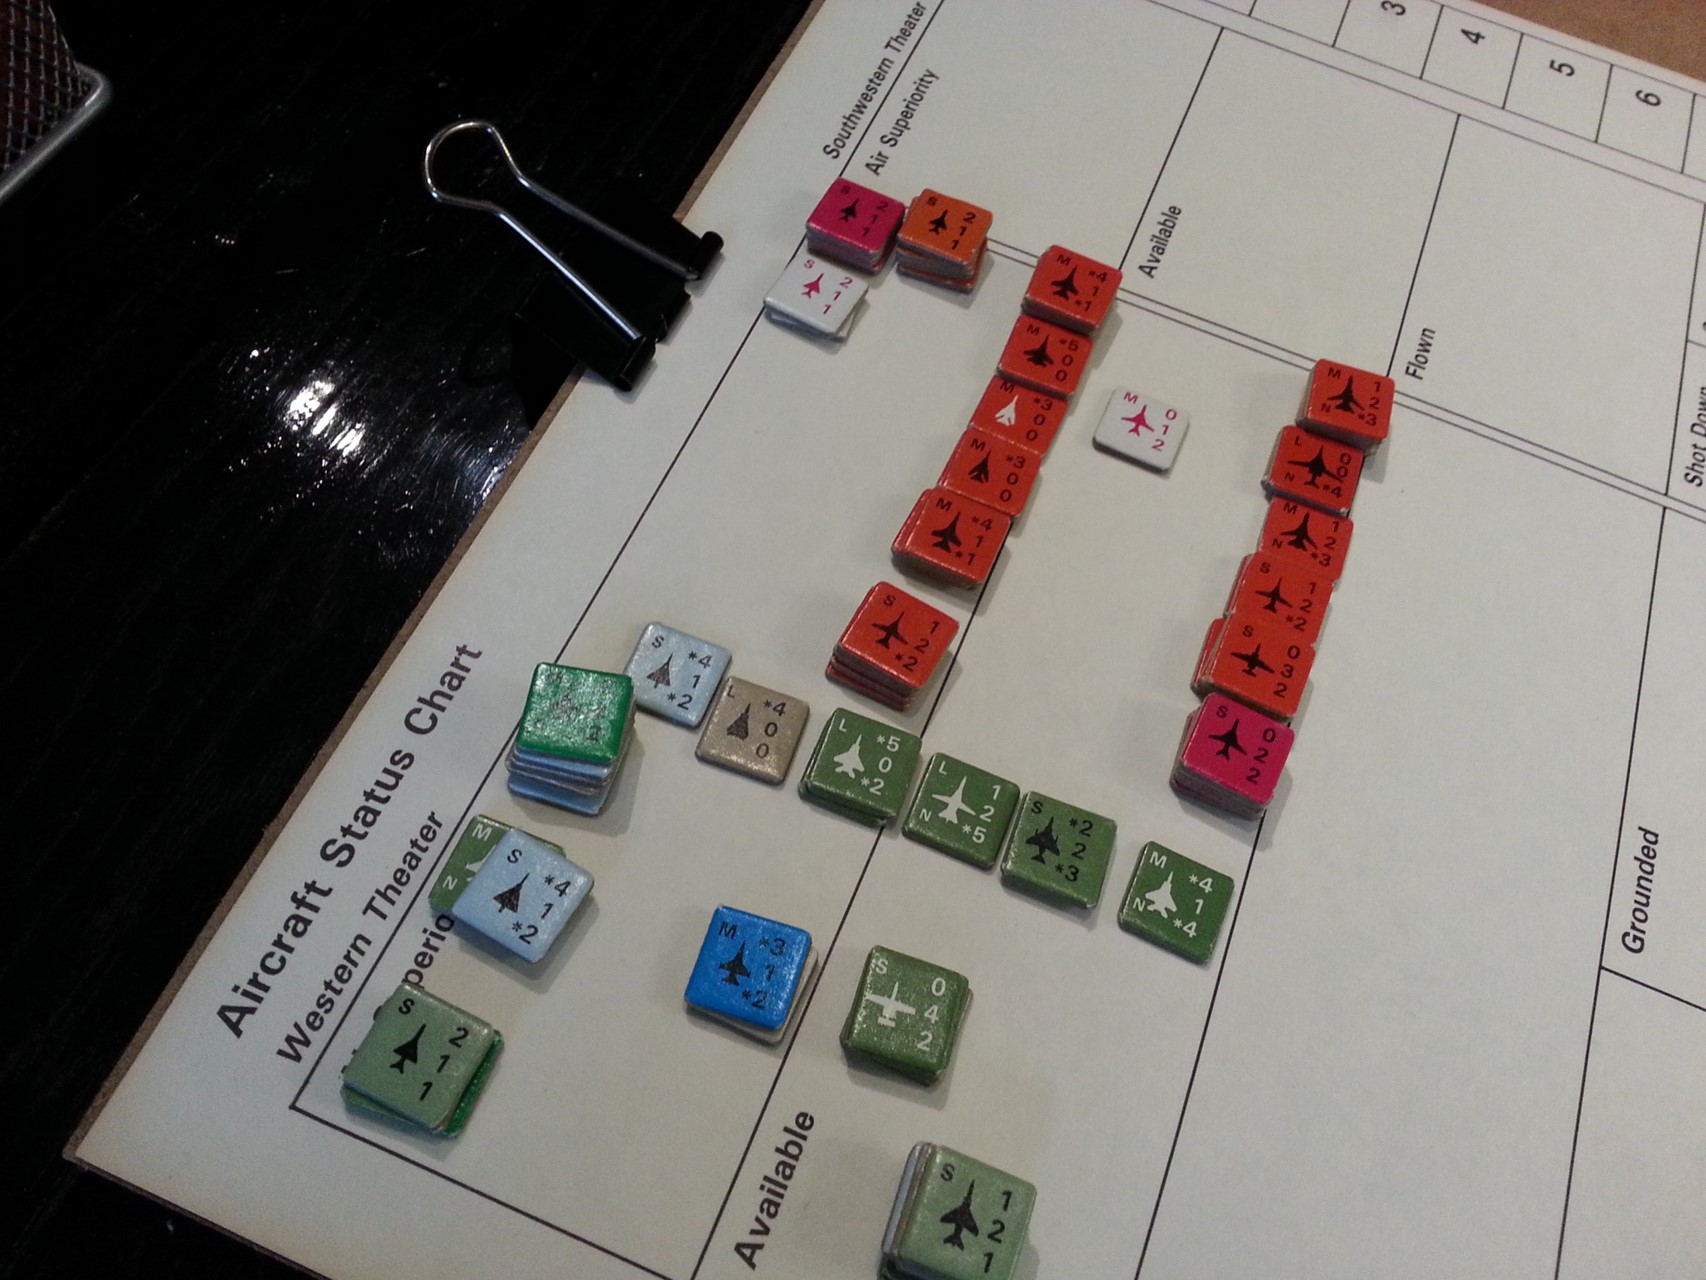
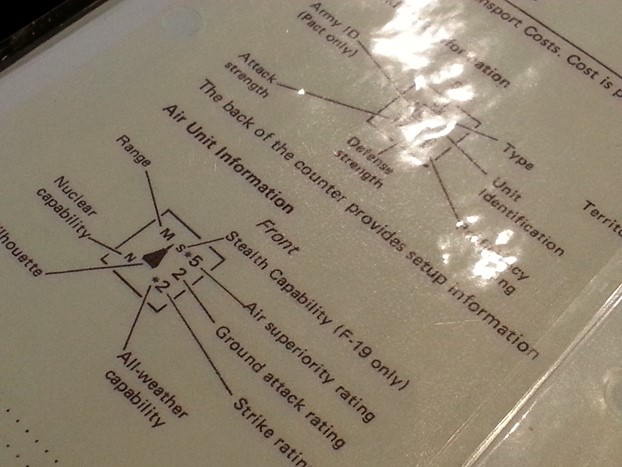
FYI regarding air units and what the ratings mean for future images and comments:
In the opening ground strike air phase the US pour Top Cover in to stave off AS 25 attacks escorted by deadly Mig 27’s. Soviet Blackjack hammer UK 3rd and US 4th armoured.
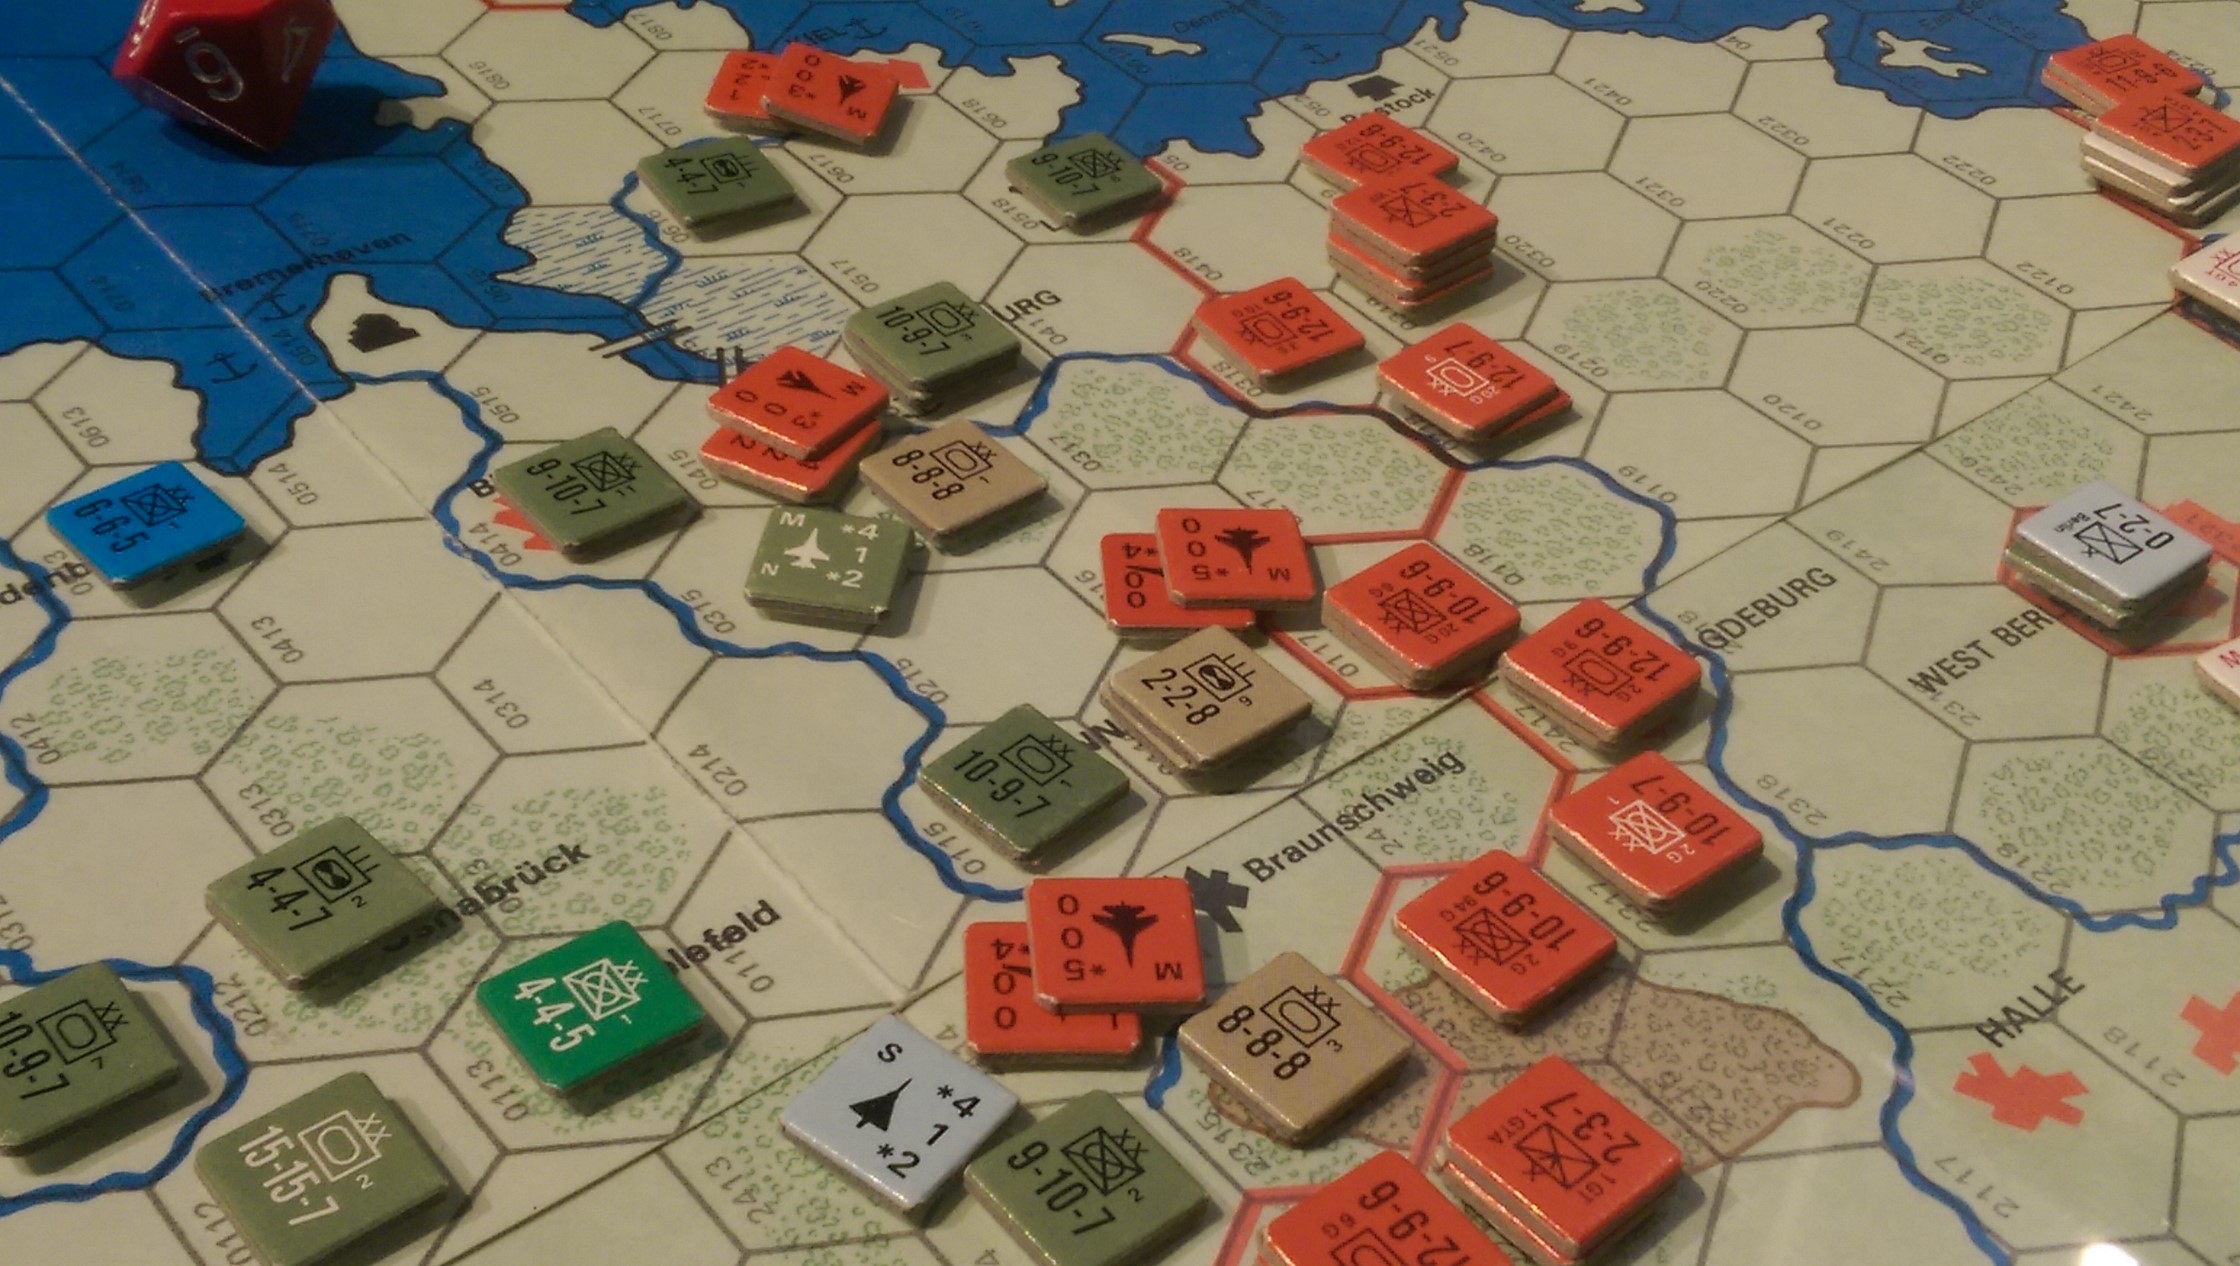
Mirages 2000’s and F-16’s streak across the sky frantically trying to support all of the requests for assistance. Losses are heavy on both sides. The opening salvo inflicts just 3 disruptions however. The US conducts ground strike erroneously. Which ends up being a bigger detriment to them in any case as valuable air are wasted on feeble strikes, rather than being preserved for later support missions. 3rd Shock Army and 1st Guard Tank take some hits.
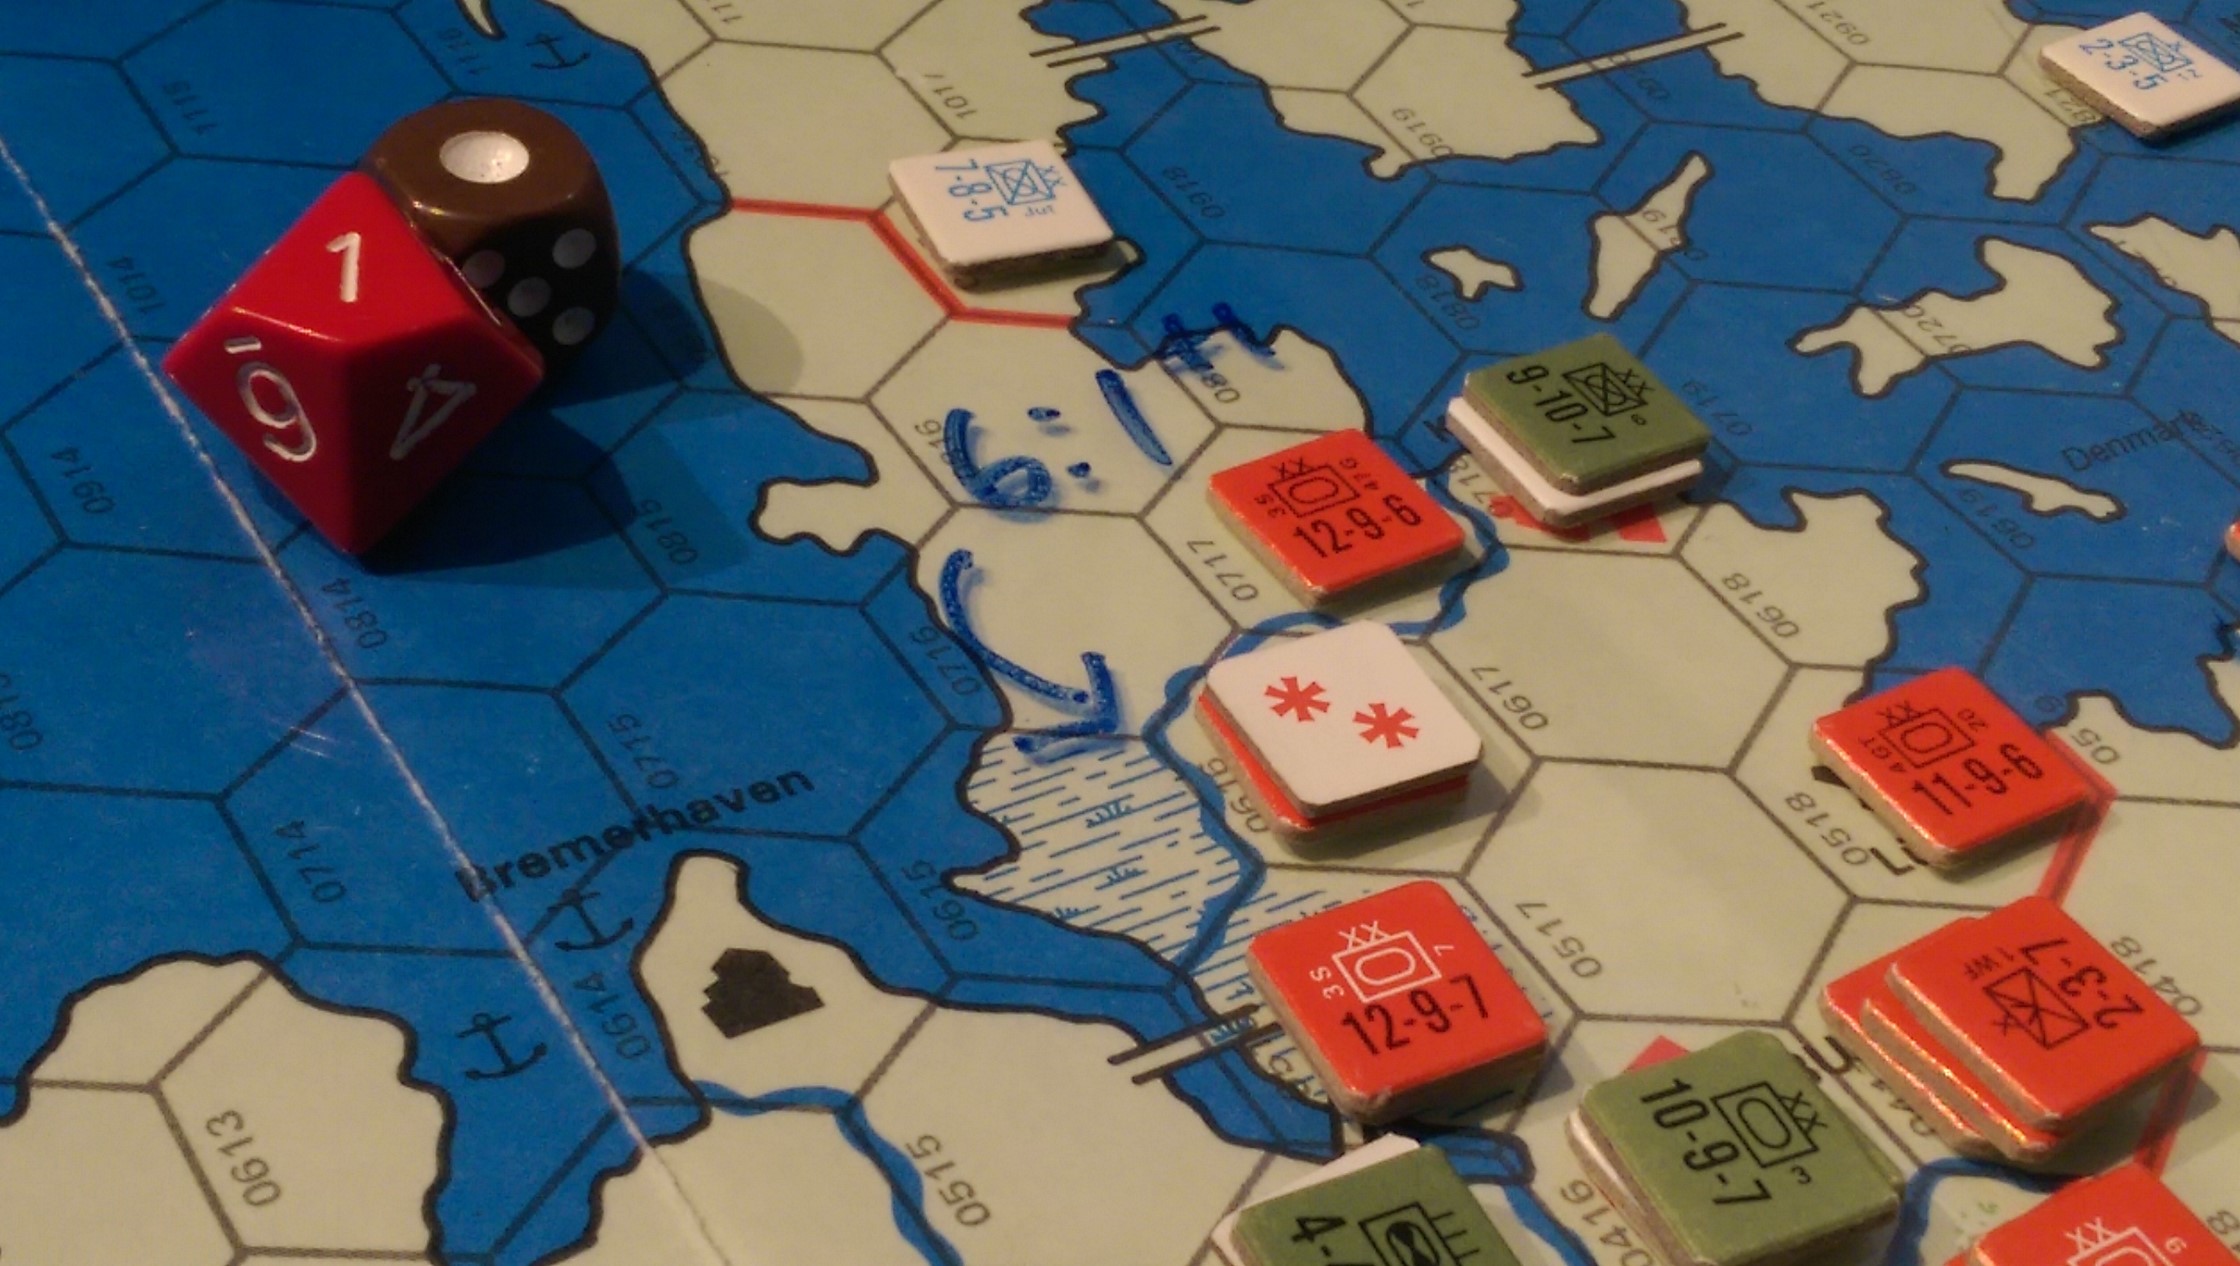
The Pact move to battle in their first Activation segment: 3rd Shock takes Lubeck and 6th Mech retreats to Kiel.
20th Guard’s attack on Hamburg bogs down.
In the center2nd Guard forces 4th Armoured to retreat with heavy losses to Hannover.
1st Guard Army does not fare as well, and bounce off of 2nd Mech who hold tough despite a pounding, air support really helped here but cost us a warthog unit.

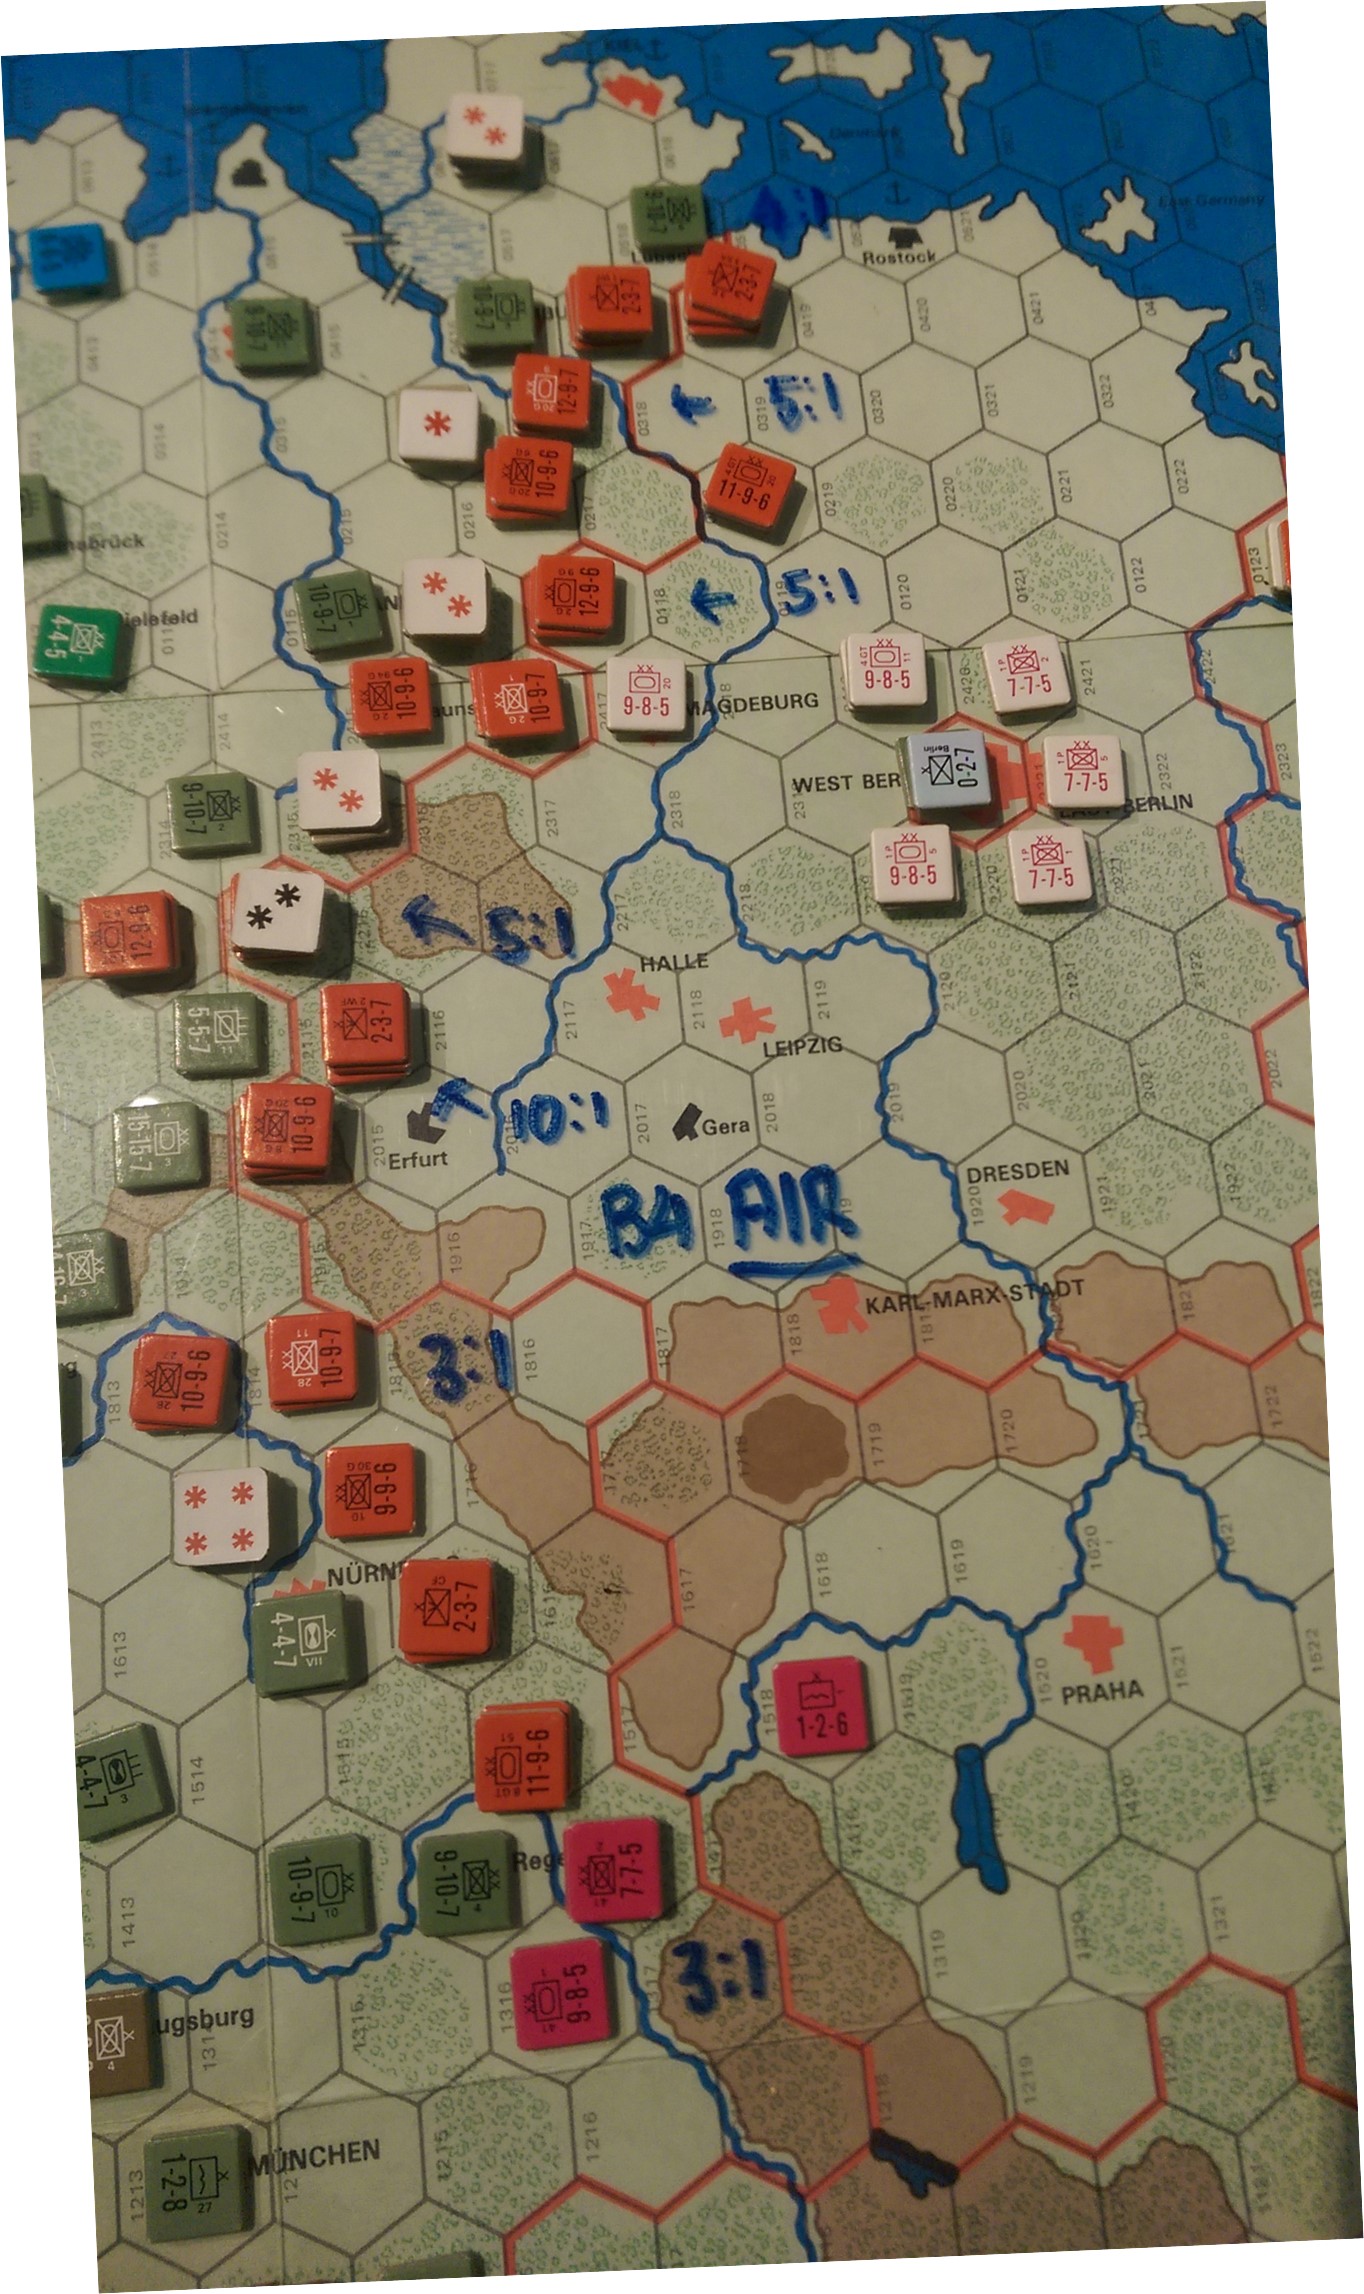
The Soviet attacks all fall into 5:1 ranges prior to air and everything else. Solid but not optimal.
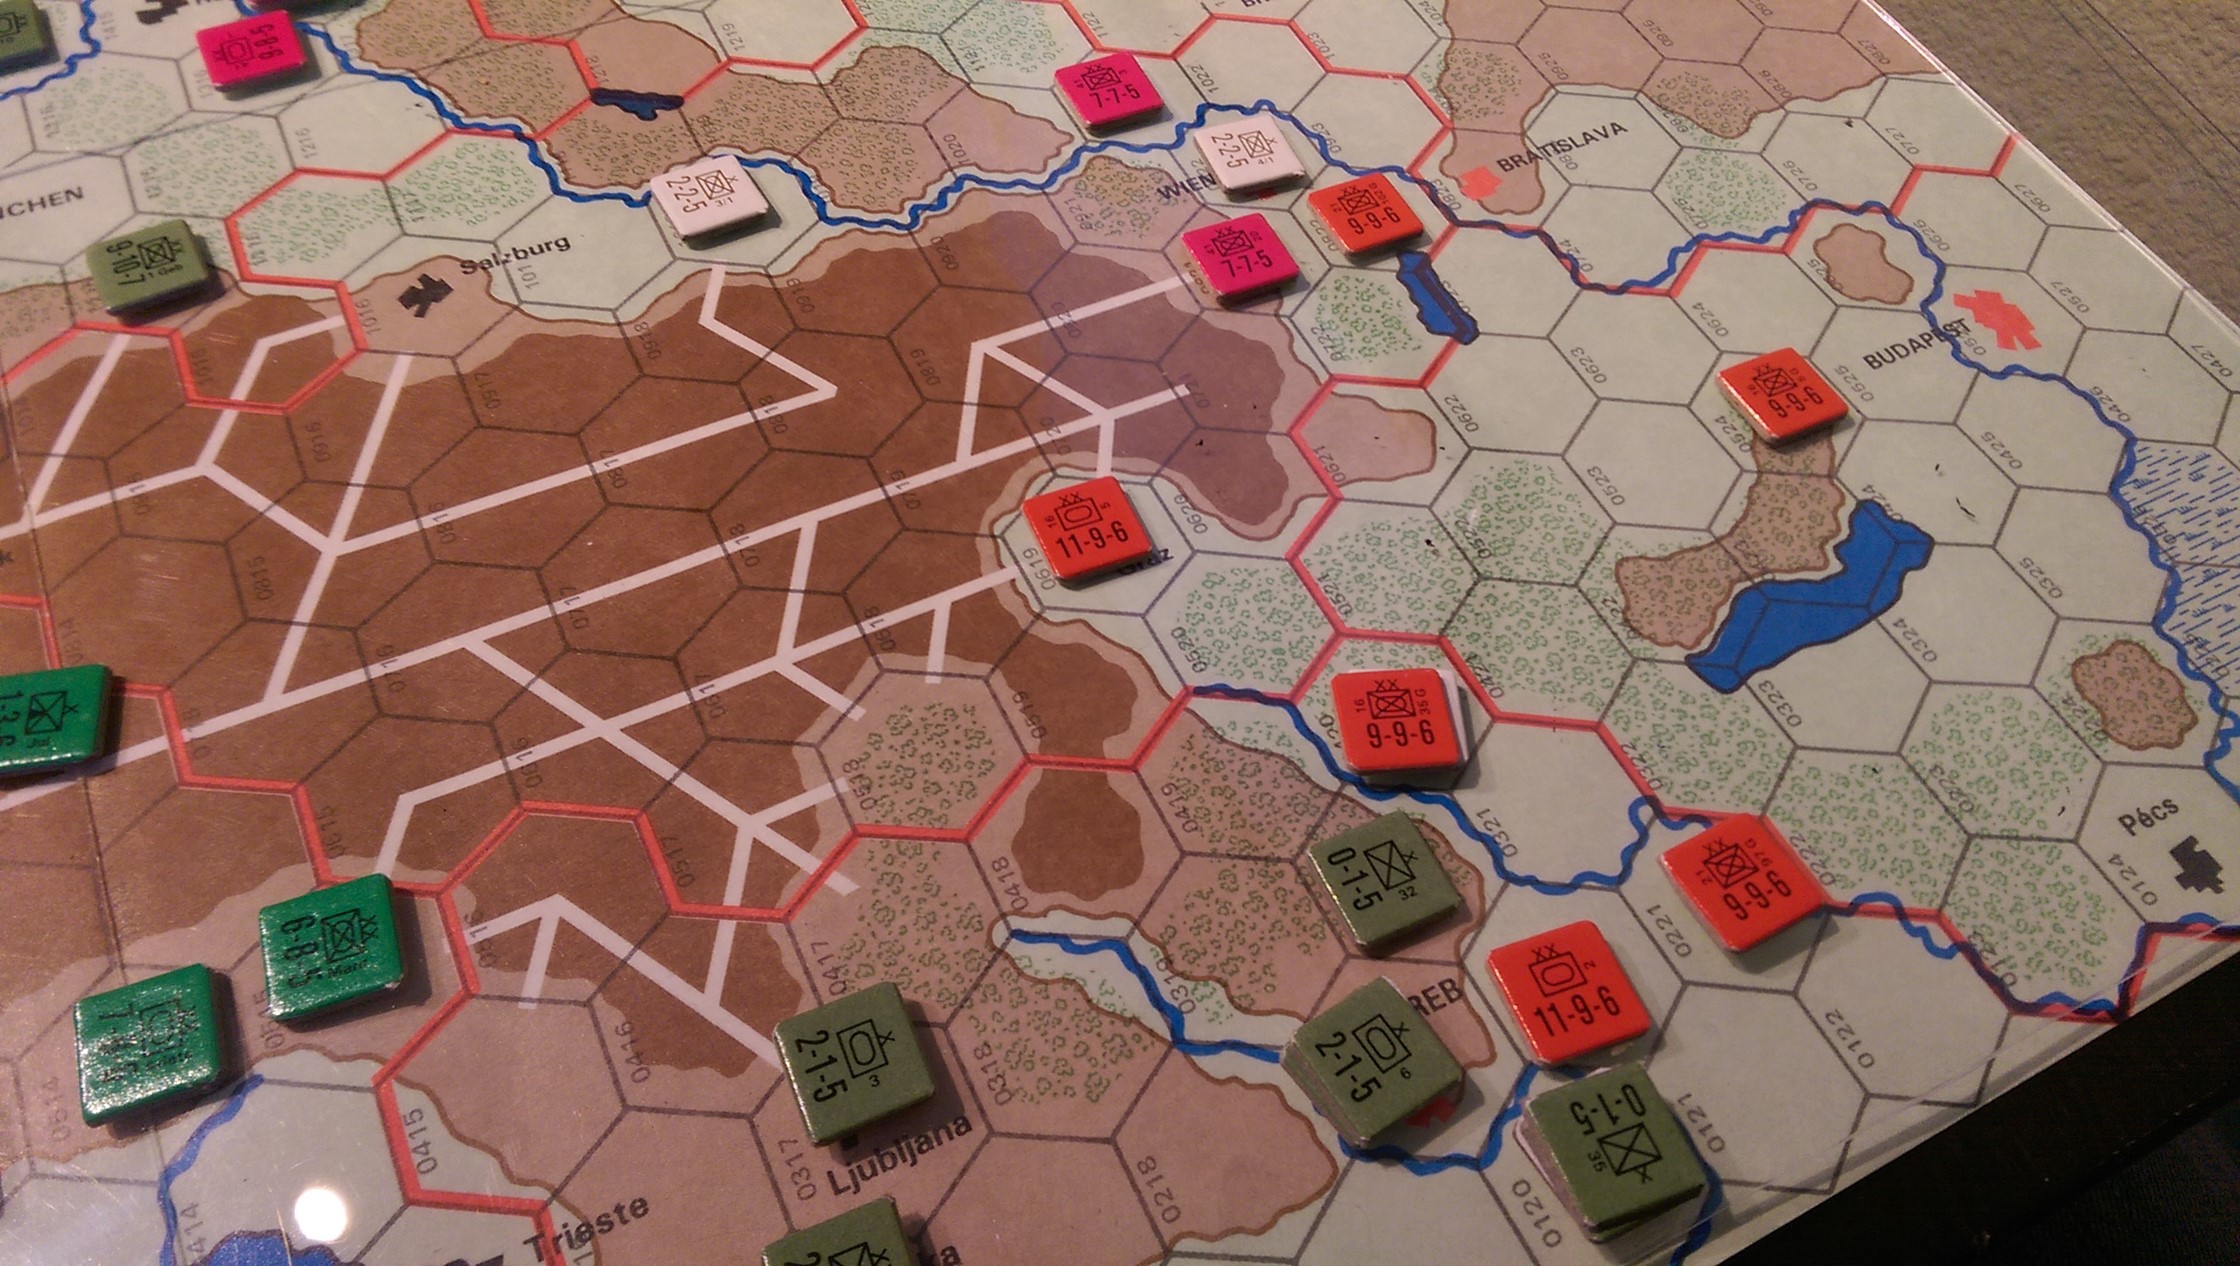
In the south it is a bit of cake walk for the Soviet and Pact forces.
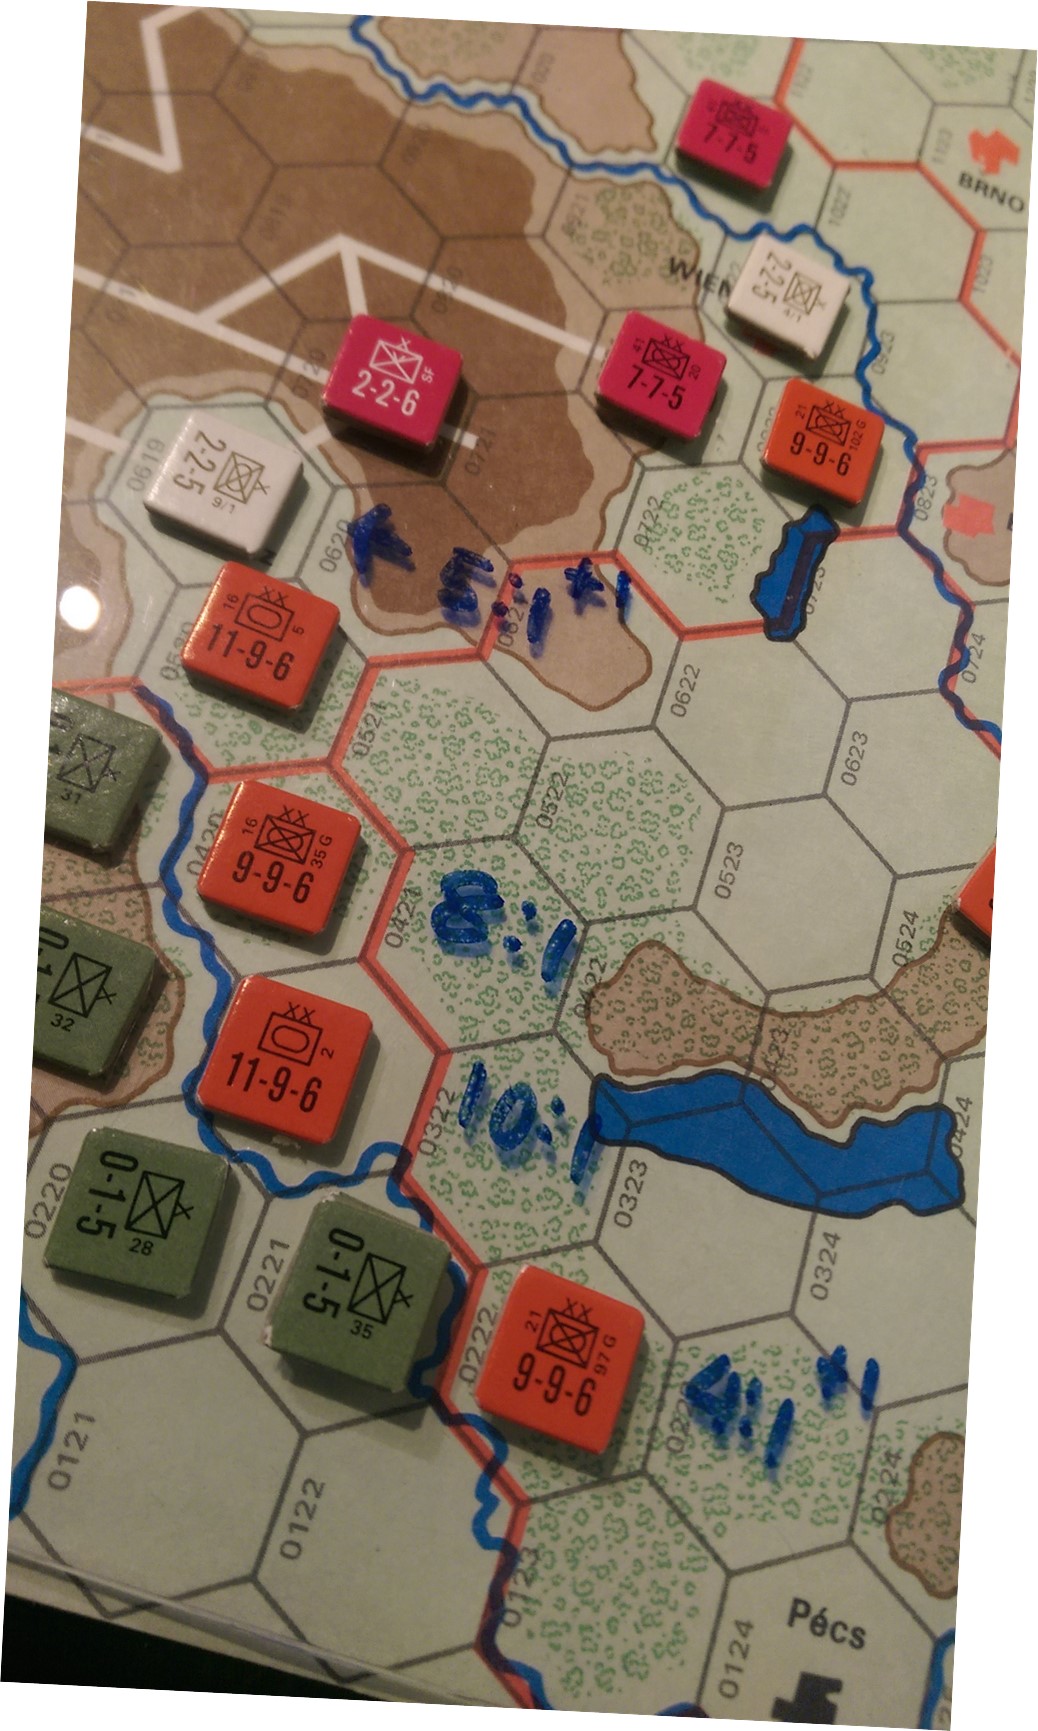
In the South Graz falls quickly, and Yugoslavs retreat.
Escorted ground support influences the odds for both sides.
The skies once again fill with Migs, Mirages, and F series jets.
Wrapping up the first Pact segment 8th Guard trounces Armoured Cav in the center who retreat thru the woods to Frankfurt.
28th Army falters in its attack on 1st Armoured but inflict 2 disruptions.
In the sub phase on the Pact first segment all units not adjacent to the enemy can move and attack. They do so, but many are adjacent to NATO units. The NATO reserve phase is next and all NATO units not adjacent move and begin reacting to the situation at hand.
The 2nd Pact segment begins! The Soviets pick target carefully and try to allow some units to either recover disruptions or be ready to exploit.
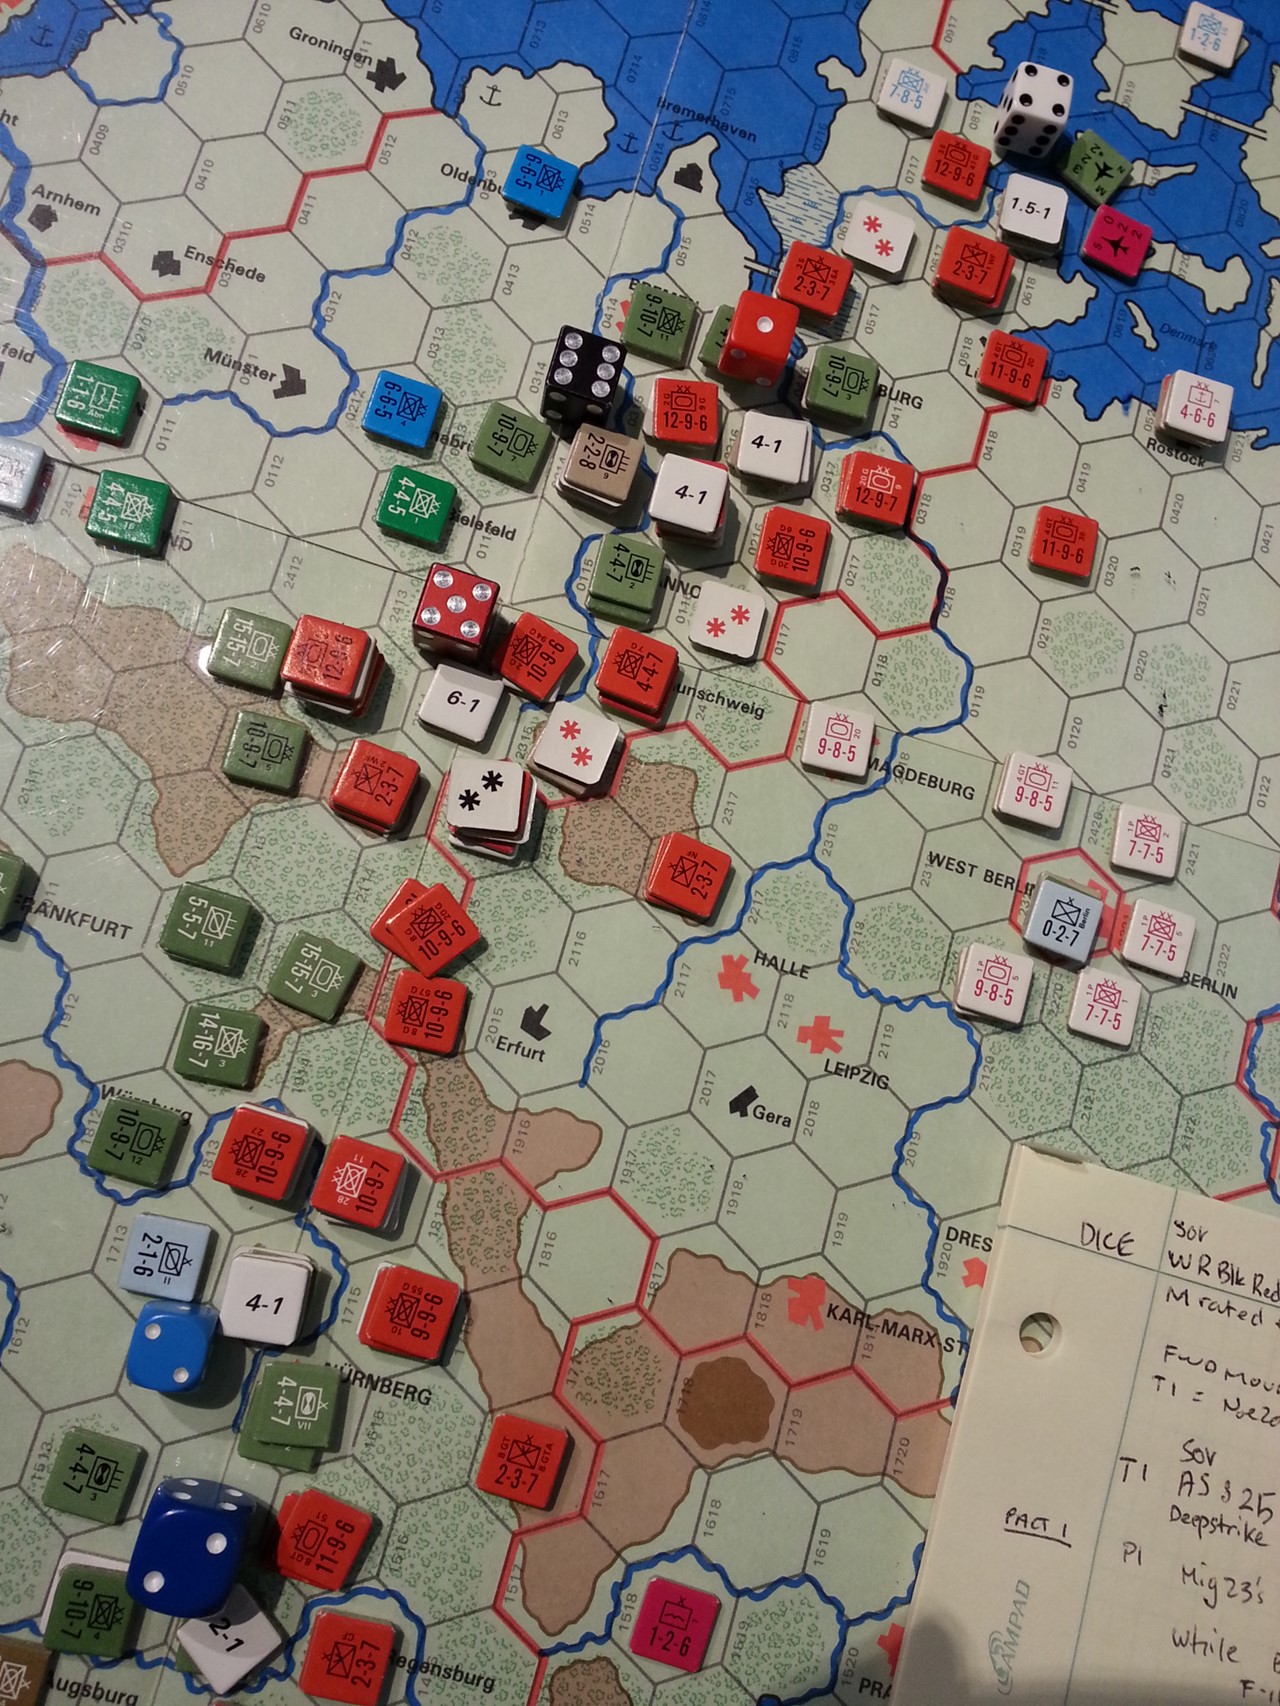
The second round of attacks can be seen below:
3rd shock inflicts and takes a Disruption.
20th Guard the same 2nd Guard suffers an exchange but wipes out the enemy UK’s 4th Chopper unit. 1Guard Tank puts 4 D’s and a retreat on 2nd Mech and the 28th Army forces 1st Armoured to retreat. Oh and Berlin fell in the first phase we forgot to roll for it.
Here you can see the result rolls:
On the whole as the Soviet player I am displeased with the effort of the forces. I think perhaps we should have a. Dropped into a city and then air transported forces into the rear. b. put more effort on fewer segments of the line.
As the US player we have a general handle on things, but let us see how we manage Kiel, the isolated UK Armour division and the potential breakthroughs in the North.
In our next post we will see how the NATO forces respond in the Reserve phase and the subsequent 3rd and final Pact phase.