Game Play Action
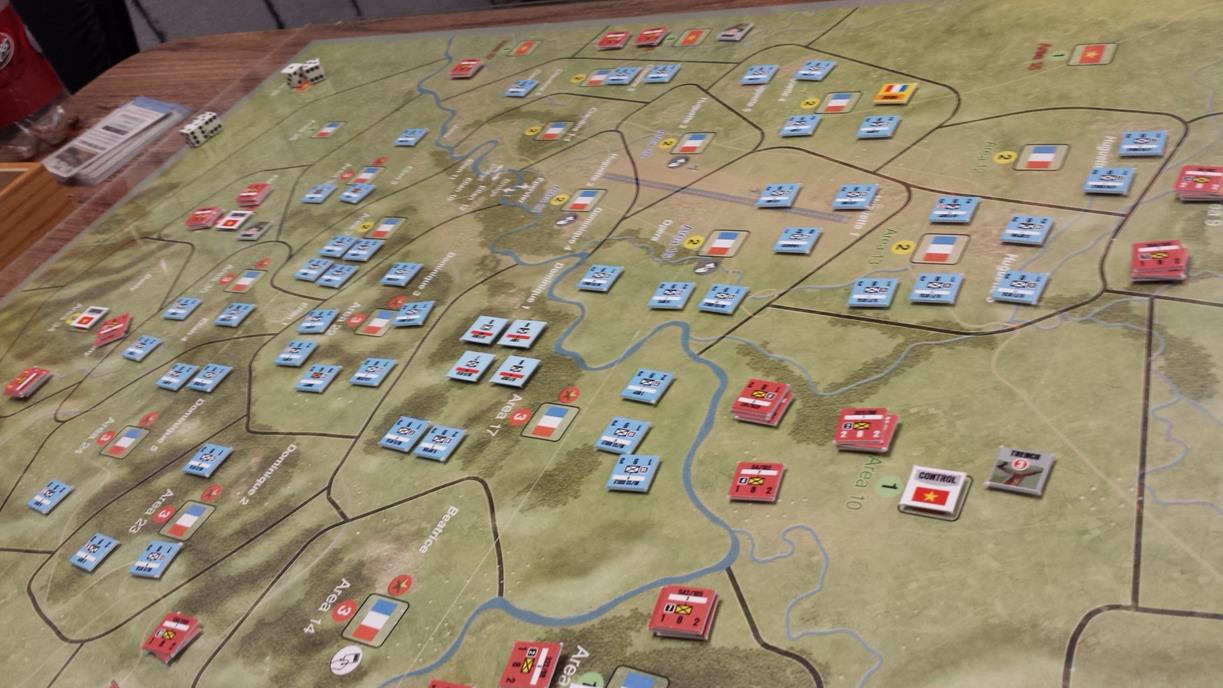
MAP:
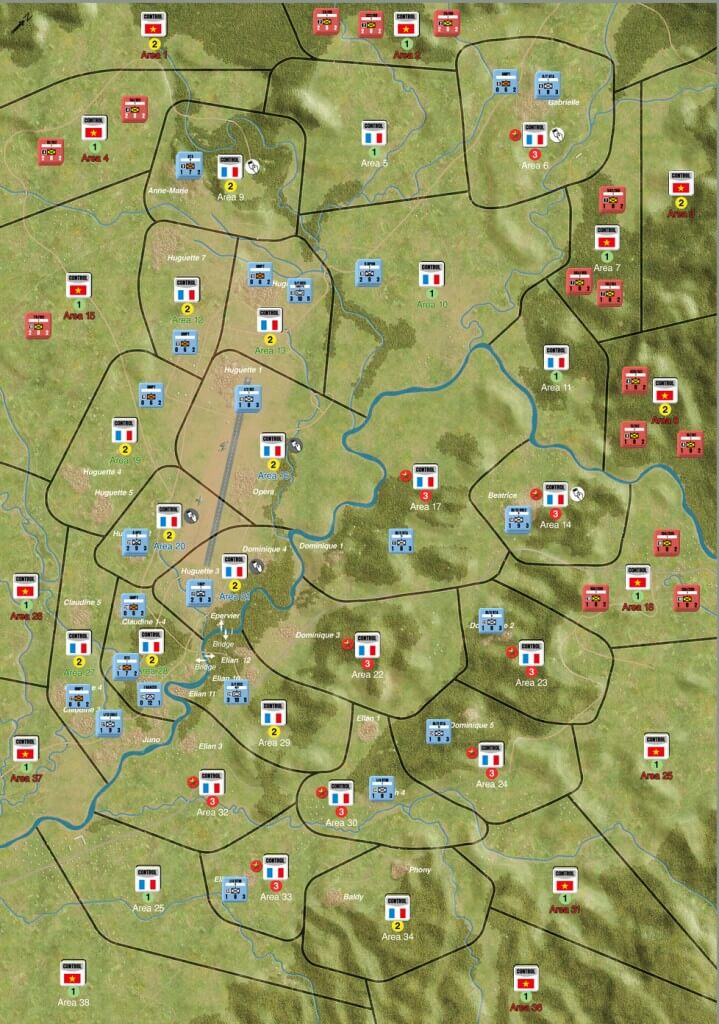
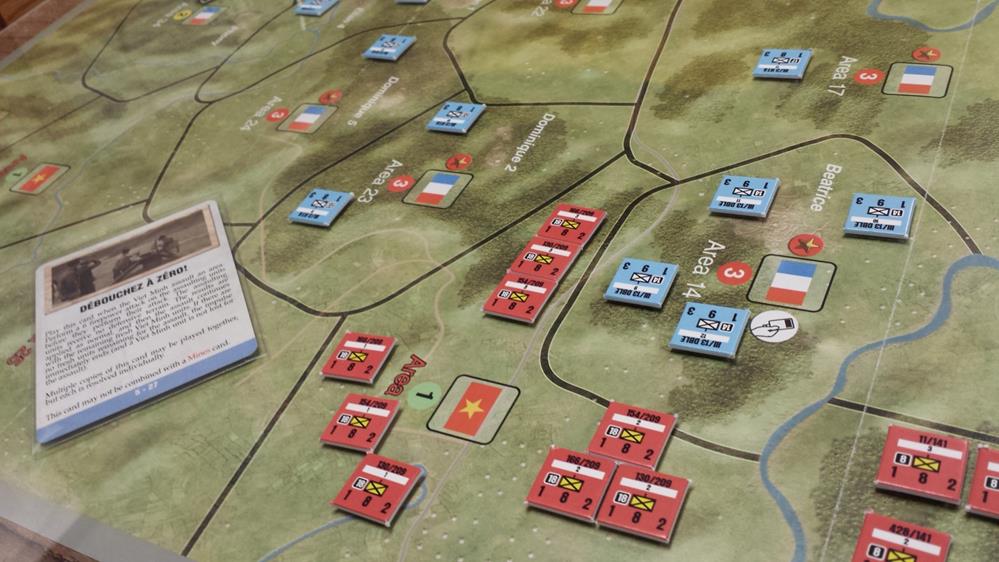
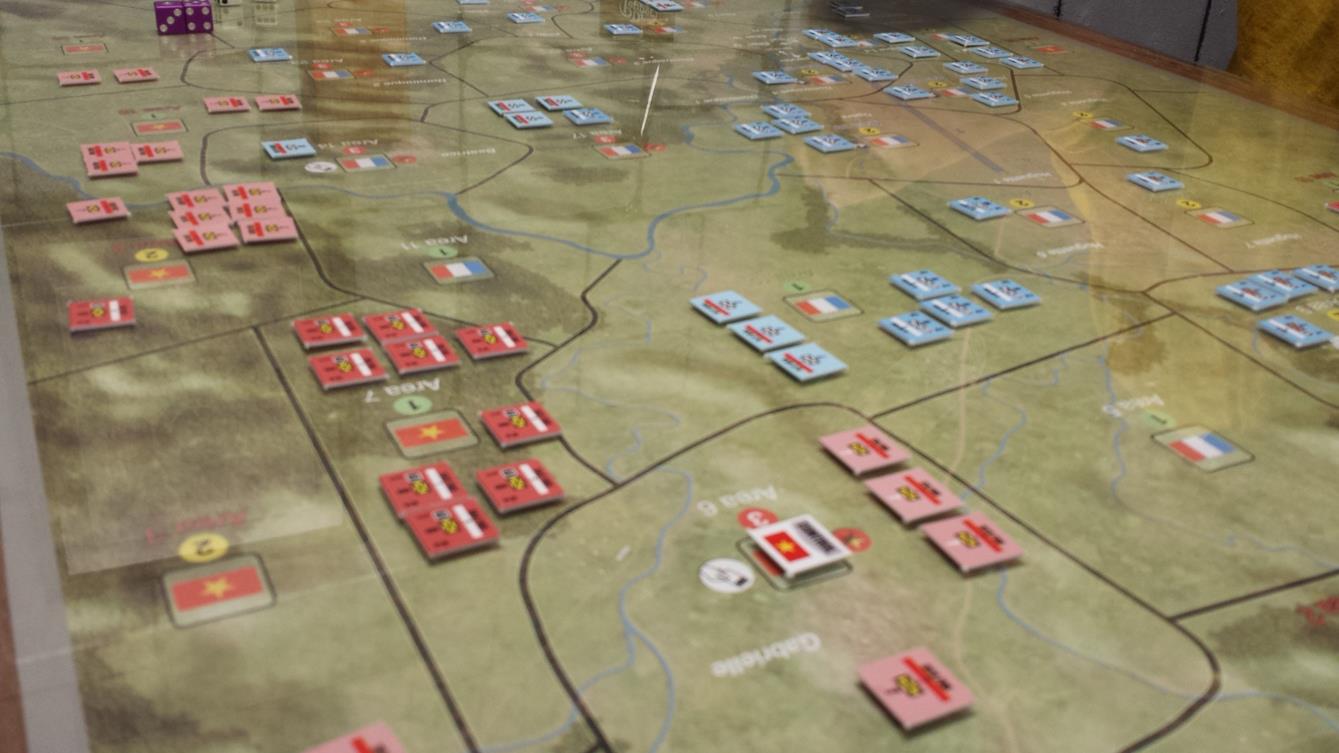
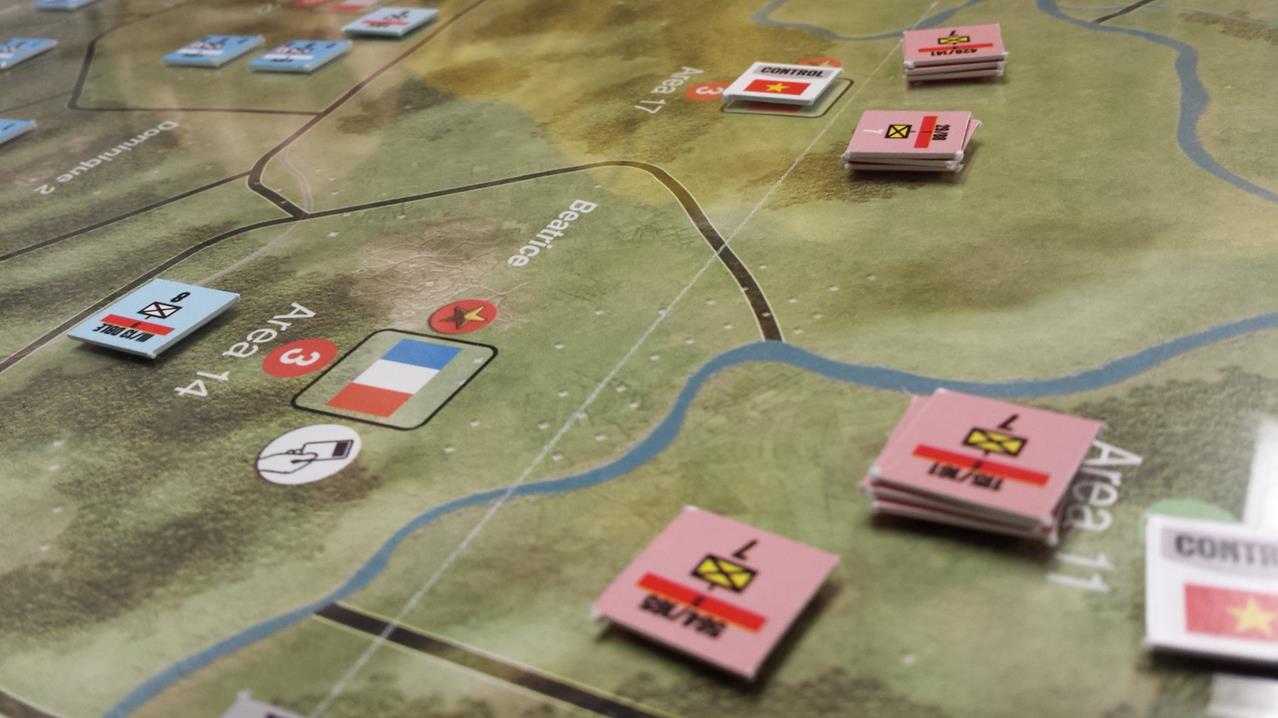
Turn 1, the VM (Viet Minh) forces assault position Beatrice (A14), using 2/3s of a Regiment.
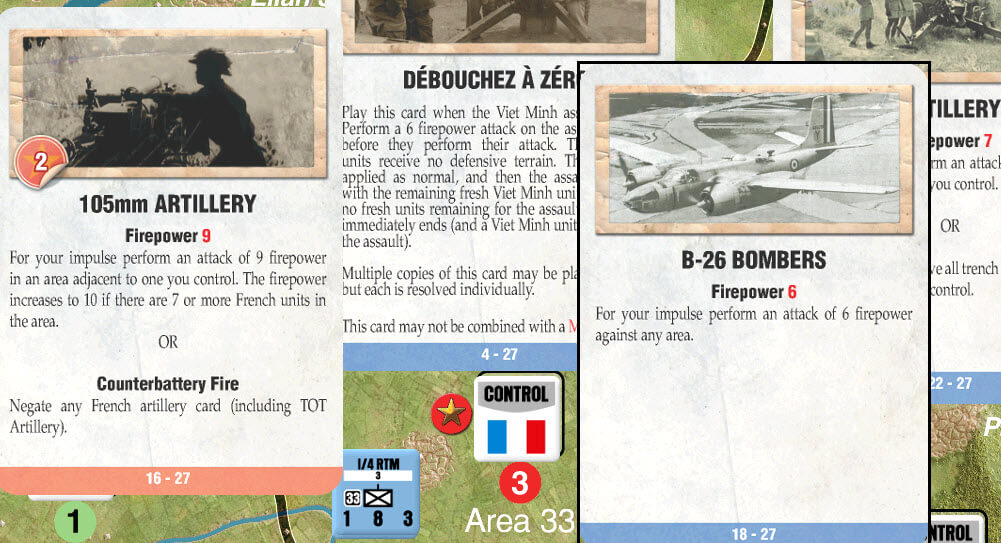
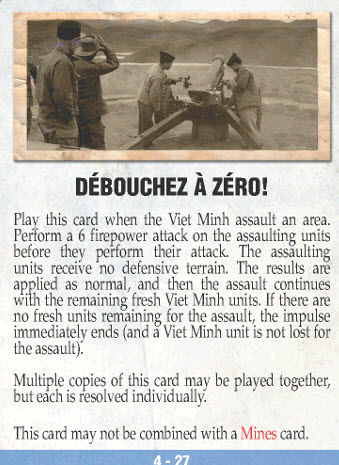
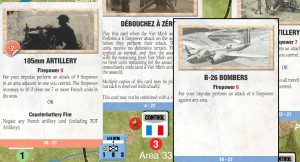
The French intervene with a Debouchez a zero. Then follow up with a B-26 attack!
The Vietnamese launch Katy based rockets into Gabrielle. The French retreat relinquishing the area.
More Fighter bombers pile into the VM in Area 6,causing a retreat.
The Frecnh Fire into Area 6, causing heavy losses for the VM. In the early game it feels that the French have super tough units that are hard to hit and too many of them.
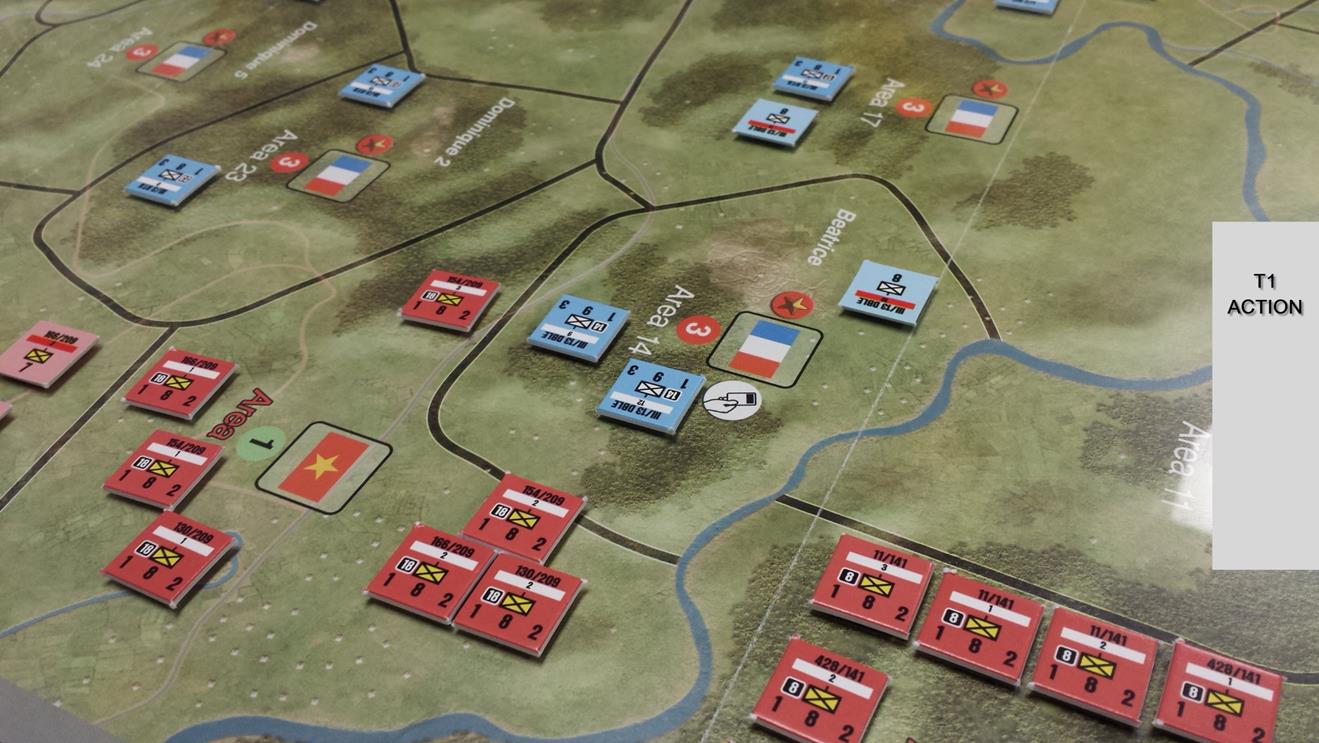
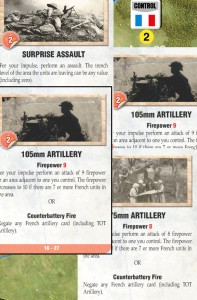
Waves of VM attack, some successful others not so much. The #3 with a red circle means entrenched defenses of 3 that is added to the defensive # of the French (usually 8 or better).
In A18 the assault fails into A14. With each combat unit have an attack strength of one, and a 2d6 spread for combat roll 2/3’s or more of a regiment is required to make a dint in the French defense of say 11. 6+7 ( average roll) means just 2 step increments lost a turn.
Some of those can be taken in retreats. So you can see that overwhelming force is required in certain areas. Area 14 above has just one step left. But no fresh VM can attack and the French will quickly motor new units in. Attrition based warfare.
From A18 the VM attack A14 and suffer another Debouchez dousing. Below Huguette falls but at a huge cost!
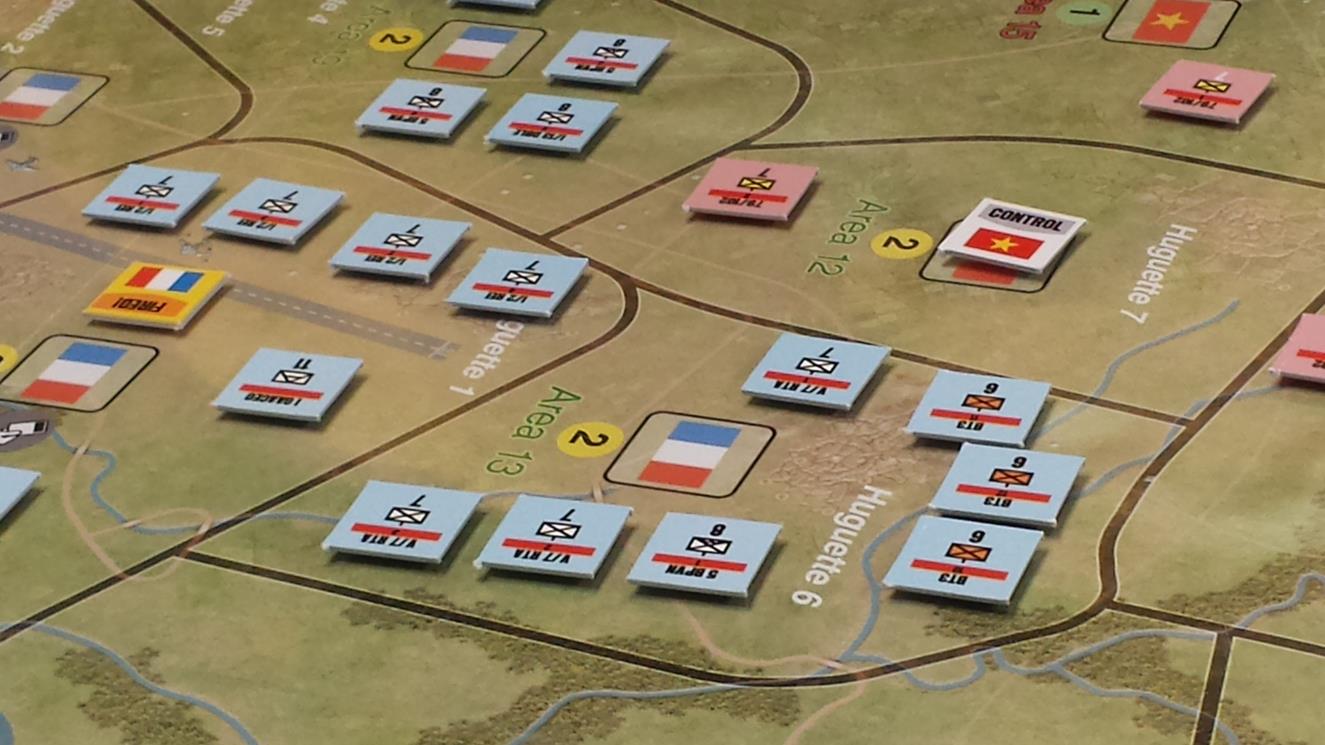
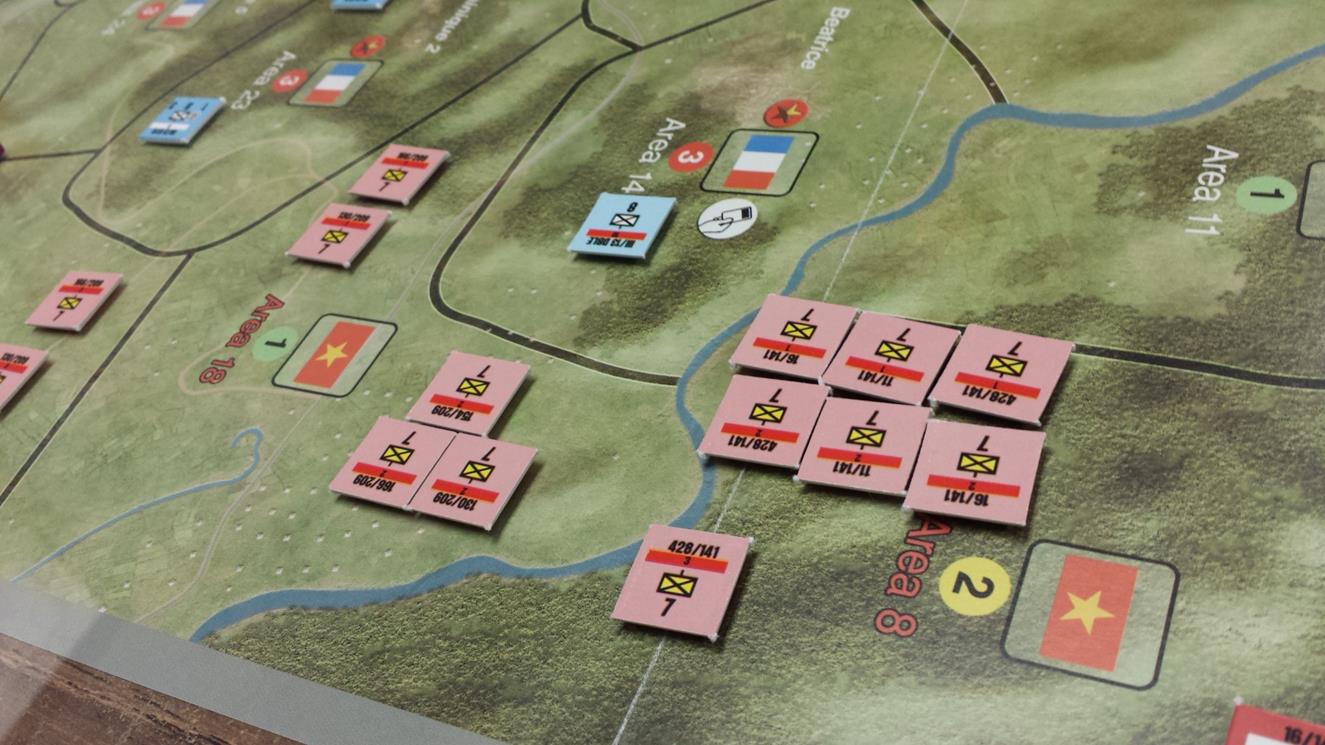
VM attack Houguette, then move into A11, barrage A10 with 105 mm guns. The French adjust forces in between. Below Area 14 or Beatrice is replenished by the French.
Almost no gains on turn 1.
Turn 2
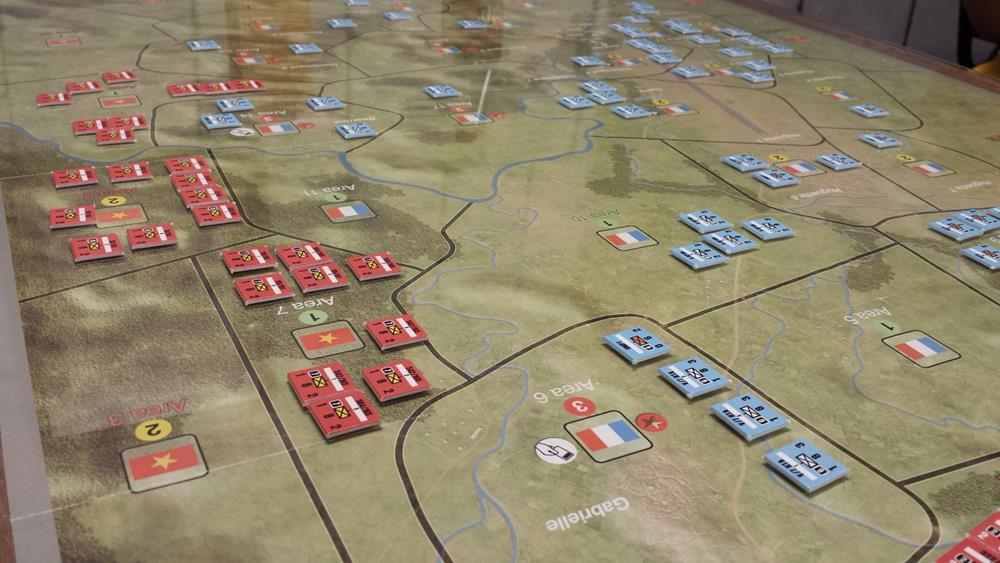
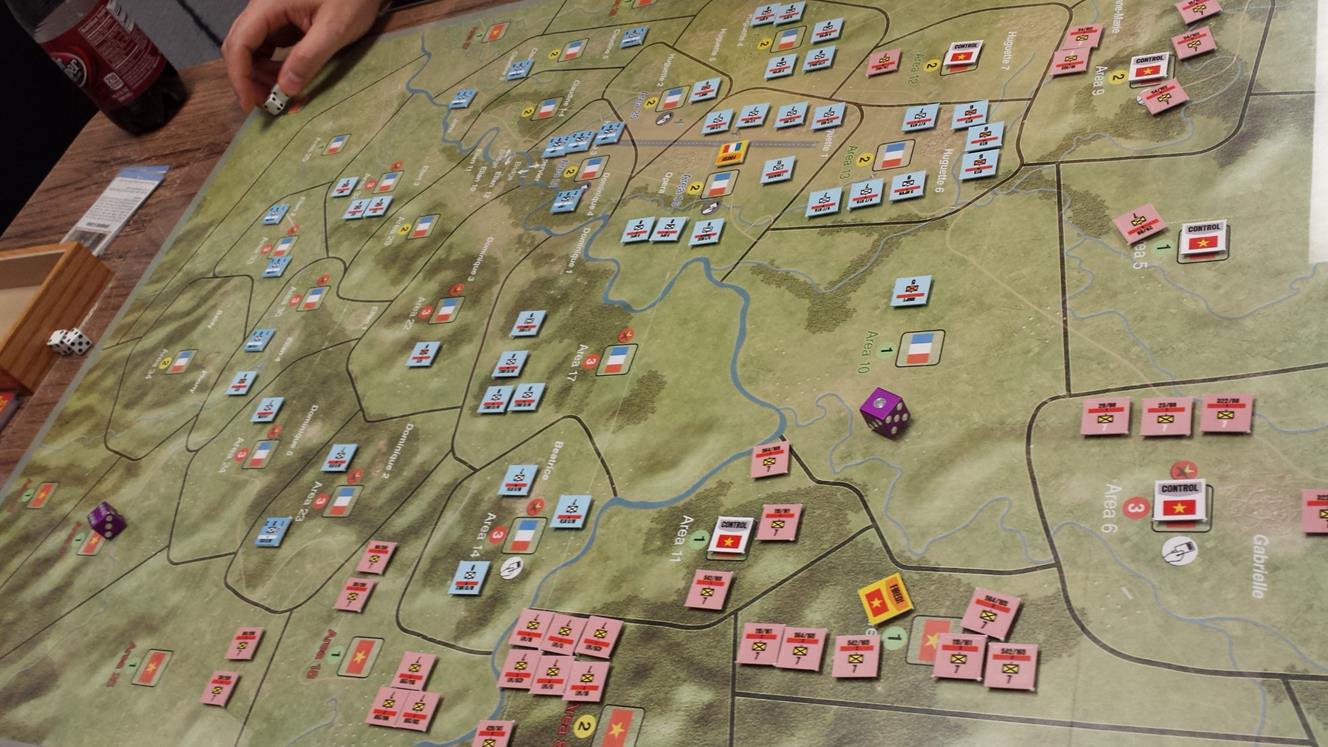
A9 is barraged then assaulted.
A12 is barraged then some trenching begins for T3. This trenching requirement forces a natural pause in the opening assault.

Start of T3:
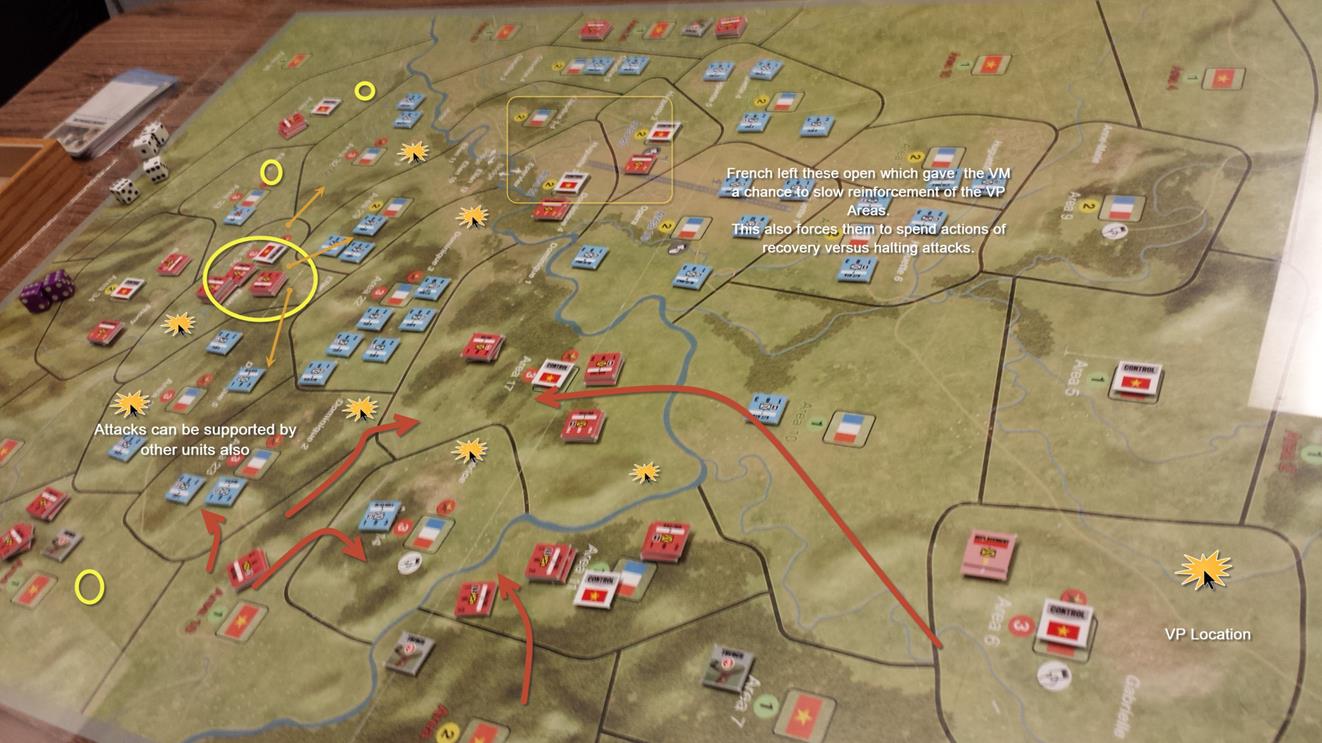
Popping Reinforcements on the ‘supply side’ of the map helps slow down reinforcement of the VP side of the map. The VM also start to cycle more units towards the VP locations.
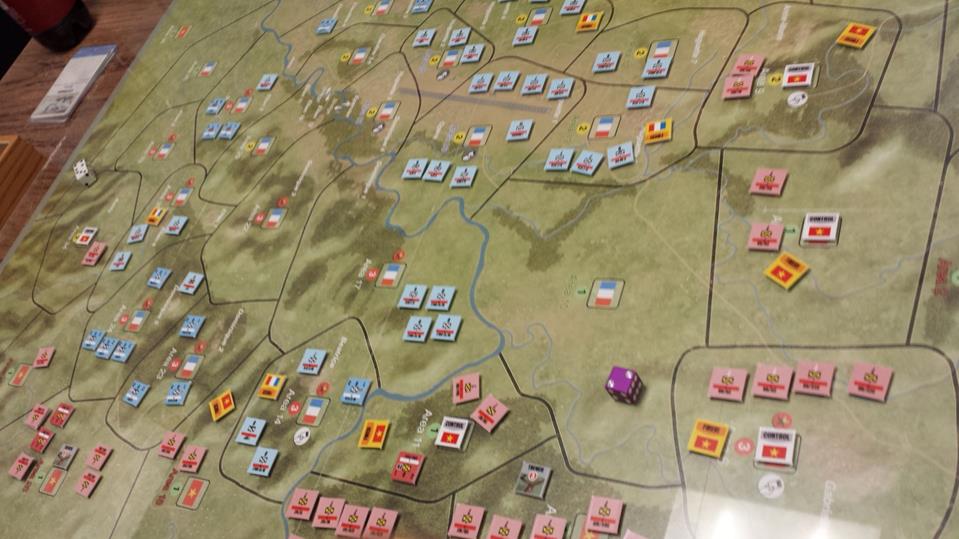
How the map is laid out, and the areas that are adjacent make a huge difference to the game. Note the thin area jutting into Area 17, and to the left where one area is deliberately only touched by 2 areas on the VM side.
Combined arms shows its self via the armour defense rating that alone gives great defense but is fragile without infantry to soak up losses. Whereas combined it can be the rock in a key location. Plus they can move 5 FIVE …FIVE freaking areas a turn.
It is key to have more than one touch point and ideally 3 to any area you want to capture. While Area 10 is big and seemingly unimportant, it couches key locations that can stop reinforcement late game.
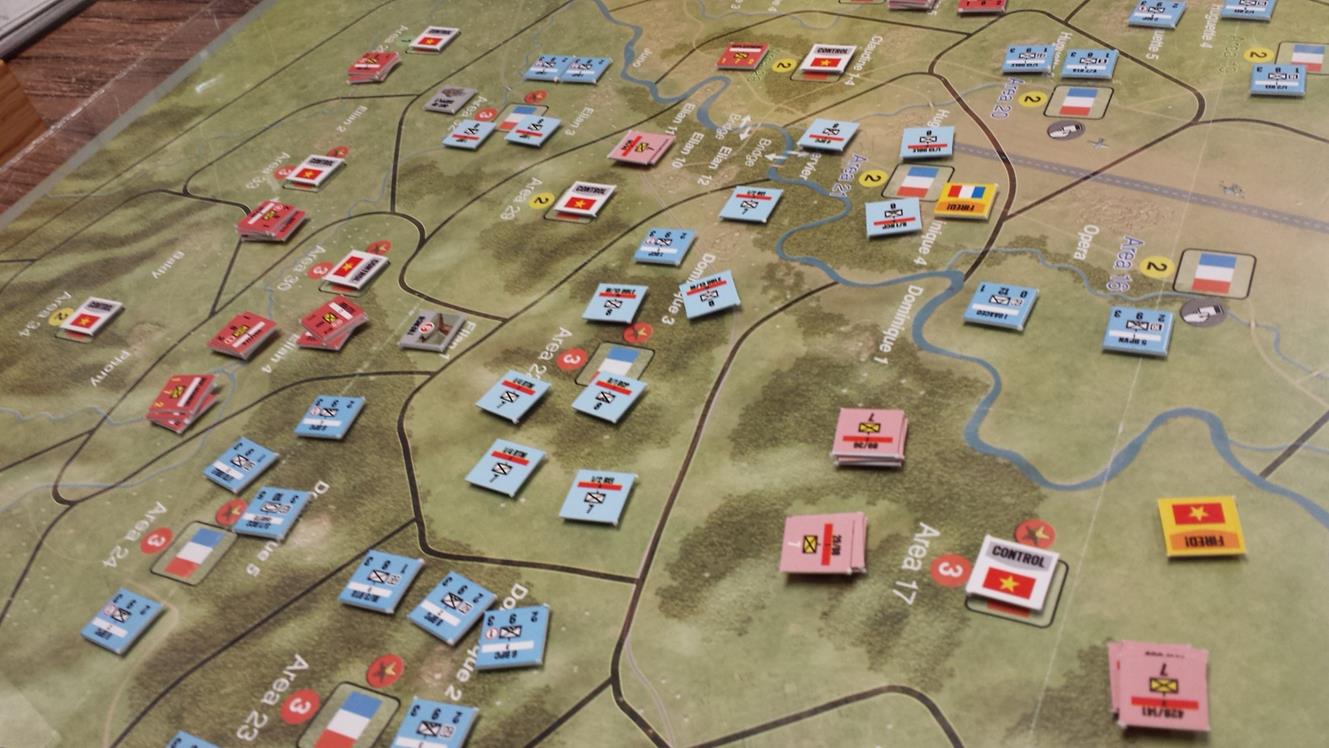
Late Game:
Last Turn:
The VM eek out a win with 3 barrages in hand. While the French waited for me to close assault with mines and other nasties in their hand. In the end the VM reduced the force so badly that it had no trouble taking the last two key areas, 1 in the ‘south (left of shot and one just out of frame above area 17.
This is a fun light game. I think the cards and choices of attack focus and how each side chooses their stance will drive a lot of fresh feeling plays. Maps graphics are ok, units are ok. This game is all about the areas and what they touch and your luck with the cards (or ability to churn the deck) in the end.
The game does tend to feel a little generic and might be from almost any era, with battling counters and areas. In fact I’d love to see someone tackle the Siege of Jerusalem or Alesia with this system. Swap Tanks for Cavalry or heavy infantry, figure in missile based weapons might be cool.